Pattern Review: Debbie Shore Office Bag

I’m going a bit different this week with my pattern review and sharing my thoughts on an accessory pattern – the office bag from “Sew Brilliant Bags” by Debbie Shore.
Details

  • Pattern name: Office bag
  • Variation/Style: As instructed – N/A
  • Design House: Debbie Shore
  • Size I made: As per instructions (however it may not be accurate due to seam allowance used)

Fabric and other items

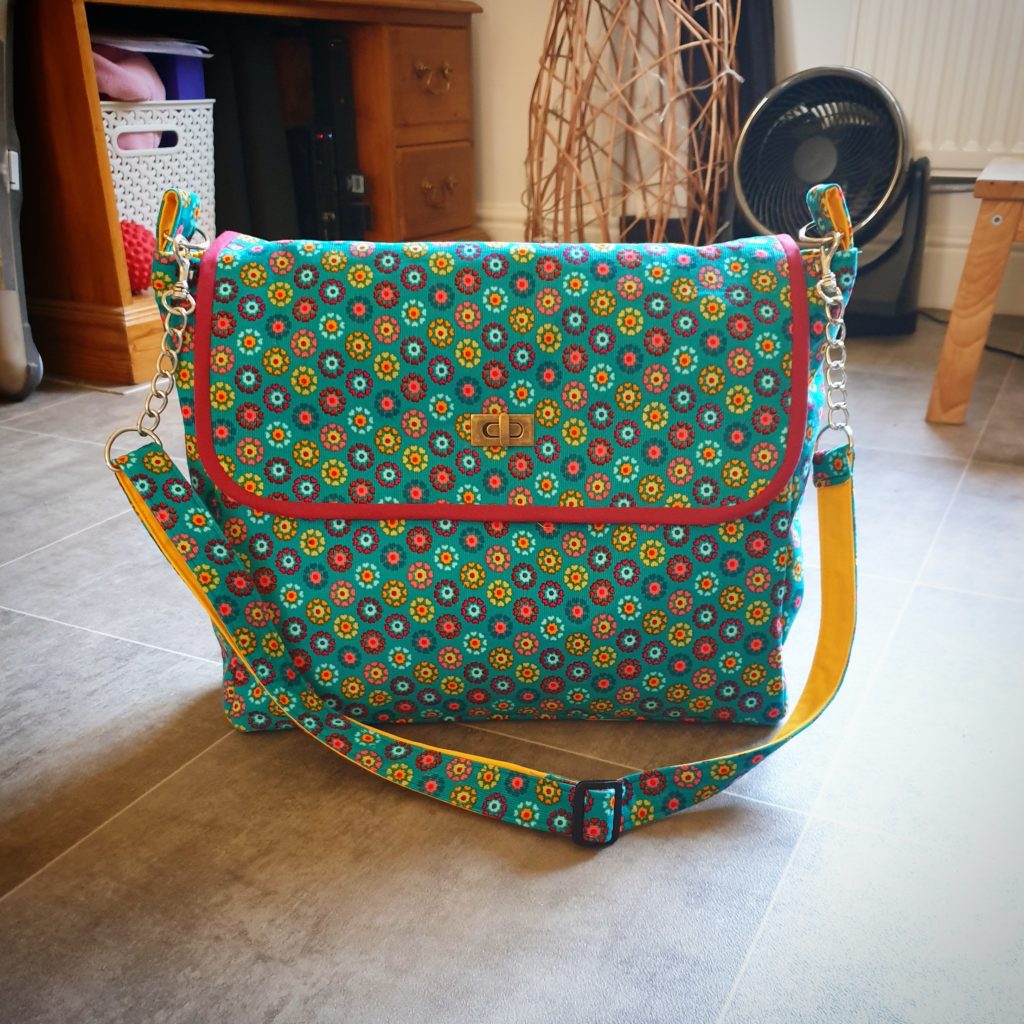
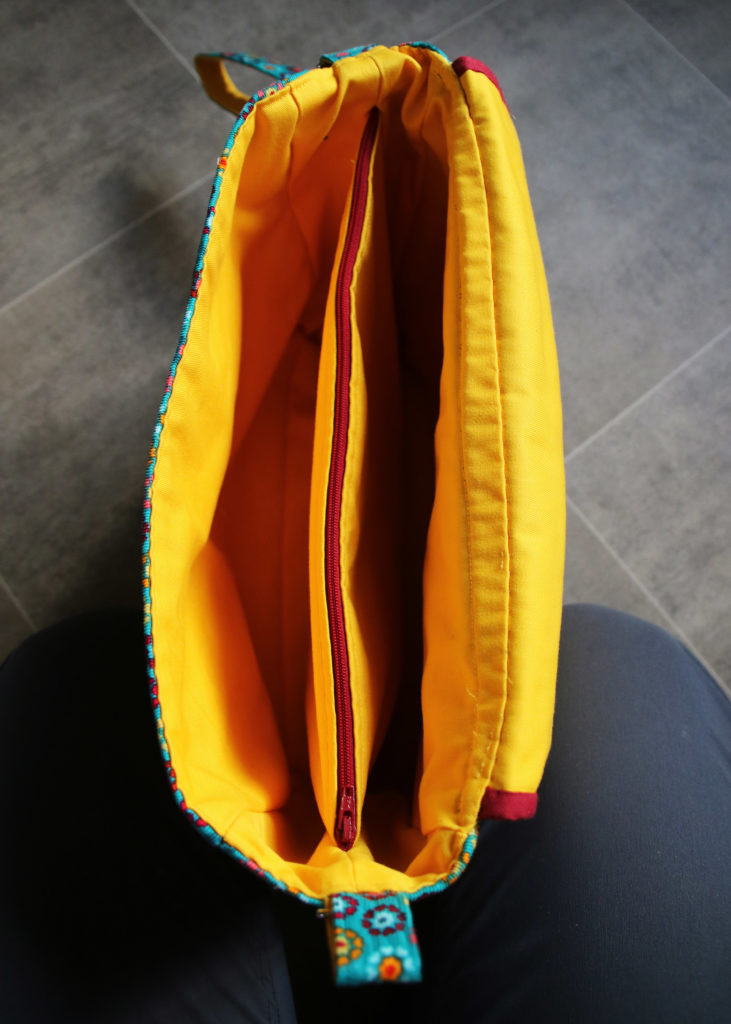
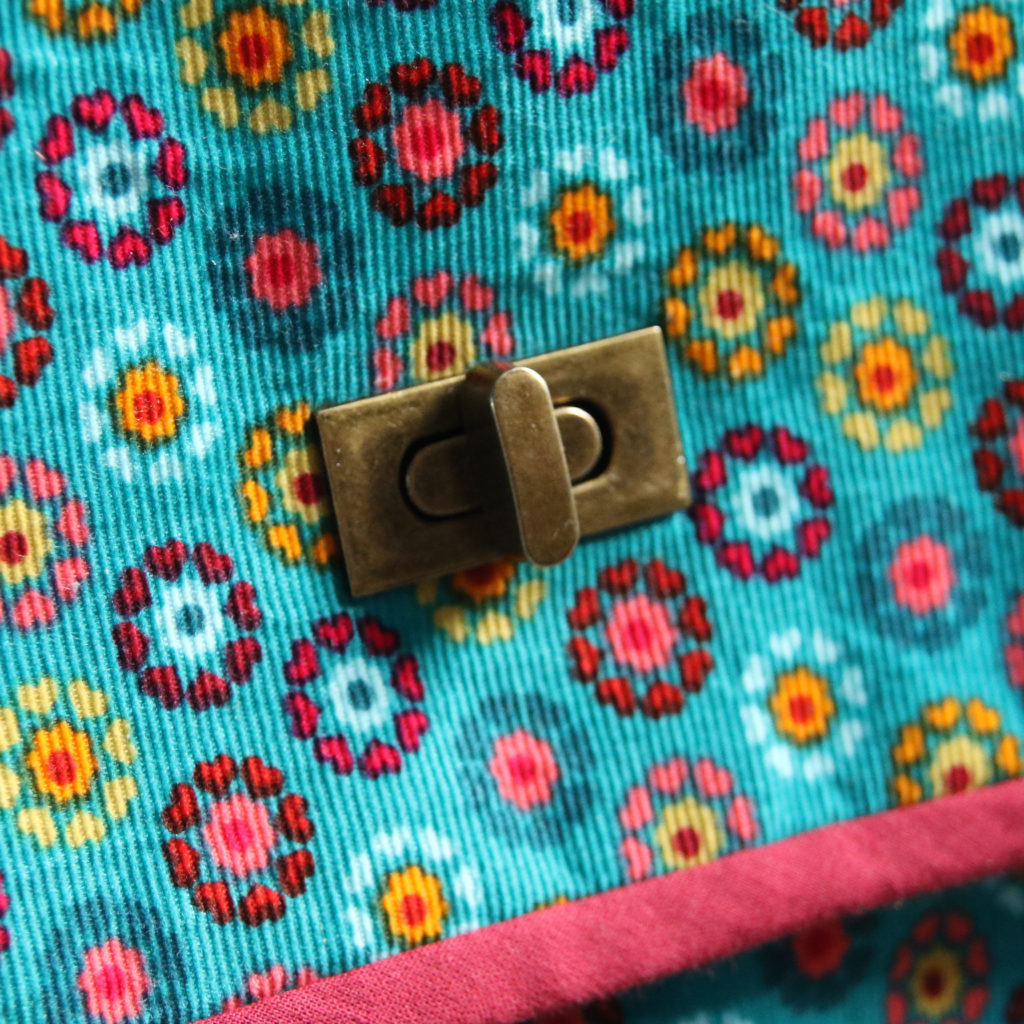
I used a brilliant needlecord fabric I picked up from Fabrics Galore a few years ago at the Knitting and Stitching show at Westpoint in Exeter.  I used the fabric to make a pinafore, but had some remnants to make up this bag.  For the lining/contrast fabric, I used some yellow cotton twill that I had been saving for an apron (hopefully I still have enough to do that too!)

As I was worried that the needlecord may not be strong enough to withstand the wear and tear of being a heavily used bag, I reinforced it with interfacing.  The pattern also suggests using fusible fleece to give the bag more structure.

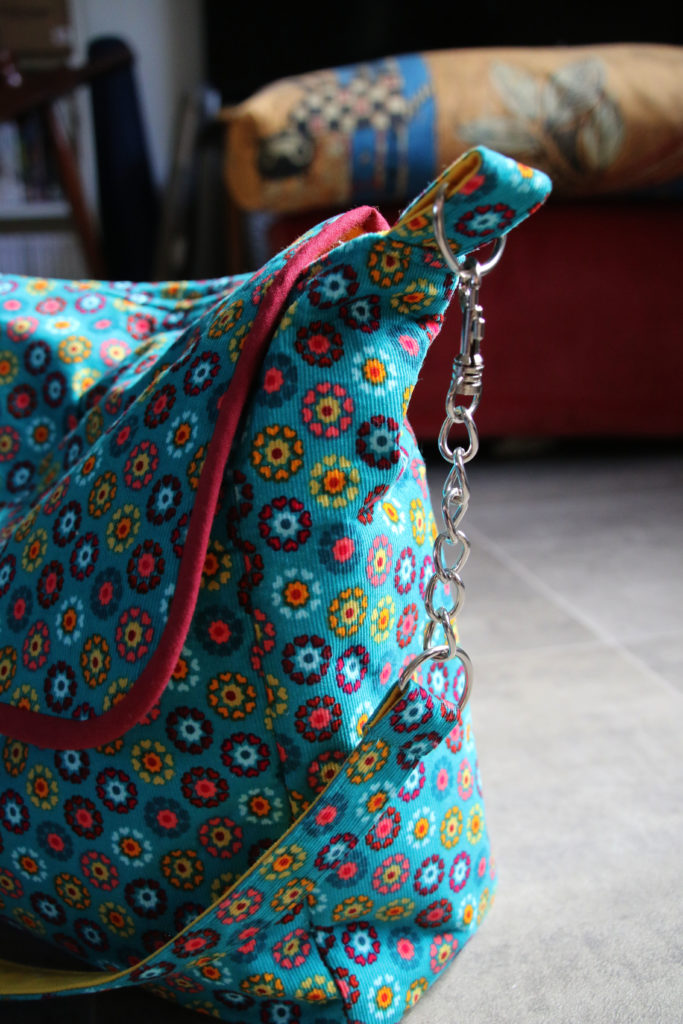
Other attachments included a metal twist clasp for the flap, two D-rings, two swivel clasps and a slider to make the shoulder strap fully adjustable.
Difficulty

I think this bag looks more complicated than it is, and as it is predominantly made from rectangular shapes, it is quite straightforward.  I found the strap a nightmare to turn right sides out, but this may have been an issue with the seam allowance I used, which I will explain more below…

The most challenging aspect for me was stitching the bottom corners of the lining of the bag.  If you are not used to bias binding, you may find the flap edging a bit challenging, but Debbie’s instructions at the front of the book on this were very useful, and it is probably a good practice project as there’s not too much of it.  I machine stitched the front side to the flap and then hand-stitched the other side of the bias binding tape as I like this finish.

Clarity

Unfortunately, I found that the pattern lacked clarity in areas.  First, it is worth noting that she does not state anywhere what the seam allowance is.  Perhaps you are meant to add your own, or you are to assume that it is 1/4 inch like most quilting-based projects.  As I don’t follow many patchwork or quilt based patterns, I am not used to assuming the seam allowance and presumed there would be an indication somewhere.  If I have missed this in the book, please can someone advise which page it is on!

As a result, I used 1/2 inch seam allowances throughout, and I think this caused my straps to be way narrower than they should have been.  I ended up finding other D-rings and swivel clasps to use, which was frustrating as I bought some especially for the project, but didn’t have enough fabric to correct the error.

Another error is in the lining measurements for cutting out the base pieces and side pieces.  These measurements are mixed up, and I only realised at the point when I was about to stitch them.  Fortunately, to correct it, I only had to shorten two of the pieces rather than re-cut as I was using a plain fabric, but if you were using a patterned fabric and the direction of the print mattered more, you would need to cut this correctly!

I didn’t understand the instructions that well for stitching the flap onto the outer bag either, and next time I would just do my own thing rather than try to make myself understand as I wasn’t too happy with the end result in this aspect.

There are some good pictures in the book, but in a way, I felt like there could have been more.  However, if you are used to making bags, this may not be an issue.

Design and Fit

Despite the issues I had with clarity, I really love the design of this bag – in fact, I love it more now that I have made it.  The reason I love it is because the lining piece means that your bag has three sections – two open sections (of equal size) and in between them is a zipped pocket.  I found the construction of this section marvelous and while I may add more pockets to another version, I would definitely make this middle zip divider section again.

I really like the bias binding on the flap as well, and it’s really grown my confidence in using bias binding.

Time Taken

The longest part of the making this bag for me was cutting all the pieces out.  While it wasn’t too arduous as it was a series of rectangles, I had to cut a lot of them and as there are no pattern pieces, you need to accurately draw them out yourself.  Also, I had the additional step of interfacing all the needlecord fabric pieces.

I reckon it is a project you could do within a weekend comfortably, including the cutting out stage.
Conclusion

I am really happy with the end result, but I do have some caveats.  I would advise anyone doing this pattern or any in the book to check that the measurements make sense to ensure you cut out the correct-sized pieces!  Also, have a read through of the pattern first to ensure it makes sense, and to work out whether you want to make any adjustments.

You can watch my video review below:
Play Video
Continue ReadingPattern Review: Debbie Shore Office Bag

Free Machine Embroidery set up: My 7 point checklist

Recently, I made a birthday card for a relative using free machine embroidery.  It had been a while, so once I finished the design, I discovered that I had kept the dog teeth up and had probably been competing with them the whole time!  I thought it would be useful for me, and perhaps other people, to have a checklist to run through when you decide to configure your sewing machine for free machine embroidery.

Continue reading
Continue ReadingFree Machine Embroidery set up: My 7 point checklist

Crafting with a chronic illness: my experience with Ankylosing Spondylitis

Crafting with a chronic illness can be a bit of a roller coaster for some.  One day, your hobby is a lifeline, providing you with a focus and keeping your mind in the present, the next it is exacerbating your symptoms.

Three years ago, I was diagnosed with Non-Radiographic Ankylosing Spondylitis (which I will refer to as AS from now on).  At the time, it was almost a triumph because it had been a long year of visit various health professionals and being able to put a name to the symptoms provides a grounding in a way.  That is, of course, until you have to acknowledge that it is something that is not going to go away and will affect you for the rest of you life.

I thought it might be useful to share what I have found helpful for my circumstance in case it is also useful for someone else.  Everyone is different though, so you must keep problem solving until you find your own strategies.

Continue reading
Continue ReadingCrafting with a chronic illness: my experience with Ankylosing Spondylitis

Pattern Review: Kinder Cardigan

Having made two of these cardigans, I felt it was time to write a review on this pattern.

I got Wendy Ward’s Beginner’s Guide to Sewing with Stretch Fabrics as a gift about a year ago, and while a few designs appealed to me, I didn’t get round to tracing any patterns until around Christmas time.

The Kinder Cardigan is definitely the one which stands out for me in the book – especially the long, almost coatigan, version.  However, the first make was for my nan for Christmas.   It didn’t begin well as I accidentally cut it out in the wrong fabric (a sure sign that you need to use up some of your stash if you have two similar ones…) and I had issues as I was using my mum’s machine (which was my nan’s machine incidentally) which was not too happy and was demonstrating this with unbalanced tension and tight stitches.  Still, I got there in the end and the end result inspired me to make one for myself.

Continue reading
Continue ReadingPattern Review: Kinder Cardigan

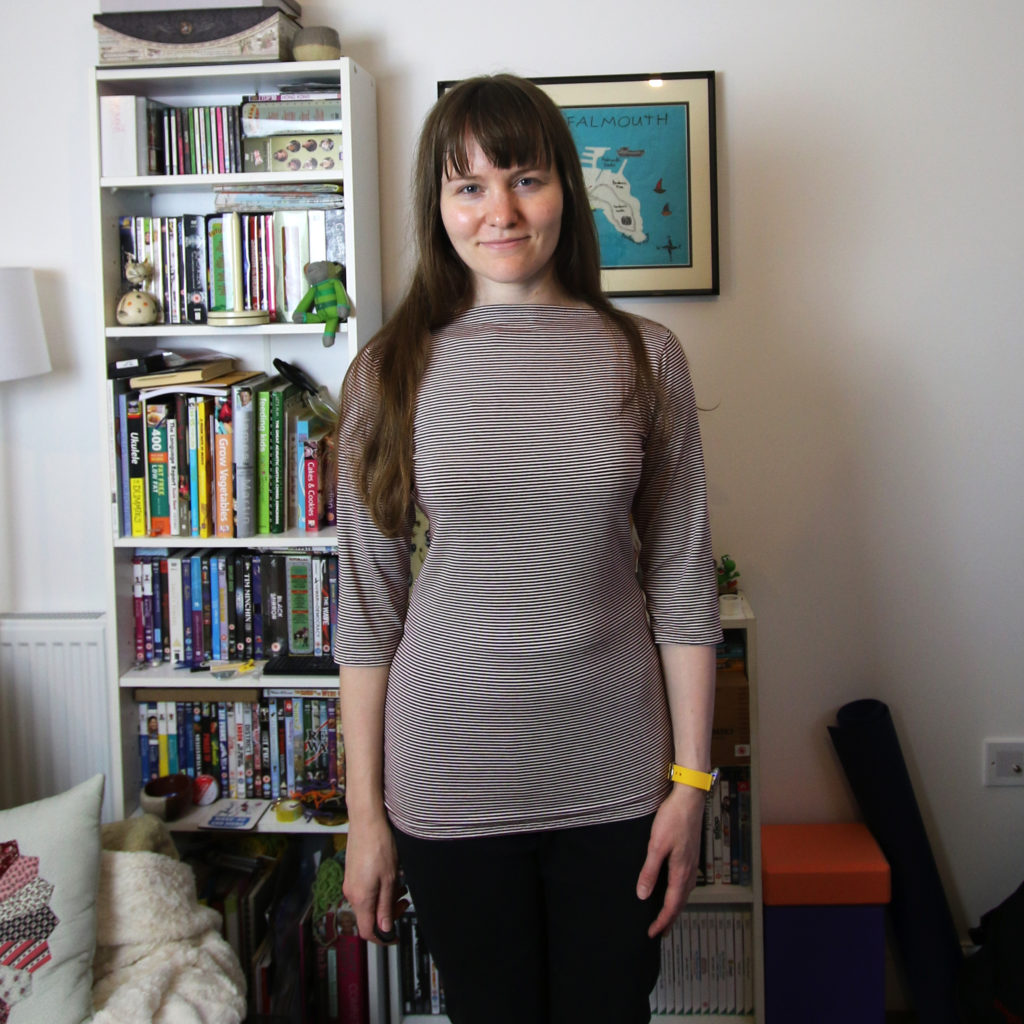
Pattern Review: Gable Top

I realised the other day that I never reviewed the Gable top pattern.  Better late than never!  Also, it means that I have lots of experience in wearing it!

Details

  • Pattern name: Gable Top
  • Variation/Style: View 3 without the cuff
  • Design House: Jennifer Lauren Handmade
  • Size I made: 12

Fabric

Stripey stretch fabric remnant from The Knitting & Stitching Show in 2017.

Difficulty

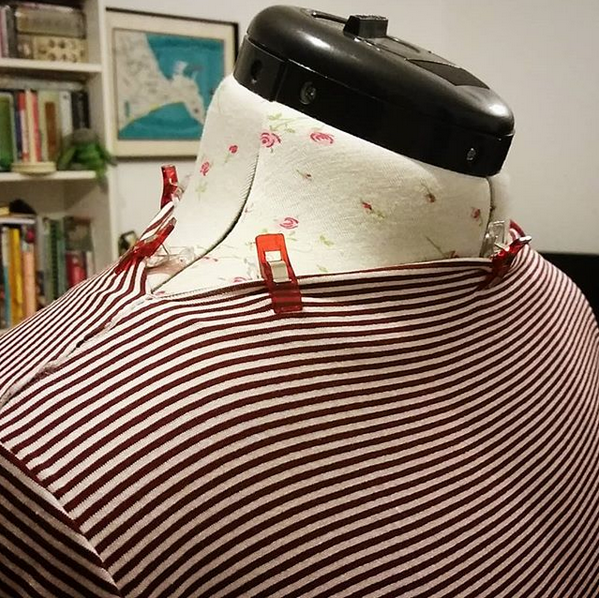
This is a really simple top to make consisting of only 4 pieces of fabric.  The main challenge for me was the fabric I chose as it was very stretchy.  You may wish to take extra care on the neckline, which I would argue is the trickiest part.

Clarity

It is very simple although I did get a bit confused at the neckline.  However, Jennifer Lauren has a video to help you on this to use in tandem with the written instructions.

Design and Fit

The top has come out quite tight.  I am not sure if this is the pattern or the fabric (or both).  I am not used to wearing very fitted garments so this is probably where most of my discomfort stems from!  It’s also very long but I may have stretched it or the fabric I have chosen has encouraged this.  I will have to see how much negative ease the pattern has if I make it again.

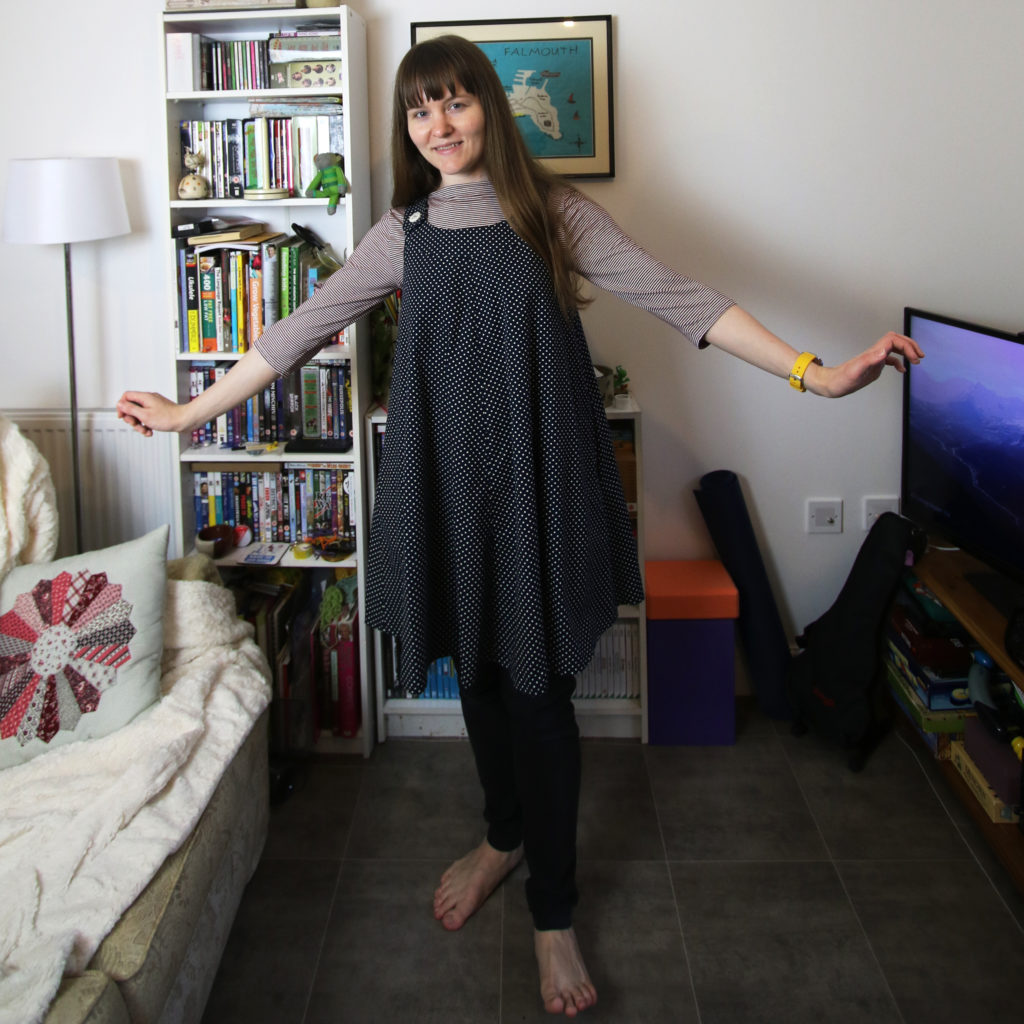
Design-wise, it is the perfect staple to go under a pinafore or dungarees – such as the Ivy Pinafore by Jennifer Lauren!

Time Taken

I’d say you can make this in half a day.  It’s very simple and super quick if you don’t have any stripe matching to do!

Conclusion

This version feels a bit too fitted for me so I will probably make it in a larger size next time, or perhaps choose a different fabric which is not so clingy.  However, I have worn it lots with my pinafore collection (yes, it has turned into a collection… expect more pinafore reviews!)

Play Video
Continue ReadingPattern Review: Gable Top

Pattern Review: Jarrah

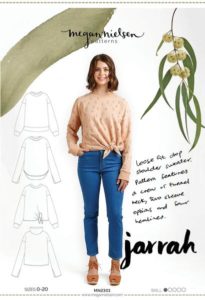
This year I was fortunate enough to be a pattern tester for one of Megan Nielsen’s new patterns which came out on 1 November 2018.  Here is my pattern review of Jarrah.

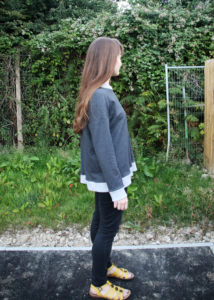
jarrah front view

Details

  • Pattern name: Jarrah
  • Variation/Style: A
  • Design House: Megan Nielsen
  • Size I made: 10

Fabric

I used a grey medium-thickness knit fabric – a bit like a ponte?  I found it in a charity shop in Helston and it was just what I was looking for!  The lighter grey is ribbing which was also from a charity shop (but has been in my stash for years…)

jarrah side view

Difficulty

I would say that this pattern is a nice easy one for beginners.  The only real challenge was the neckband for me.

Clarity

I found that the instructions were clear.  I did go on auto pilot at one point (the neckband) and almost do it wrong, but when I actually read it, it was clear!!  The pattern provides markers for attaching the neckband rather than advising you to ‘quarter’ the neckband and neck opening yourself, which is great, you just need to read it!

Design and Fit

I made a straight size 10 – it’s a loose fit design and I’m a fan of baggy jumpers!

The design has grown on me – especially now that it’s cold enough to wear it here in the UK!  However, if I made another, I’d go for the funnel neck version.

Time Taken

I completed this make in a day.  The hems were easy as I was attaching the ribbing and the fabrics were stable knit fabrics which helped.  Also, I didn’t need to adjust the fit.

Conclusion

Overall, it’s a great classic staple for your wardrobe, with some lovely variations to try out.  Due to the different variations which come with the pattern (high-low hem, tie knot, funnel neck, as well as this one I’ve done), you get a lot of value for money out of the pattern.

Play Video
Continue ReadingPattern Review: Jarrah

Pattern Review: The TATB Bow Blouse

Today I’m sharing a pattern review of one of my #2018makenine projects!  I added it to my make nine list as it’s something I began in 2017 and then abandoned when I got confused with it.  However, I am so glad I persevered as it wasn’t so bad after all and it certainly stands out in my wardrobe.

(more…)
Continue ReadingPattern Review: The TATB Bow Blouse