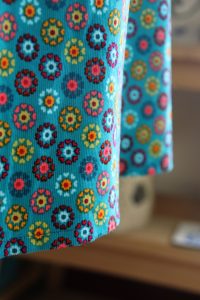
Recently, I made a birthday card for a relative using free machine embroidery. It had been a while, so once I finished the design, I discovered that I had kept the dog teeth up and had probably been competing with them the whole time! I thought it would be useful for me, and perhaps other people, to have a checklist to run through when you decide to configure your sewing machine for free machine embroidery.
1. Lower the dog feet / add darning plate
My favourite to forget and therefore top of my list!
To enable you to move your fabric in whichever direction you please, you need to either lower the dog teeth or cover them with a darning plate, depending on the type of machine you have. On mine, the lever to lower the dog teeth is located at the back of the machine, but others might have a switch near the bobbin case.
Darning plates usually clip on top of the dog teeth to stop their ability to move the fabric. They are normally secured in place by two points.
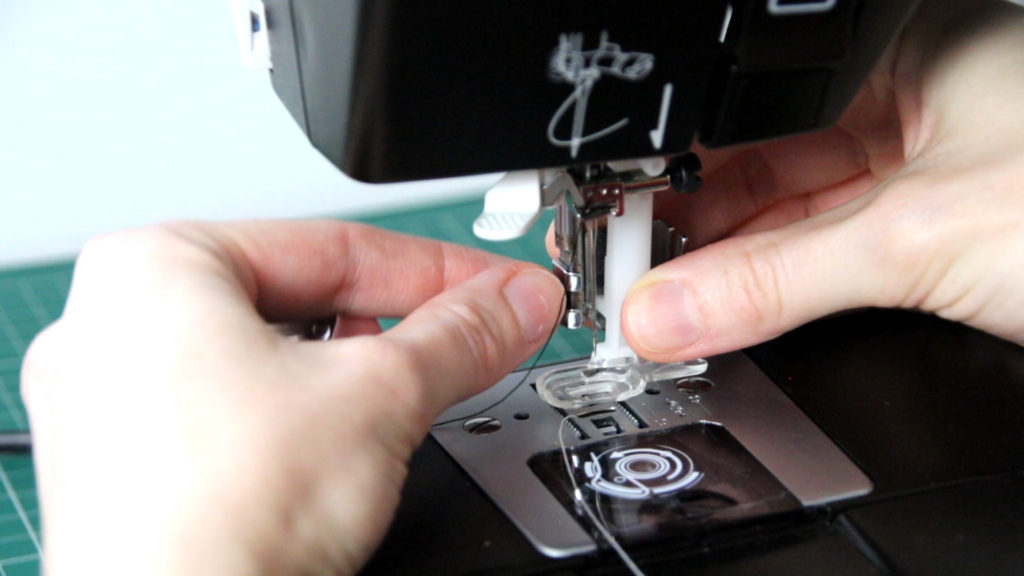
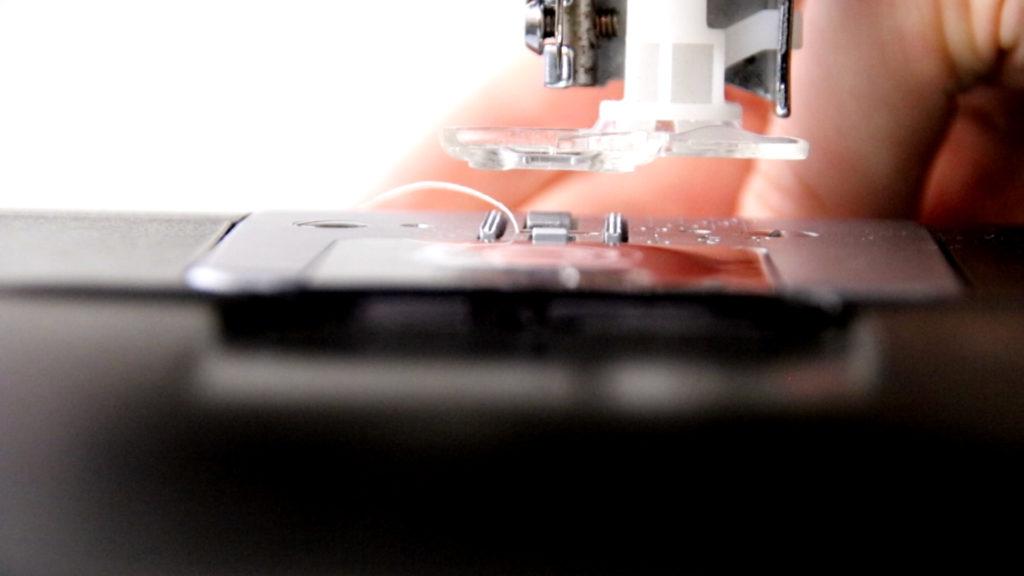
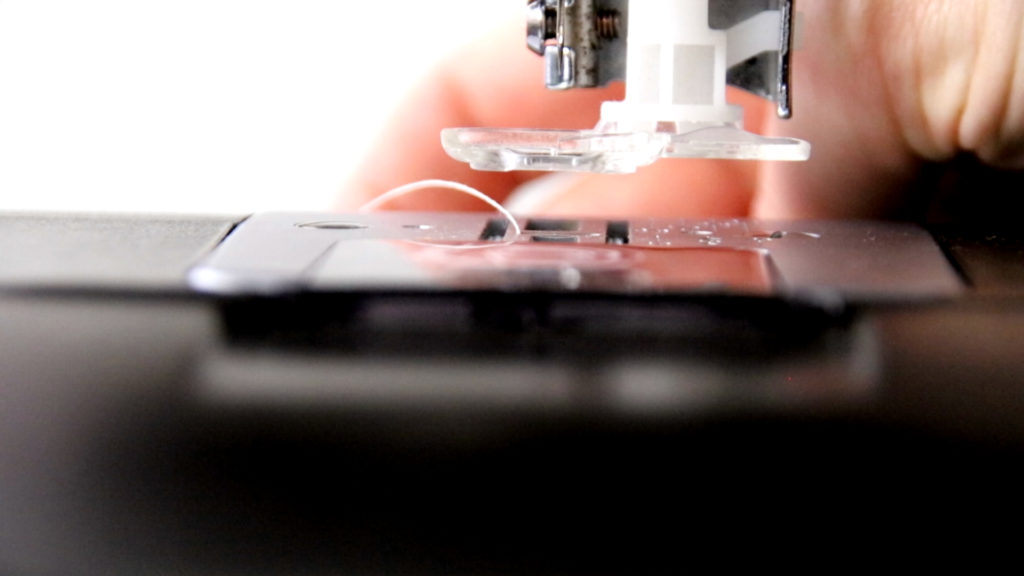
2. Change the presser foot
You will need to remove your regular presser foot and attach the darning foot. Most sewing machine brands have one designed for your machine, and it will have an oval/round shape at the bottom to allow you to move the piece of work in any direction.
You can do free machine embroidery without a presser foot attached, but be careful with your hands and you may be at greater risk of bending or breaking the needle.
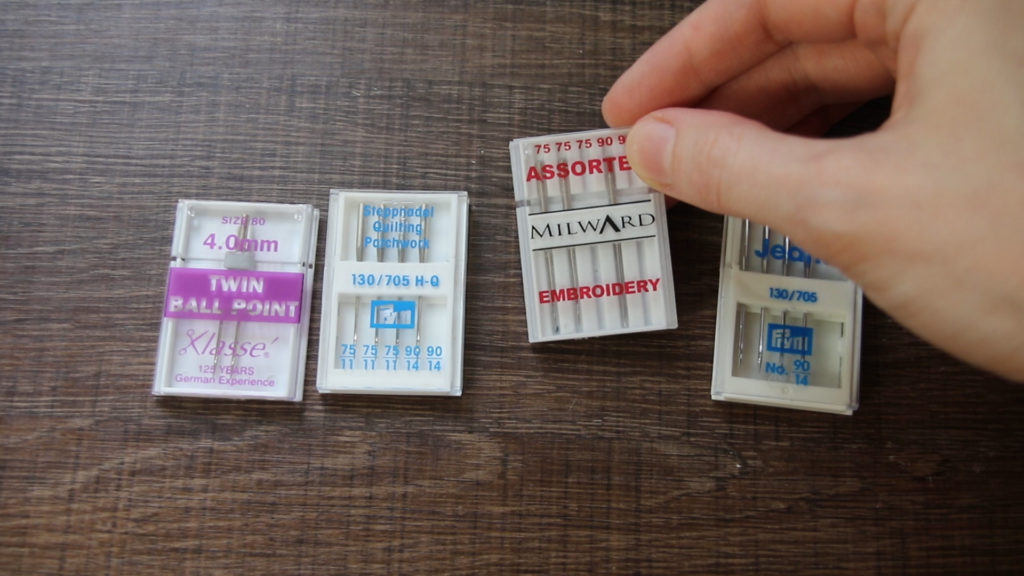
3. Check your machine needle
You can use a regular sewing machine needle, but you will want it to match the weight and composition of your fabric still. You can buy machine needles that are designed for embroidery as well, which you may wish to consider.
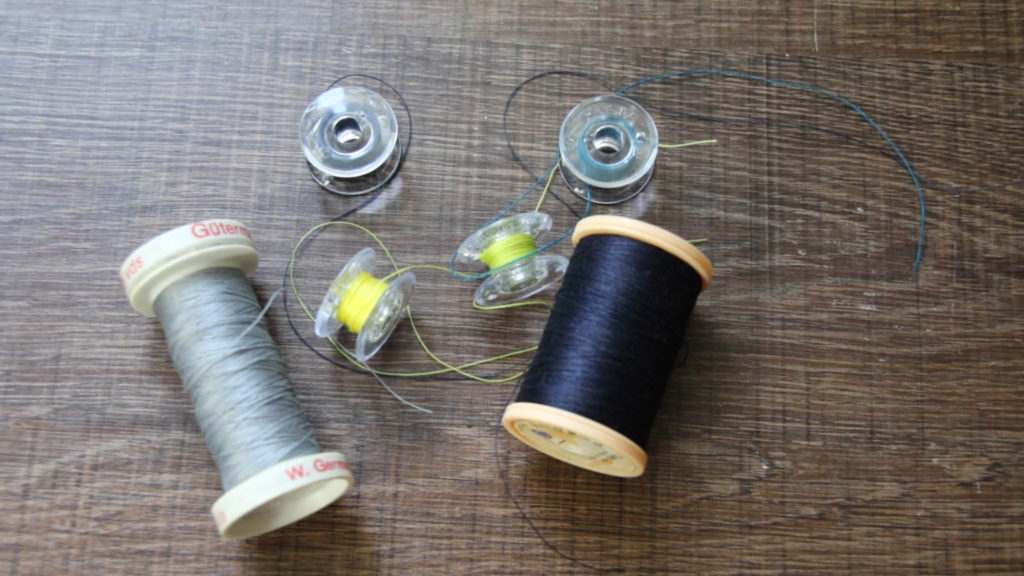
4. Choose your upper thread and bobbin thread
Depending on what you are making and what effect you would like to achieve will determine the thread you use on the top and bottom stitching. I am sometimes lazy and will leave the same bobbin in the bottom if I know it won’t show up on the top or the effect won’t be too damaging. However, you may purposefully put a contrasting bobbin thread in to create an interesting affect in your work.

5. Adjust the upper thread tension
If I don’t want the bobbin to show on the right side of the fabric at all, I usually have to reduce my upper thread tension dial by about 2 to achieve this. How much you need to reduce it will depend on your machine, the type of thread you are using and the fabric you are stitching onto. I would recommend testing the settings first.
You could increase the tension if you want the bobbin thread to show more. However, you do need to keep an eye on this as too much tension can cause issues as well. Again, I would recommend gradually tweaking your settings until you find a suitable yet stable effect.

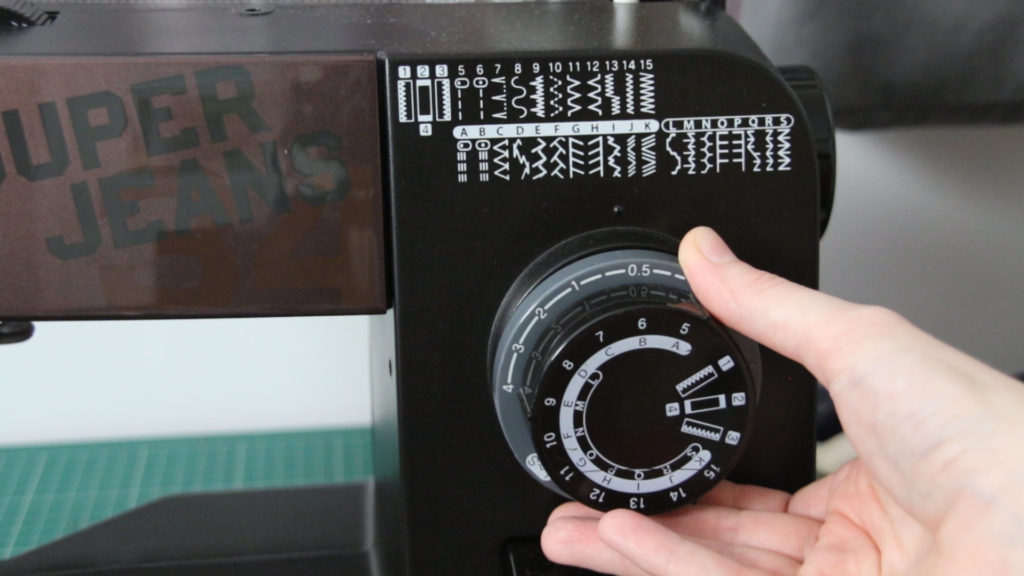
6. Choose your stitch and stitch length
You can use a variety of stitch variations with free machine embroidery but sometimes some of the fancier stitches won’t necessarily look as effective as they are reliant on the dog teeth to create their design.
On my machine, I set the stitch length short, normally to about 0.5. However, you could even pop it onto zero if you wanted to and see how this affects the stitching.
Some machines will have pre-set stitch lengths and not allow you to choose the stitch length. This is not a problem. If you are new to free machine embroidery, I would recommend trying out the smallest straight stitch setting initially and learning the basics with this before testing out the other stitch lengths.
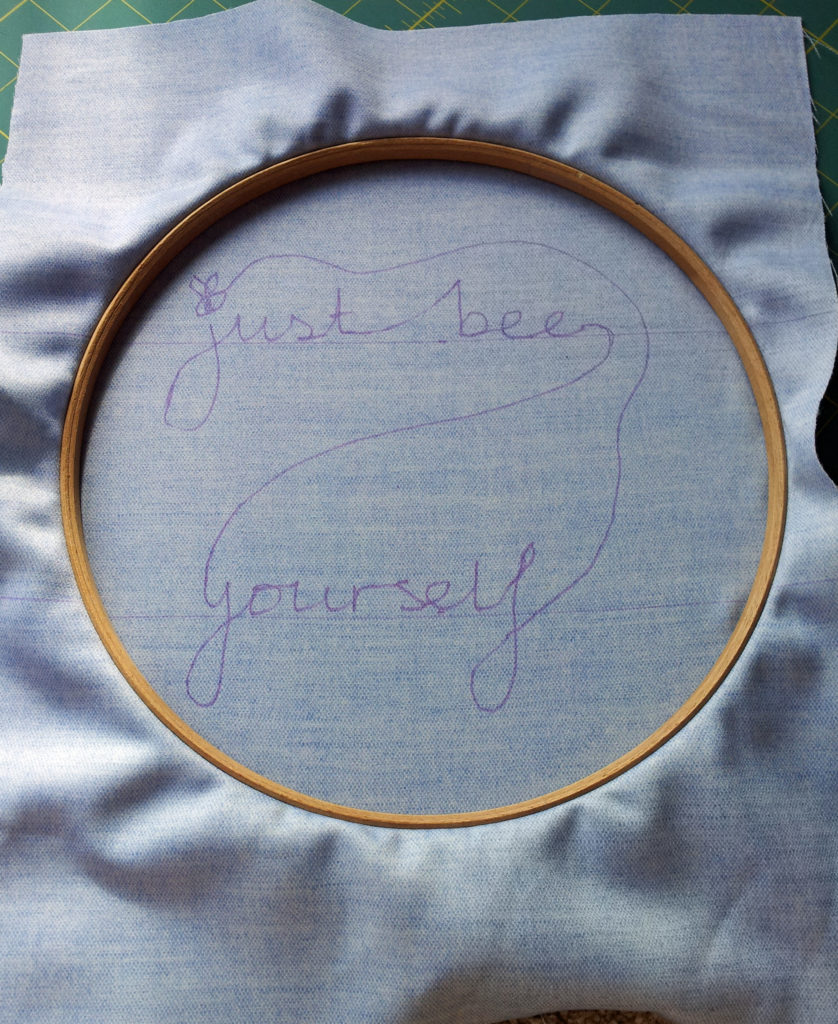
7. Prepare your fabric
Lastly, you will need to prepare your fabric for stitching.
My favourite method is to use an embroidery hoop. You attach it the opposite way to hand embroidery so that the fabric lays flat at the bottom of the hoop rather than the top.
You could use a fabric stabiliser instead, or nothing at all if you are using a very sturdy fabric.
That’s all my tips for today. If you do have any useful tips to share, I’d love to hear them in the comments below, or feel free to contact me.
Watch it on the Vlog
I’ve linked my video on this checklist below: