
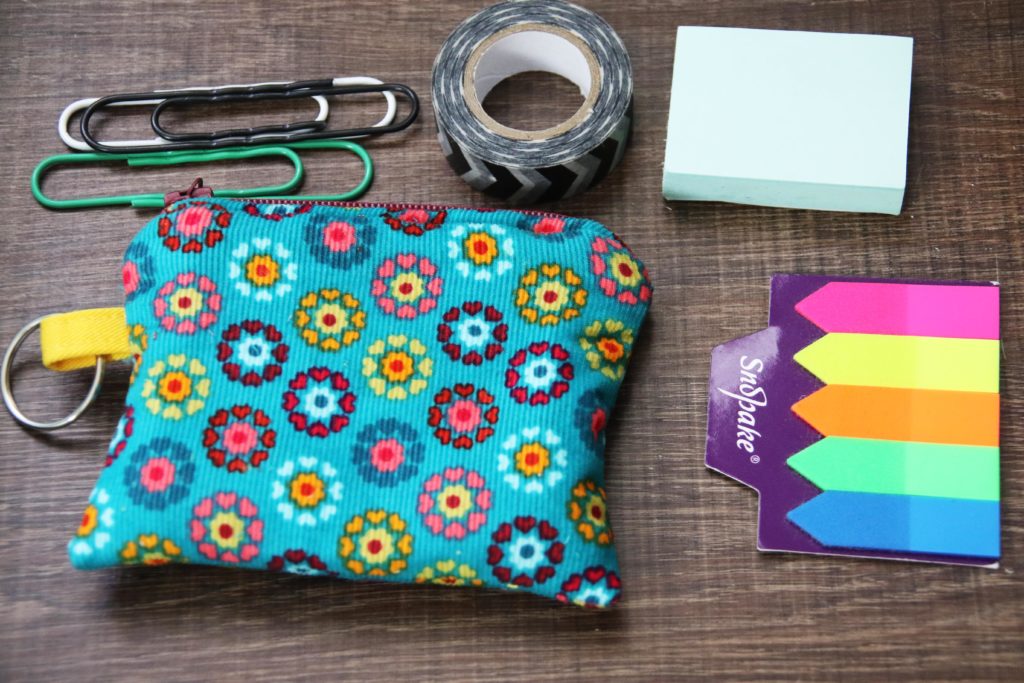
I recently showed you the bag I made for work. I have a few small items I take to work and I always struggled to find them in my old bag. Seeing as I had some leftover fabric, I decided to create a small zipped purse to keep these items together. I’ve shared the process here.
In the photos above, you can see a few suggestions on how to use your finished purse – the possibilities!
You will need:
To cut out –
- A zip – I used a 15cm zip which I had in my stash in the colour I wanted
- 2 x outer pieces in main fabric – I did 13cm x 11cm for the measurements
- Optional: 2 x fusible fleece pieces to be fused onto the wrong side of your main fabric pieces
- 2 x lining pieces the same size as the main fabric pieces
- Fabric for the key ring tab – I used a piece which was 4cm x 4cm
You will also need –
- Zipper foot
- Key ring to attach at the end
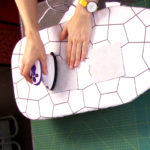
(Optional) Iron on the fusible fleece
If you are using fusible fleece, iron it on at the beginning to your outer fabric pieces.
The iron-on fleece I used required heat setting 2 for 12 seconds on each area.


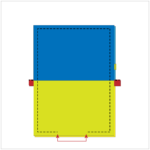
1.Attach one main fabric and lining piece to the zip
First, place one of your main fabric right side up. Place the zip right side down onto the main fabric piece so that the zip edge lines up with the top edge of the main fabric.
Next, add one of the lining pieces on top of the zip, right side down.
Pin, tack and then machine stitch in place using your zipper presser foot.
Once stitched, fold the main and lining pieces back so that the right sides face outwards and press so that you can see the zip.


2. Attach the remaining main and lining pieces
Place the remaining main fabric piece in front of you, and then place the zip down on top once more with the zip facing downwards and the unused edge lining up with the top raw edge.
Next, add the remaining lining piece on top, right side down, and top raw edge matching the zipe edge and top edge of the main fabric.
Pin, tack and then machine stitch in place using your zipper presser foot.
Once stitched, fold the main and lining pieces on the second side back so that the zip can be seen between the two main fabric pieces and the two lining pieces. Press with your iron.


3. Top stitching and securing the zip
To ensure that the fabric does not affect the use of the zip, top stitch the two sides of the purse.
Secure the ends of the zip with a line of stitching.
4. Create the key ring loop
Fold your loop fabric in half and press.
Unfold, then fold the raw edges to meet the fold line you created. Re-fold at the fold line so that the raw edges are now tucked in the middle.
Stitch close to both long edges.
Fold in half so that the raw edges are together.


5. Stitch the sides and base of the purse
**Important! Open the zip to ensure you can turn the purse right side out.**
Fold the purse so that the lining pieces line up together right sides facing, and the main fabric pieces match up right sides facing.
Position your loop where you would like it on one side of the purse so that it is attached to the main fabric side. Ensure that the raw edges of the loop roughly match the raw edges of the side of the main side of the purse (and that the folded edge is tucked in between the two main purse pieces).
Pin, tack and then stitch all the way round the bag, leaving a gap in the bottom of the lining so you can turn it right side out.


6. Turn right side out, finish the lining base and add the keyring
Before turning the purse the right way out, I would recommend trimming the corners of the bag and possibly the seam allowances throughout with pinking shears.
Once trimmed, turn the purse through so that the right side is now facing outwards. Push the corners out with a blunt angled tool.
Fold in the lining base seam allowance. You can either slip stitch this in place or alternatively you could machine stitch very close to the edge to secure.
Tuck the lining inside the purse and zip up. Finally, add a key ring to the loop and you’re done!
That’s my method of creating a lined zip.
Watch it on the Vlog
I did record making my zipped purse, so if you want to see some of these point in action, you can watch it here: