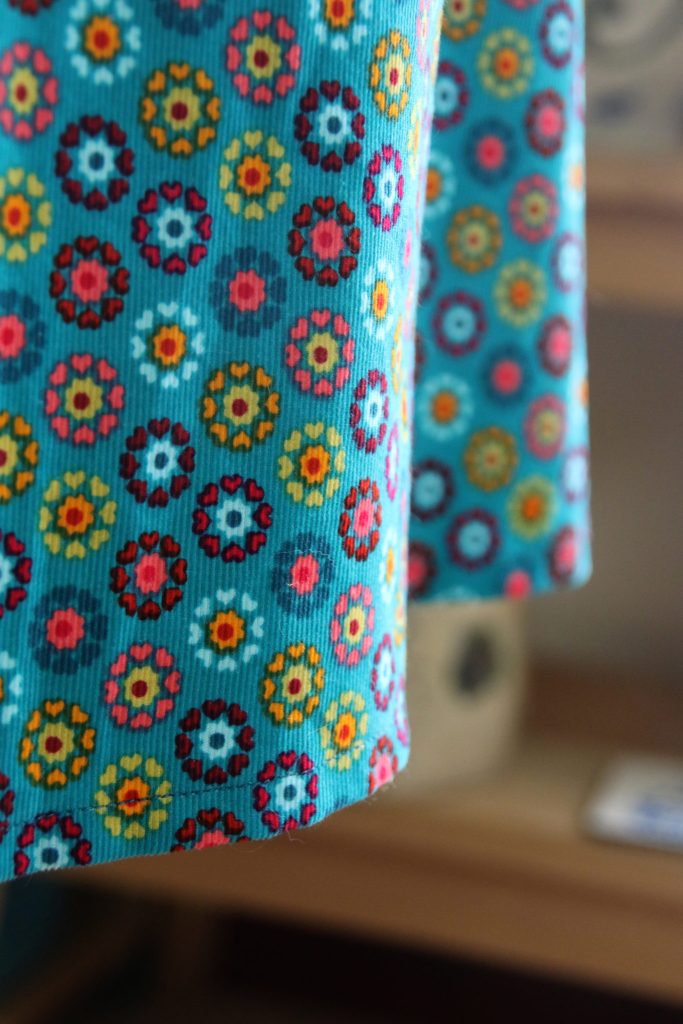
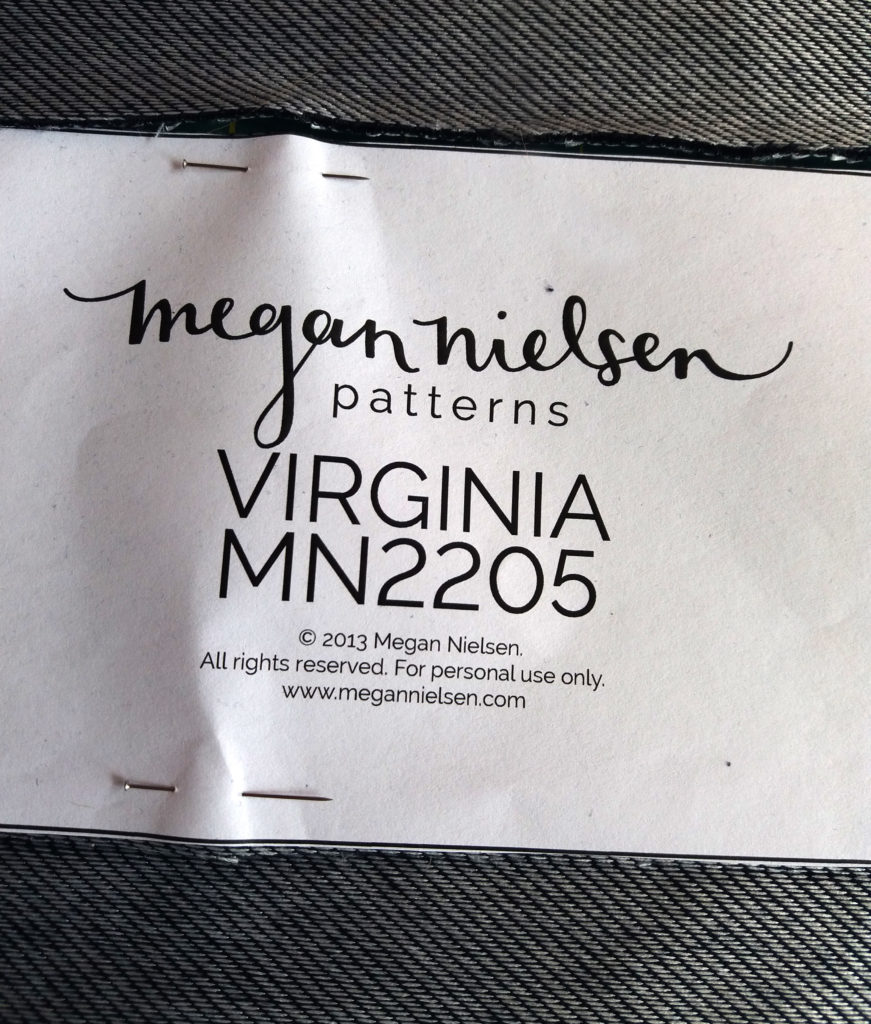
#sewmystyle – March – Virginia Leggings
I missed the #sewmystyle March project share last Sunday as March flew by at an alarming rate! I set aside time this week to catch up instead. (more…)

#sew my style – February – The Saunio Cardigan
February has whizzed by, and I was slightly concerned about getting the second Sew my Style make made in time for the end of the month! However, I did not have to worry as it turned out to be a relatively simple make, even if it was with knit fabric. (more…)
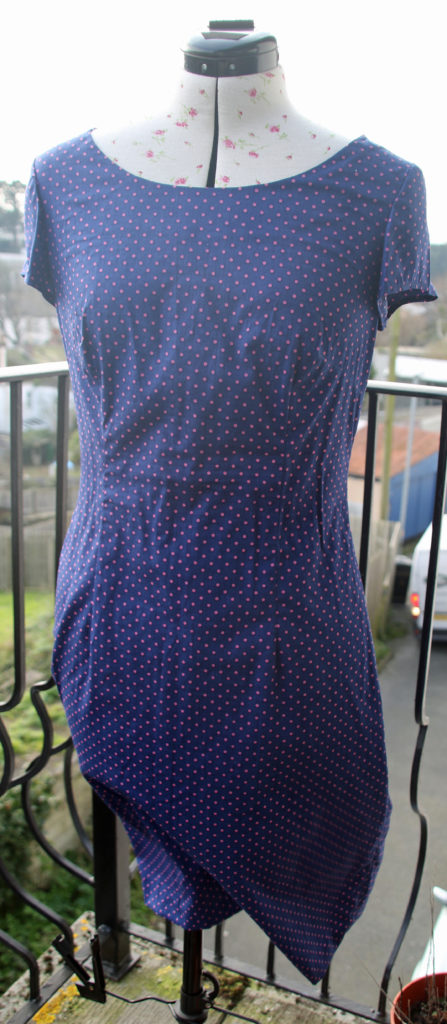
Polka Dot Shift Dress
For the last few weeks, I have been going to some dressmaking classes nearby. I thought it might be useful for learning how to adjust and adapt patterns, as this is something I don’t do very much of. (more…)
#sewmystyle – January
Here is my first make as part of project #sewmystyle The first pattern was toaster sweater 2 by Sew House Seven. This is not a pattern I would automatically choose myself. However, the whole point of completing this challenge is to move out of my comfort zone! I chose a red jersey fabric from a local haberdashery. This fabric was sturdy, which works well to maintain the neck collar. The instructions are detailed well. I used the pdf version to save money and found that using a guillotine sped along the cut and stick stage! Another new product I tested with this make is using carbon paper, which revolutionised the cutting stage! It is much faster as I did not have to trace my size and then cut it out before pinning it on. Tilly and the Buttons have a great tutorial on how to use it here. This was my third attempt with knit fabrics and I decided to use my overlocker for the seams round the shoulders and down the sides. I was quite nervous using it as it trims at the same time, leaving little margin of error! However, it does a great job as it feels less like you are going to stretch the garment out of shape! It's very quick too. The main issue I had was with using a twin needle. I adjusted the tension and used knit hemming tape alongside a walking foot, but I think that a stretch or ball point twin needle was needed. I wasn't sure about the dropped hem at the back, but now it's made, I like this feature. Overall, it was a great make and I look forward to starting February's garment; the fabrics ready and waiting!
Cosy Winter – the Ivy pinafore
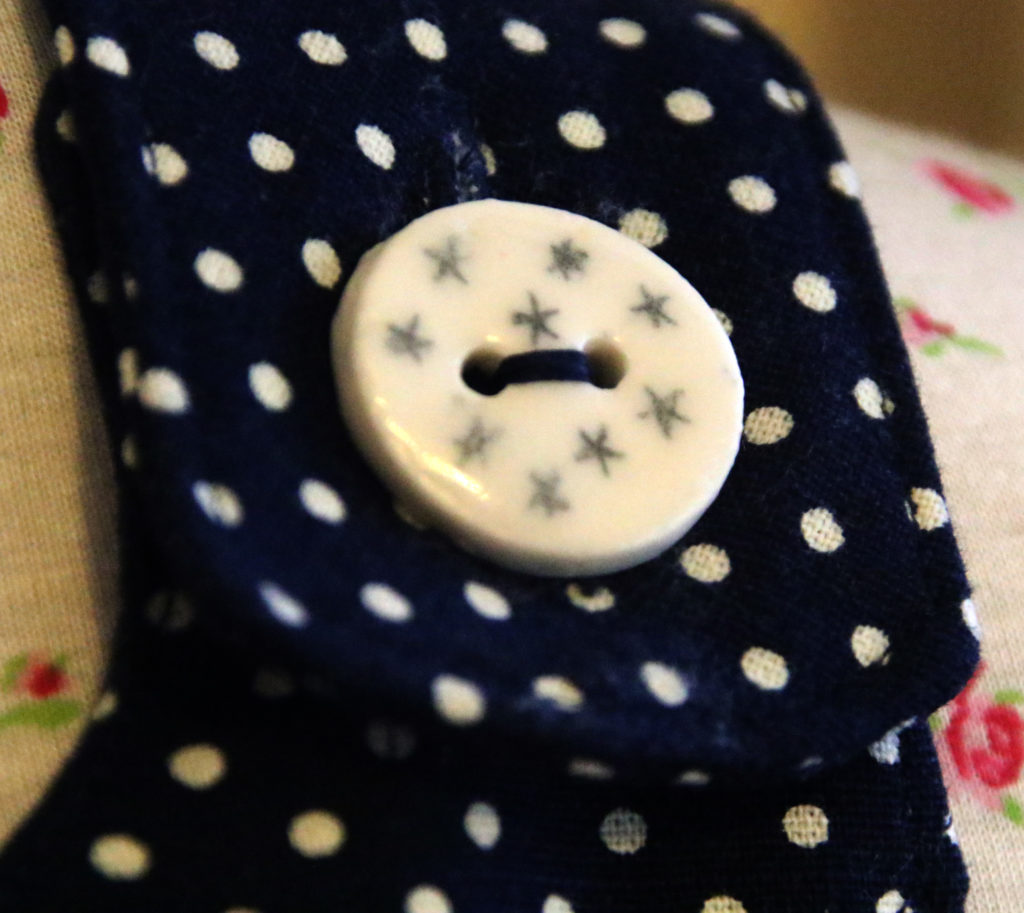
I've been enjoying a bit of dressmaking this month and am finally cutting into some fabrics I bought in one go for numerous projects. One piece of fabric was some navy polka dot cotton bought especially for the ivy pinafore pattern by Jennifer Lauren. One worry I had at the very beginning was that I didn't have enough fabric. The pattern for view 1 advises to purchase 150cm wide fabric, and my own fabric was 115cm after pre-washing. However, my fabric did not have a one way nap or design, so i was able to re-jig the cutting layout plan, which reduced fabric waste as well. I may have enough to make a tote bag too at some point! I still have my stash of ceramic buttons from taking pottery classes last year, and have only used one so far, so I wanted to use some of these if possible for the fastenings. The pattern suggests larger buttons, and I was worried that they wouldn't be big enough. However, I left worrying about this until the button hole stage came up, and decided that my own buttons would work well. It's a real buzz to see my own handmade buttons on a garment! I selected a traditional lining fabric for the lining, as I wanted this make to work well with tights, leggings or jeggings. It was a little tricky to work with, and I ended up hemming the lining by hand, but I think it means I will get a lot more use out of it! It's a real joy to wear this garment. It's loose fittings with seam pockets, which makes it a great lazy Sunday wear when all I want to do is sit in my rocking chair and knit or crochet with a cup of tea! I can imagine wearing it out on a walk too, when I am on the hunt for discarded rusty items to use when rust dyeing! It's definitely a make reserved for my days off! I'll have to try out the gable top sometime soon as I only have one top that goes nicely with this pinafore! The gable top has a high neckline, which works well with this style of pinafore. Looks like I will be getting the walking foot and ball point needles out very soon!
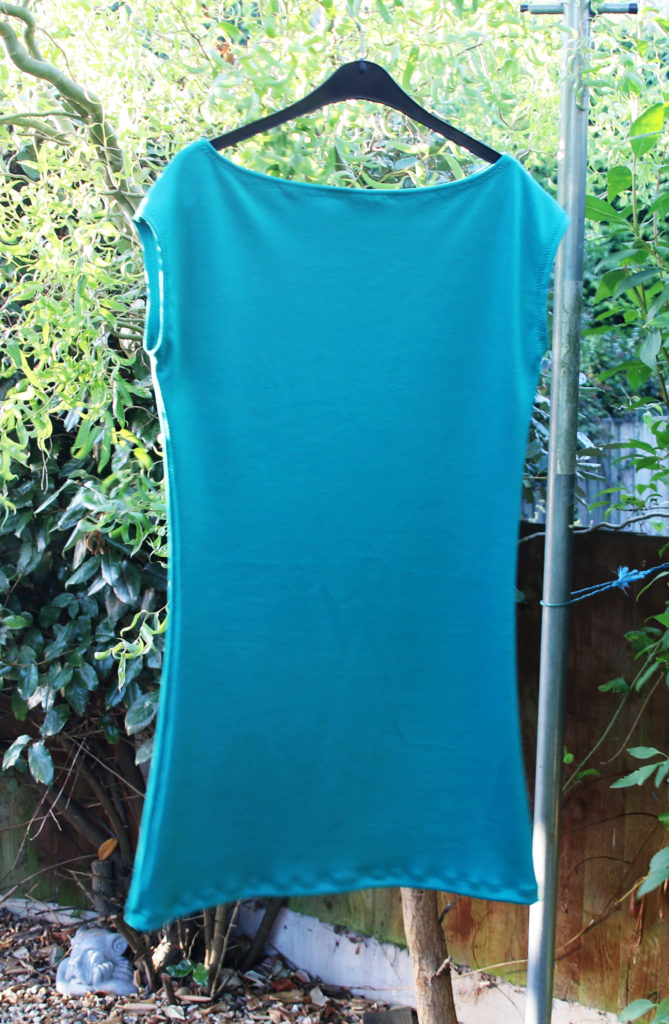
The Walkley Dress
While on a bit of a dressmaking roll, I decided to delve back into the realm of knit fabrics. Having only made one successful garment with knit, I decided that I wanted to keep the pattern as simple as possible. The simple question for this project was The Walkley Dress by Wendy Ward MIY. This pattern requires two pieces to be cut out of your fabric, and they come from the same template. If you're lucky enough to have 150cm wide fabric, you only need a metre! In this instance, I already had some fabric ready and waiting - a remnant from a fabric shop! Setting up the machine proved the most difficult part. It's been about six months since I last tried a stretch pattern, and it was a challenge to set up my machine. Following the advice from the pattern, I opted for the small zigzag stitch for the seams, and the three stitch zigzag for the hems. In addition, I attached a walking foot to my machine and loosened the pressure of the presser foot; without these adjustments, my machine did not want to stitch! Originally, I planned to try a twin needle on the hems, but I managed to break my stretch needle one a while ago and haven't replaced it yet. It turns out that I keep loosening the needle whenever I attach the walking foot to my machine! I didn't colour match the thread for this garment as I had recently acquired a set of threads in different colours (none of which were a perfect match) and I didn't want to go out and buy more supplies on this occasion. The downside to this is that the hemming is a lot more noticeable than it would have been. Also, I stretched the hem a bit while stitching (I did the hem before the neck and armholes). I didn't have any stay tape or stabiliser, which could have helped to prevent this, but I did adjust my stitching technique to decrease the amount of stretching after noticing the issue on the hem. The neckline is quite wide (though this could be in part due to my stitching ability!) but it's really comfy and it is definitely a pattern which provides you with fast results which are satisfying! It's a brilliant 'first knit' pattern too as there aren't too many steps or seams to stitch which means you can focus on working carefully with the knit medium. I think next time I use this pattern, I will definitely try out some knit stay tape to ensure that the garment lasts a long time. Also, I think I may opt for a patterned material. I think I will give this pattern another go with the lessons learnt from this occasion in mind! As it only requires a metre of fabric to create a whole dress, and can be made in less time than a lot of the other patterns I have, I think another one will be made! As…
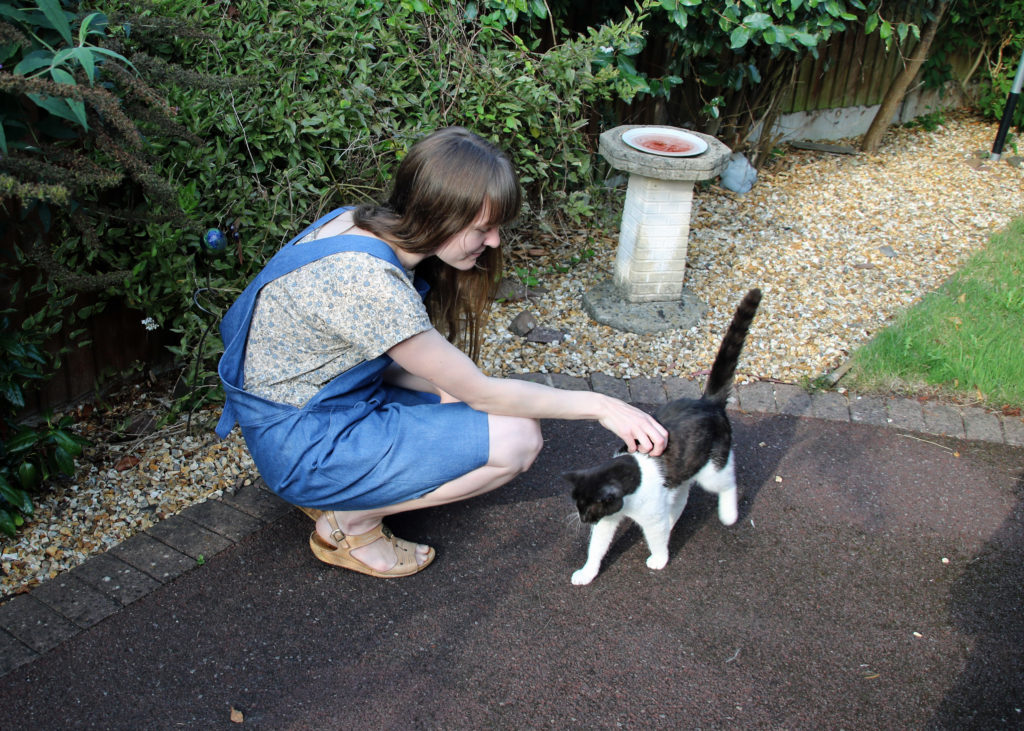
Dungarees!
When I took part in the #miymarch16 instagram challenge, I put down this dungarees pattern as my sewing ambition (new Burda 3779). I bought the pattern from a charity shop for £2 just over a year ago because I loved the idea of making some, and bought some denim shortly after. However, the amount of pieces in the pattern felt overwhelming, and I couldn't get started. A couple of months ago, I asked my mum if I could bring along the pattern and fabric when I visited her to see if she could encourage me to get started. Over the weekend, I managed to trace the pattern, pin it onto the fabric, and then cut it out. One of my main worries was altering the pattern to my size. However, we decided that as it was designed to be very loose fitting, I could cut it a size smaller than usual, which would ensure that the bottom half would not be too baggy! I didn't manage to pick it up again for about a month after this visit! Feeling that I still needed a boost, I went back to my mum's for a crafty retreat to get the pattern finished. It wasn't as bad as I thought it would be. When I attached the bib section to the shorts, it didn't provide a completely sealed finish, but I think I might have misread it. I would plan to take steps to create a better finish next time. Also, the inner sides of the bib are tacked in place and then secured by edge stitching and top stitching. However, I decided to slip stitch it in place by hand to secure it before the two rows of machine stitching. The braces were simple to attach. The buttons have to be hammered on, but in my view, this is much easier than stitching button holes and working out where to place the buttons on the straps! There's the added benefit that you can adjust it to size. The pleats on the front were also a worry, but turned out to be really simple to complete. They were more like tucks. The denim material is so sturdy that it was easy to tack in place and press well at every step. I think these may become my 'uniform' for craft days! I think I will have to make a trouser version for the winter though (I'm already imagining some navy polka dot material which could be used for the second pair...)Harry did become jealous of the sewing project during its production, and kept sitting or laying on the instructions. When I moved the instructions out of the way so he couldn't make any further holes in it with his claws, he decided to settle on the garment instead!
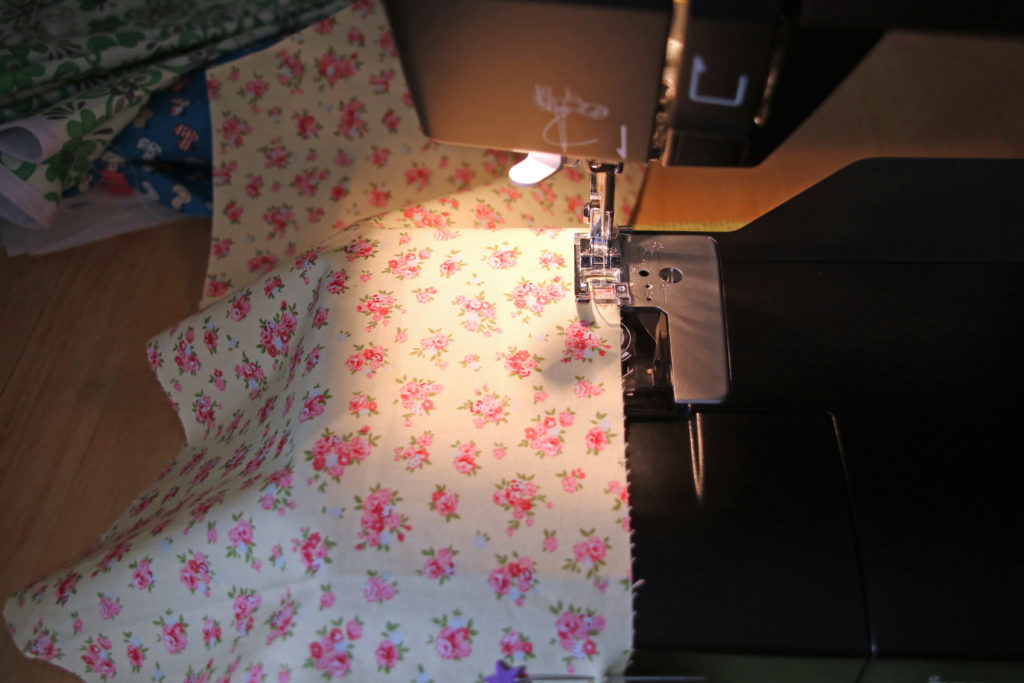
Completed PHD: Pyjama pattern from The Makery
After a review of my work practices, I decided that it was time to stand up and confront my PHDs (projects half done)! The list of incomplete projects is threateningly high so I decided that this list needed to be dealt with (or at least cut back a bit!) Enter Simply Sewing Magazine's exclusive pattern from The Makery - pyjamas. I think I began this pattern last August and then became distracted by a looming deadline for something else. I'd cut all the pieces out and even sewn a couple of sections for the shorts but then put it away until now. This project has been a good introductory one for tackling the PHDs because as the cover of the pattern boasts, it's an "easy sew". I was a bit thrown off by the shorts being made out of two pieces instead of four, but once I got my head around it, the pattern was even easier than anticipated. I haven't done much gathering, and I feel that it shows on the final piece. However, as they are pjs, this doesn't matter much and it's been a good way to practise gathering as a skill. The gathering works well for shaping, and personally I think the fit is good for this make. I could have done with cutting the ribbon for the shorts waistband a little longer than instructed. I needed assistance for fitting the straps as well. Overall, a lovely weekend project!
#mmmay16 – Me Made May and the versatile wardrobe
Me Made May is an event created by Zoe from So Zo... 'What do you know?' to encourage people to wear the clothes they make, whether this is through knitting, crocheting, sewing, weaving, etc. It's designed to motivate crafters to celebrate their achievements and confront any perfectionistic thoughts which may be keeping some garments in the back of the wardrobe! There's no pressure to wear something everyday, or to charter your progress through social media. The challenge is an individual one set by you. I didn't officially sign up this year (mainly because I didn't read the post properly to see that you needed to add a comment to sign up) but went along with it anyway. The challenge I found with #mmmay16 was that I have made a lot of summery dresses and May in the UK this year has been quite cold at times! I did set an achievable goal - to wear something me made on a couple of days each week in May - but I found that the most versatile garment in my me made wardrobe is the knitted cardigan I made 3 years ago in double knit weight yarn! The second garment I wore the most was the top I made as part of #miymarch16 for the knit material day. This top was great as I could layer it up depending on the weather! Other items I wore was the dress I made during #miymarch16 and the wrap skirt, which was good for the warmer days of the month! This challenge has made me reflect on the type of garments I make. I can see that although it took a good couple of months to make my knitted cardigan, the pattern was a good one and I wear it a lot. Also, I have tended to stick to simpler patterns with easy to use fabrics which are more suitable for hot summer days in my dressmaking experience. As a result, it looks like I need to diversify my dressmaking challenges. here are the ways I am going to do this: Make more tops in knit materials Make more tops in specially selected materials Make more items for all year or in particular Autumn, Winter and Spring Learn to make fitted trousers Make more knitted cardigans! It will be interesting to take part next year and see if there's any progression!