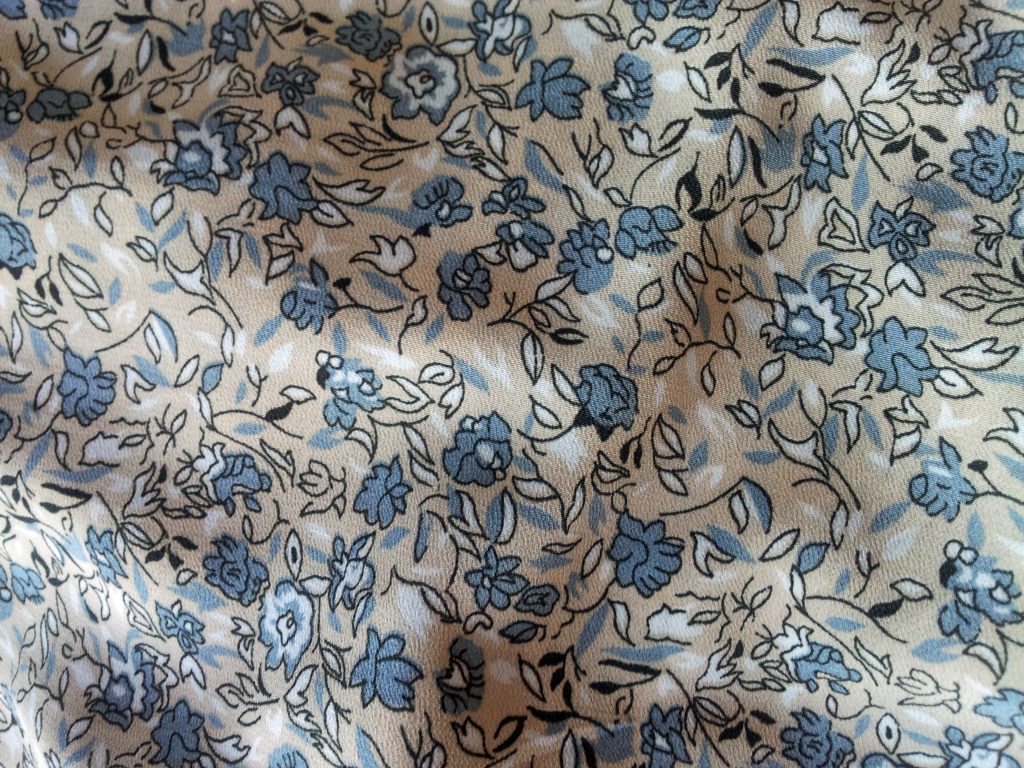
The Poppy Playsuit

Once again, it’s been a while since I’ve had another go at dressmaking.  I remedied this by combining a recent pattern in Simply Sewing with a recent material purchase!

There’s a lovely charity shop nearby who sell craft supplies.  I was very lucky to go into the shop when they had a material sale on, which meant I got two fabrics for the price of one!  One of the fabrics I came across is this lovely one above.

I am not sure what type of material it is, but it drapes well and there was enough to try out the Poppy Playsuit by Sew Over It, which came with issue 16 of Simply Sewing.  The main criteria for the material for this pattern was one which drapes well so I had the perfect match!

This is the first pattern I have tried making a basic alteration with.  I found that the bust and waist measurements were close enough to one pattern size, but my hips definitely needed a smaller size.  The pattern pieces did not highlight where the hipline was, which was a shame, but I still made a basic alteration from the waist to one of the notches which I felt was close to the hip measurement area.

The fabric was a challenge to cut out as it moves easily – I found that pattern weights and then pinning it helped.  The pattern’s instructions suggested pinning the edge of the fabric too, which was a useful tip.

As I was concerned about the material moving too much, I pinned and tacked at every stage.  Tacking increases the time considerably, but it did mean that I didn’t have any major unpicking sessions!

The pattern directions are clear and and concise.  Key terms are defined, which saves a google search part way through your make!  The only section I had to re-read again was how to do the turn-ups, and they turned out to be really simple once I focused on the directions carefully.

The only bit of unpicking I had to do was related to the hook and eye.  I attached the hook so that it would meet the edge of the right hand side opening.  This caused a gape in the material when fastened.  I changed this by placing the hook on the very edge of the right hand side opening and put the bar further in on the left hand side.  Also, I didn’t read the pattern carefully when attaching the facing and did a 1.5cm seam allowance instead of 1cm!

I was surprised by how long it took me to make this item, but that’s mainly because (a) I’m rusty at dressmaking and (b) the material required more care than a standard cotton or linen.  However I think it’s well worth it and I look forward to some warmer weather soon so I can wear it!!  I would definitely complete this pattern again, and I expect I would find it even easier and faster second time round.

Although it took some time, this pattern is great for beginners because (a) there are only 4 main parts to the pattern, (b) no darts, (c) the shaping and fastening is the hook and eye and elastic casing at the waist, which means no zips or buttonholes.  The fabric really helps to define its shape, so as long as you get that right, you’ll end up with a lovely addition to your wardrobe!

Continue ReadingThe Poppy Playsuit

My first sew with knit material – the simple top

Here is another make from my #miymarch16 activity!

IMG_20160324_224240

To ease my nerves, I read up for some basic tips on sewing with knit fabrics with the help of Tilly and the Buttons’ blog post and Smarmyclothes’ youtube video.

The pattern – McCall’s 9399

top pattern

I got this pattern in a charity shop for a bargain price – I’m not even sure I paid the £1.99 penned onto the front!  I chose design E as I quite like a high-ish neckline, although I was tempted by the asymmetrical option, and H, which has a slightly lower neckline.

I didn’t want a complicated first knit project, so I felt that this pattern would be simple enough to give it a go without using too much material and time immediately.

I needed only a yard of material for this project.  I used a stretchy material I bought from Fabricland a long time ago but hadn’t gotten around to using so I was very happy to finally bust this one out of the stash!!

The pattern suggested a double hem.  Baffled by this technique, I searched online and found this tutorial to be useful in defining what it is.  Knowing I had a twin needle, I thought “yeah!  I could do that!” and set to work to make it happen.  However, after hemming the neckline, I realised that the bobbin thread was way too tight and and broke when I stretched the material.  I searched online to find out how to resolve this new issue and came across Mariadenmark’s useful post.  This enabled me to realise that I needed to increase the upper thread tension to make it work (I didn’t use interfacing as I don’t own any for knit fabrics – yet).

Things I learned from this project:

  1. Prior research helped a lot! If I hadn’t learned the basic tips of how to prevent it stretching, the needle to use, and the stitch types which can be used, I would have been stuffed as I would have been easily mislead by the pattern’s instructions and guidance as it looks like they suggest a straight stitch…
  2. The double needle gives a nice neck edge – but it takes time to get the tension right for it to work!
  3. Use a knit machine needle!
  4. There are various stitches you can use for knit fabrics. I thought I would opt for the standard zigzag, but when it warped the shoulder seams a bit, I found that the three stitch zigzag worked much better for me and the material I was using.


Continue ReadingMy first sew with knit material – the simple top

#miymarch16

#miymarch16 may have been a couple of months ago, but here are the resulting images I posted from it below.

Make it Yourself March is an Instagram event.  It involves posting an image based on the daily photo prompt – a list can be found on Wendy Ward’s blog from this year.

New to Instagram, I found this event coincided beautifully with a couple of my goals – to become more familiar with using social media and to push myself to create more.  It was a great way to be inspired by fellow dressmakers.

Instagram is an easy form of social media if you have a smart phone and I’ve carried on using it since.

During March, I made 4 dressmaking items, completed upcycling projects, planned future projects, made gifts and machine embroidered.

Continue Reading#miymarch16