For the last few weeks, I have been going to some dressmaking classes nearby. I thought it might be useful for learning how to adjust and adapt patterns, as this is something I don’t do very much of.
For my first piece, I chose a pattern I had tried before nearly 4 years ago in my earlier days of garment making. It’s a shift dress from a Prima magazine in 2007. The tutor had advised to use a simple skirt or shift dress pattern, so it fitted the bill.
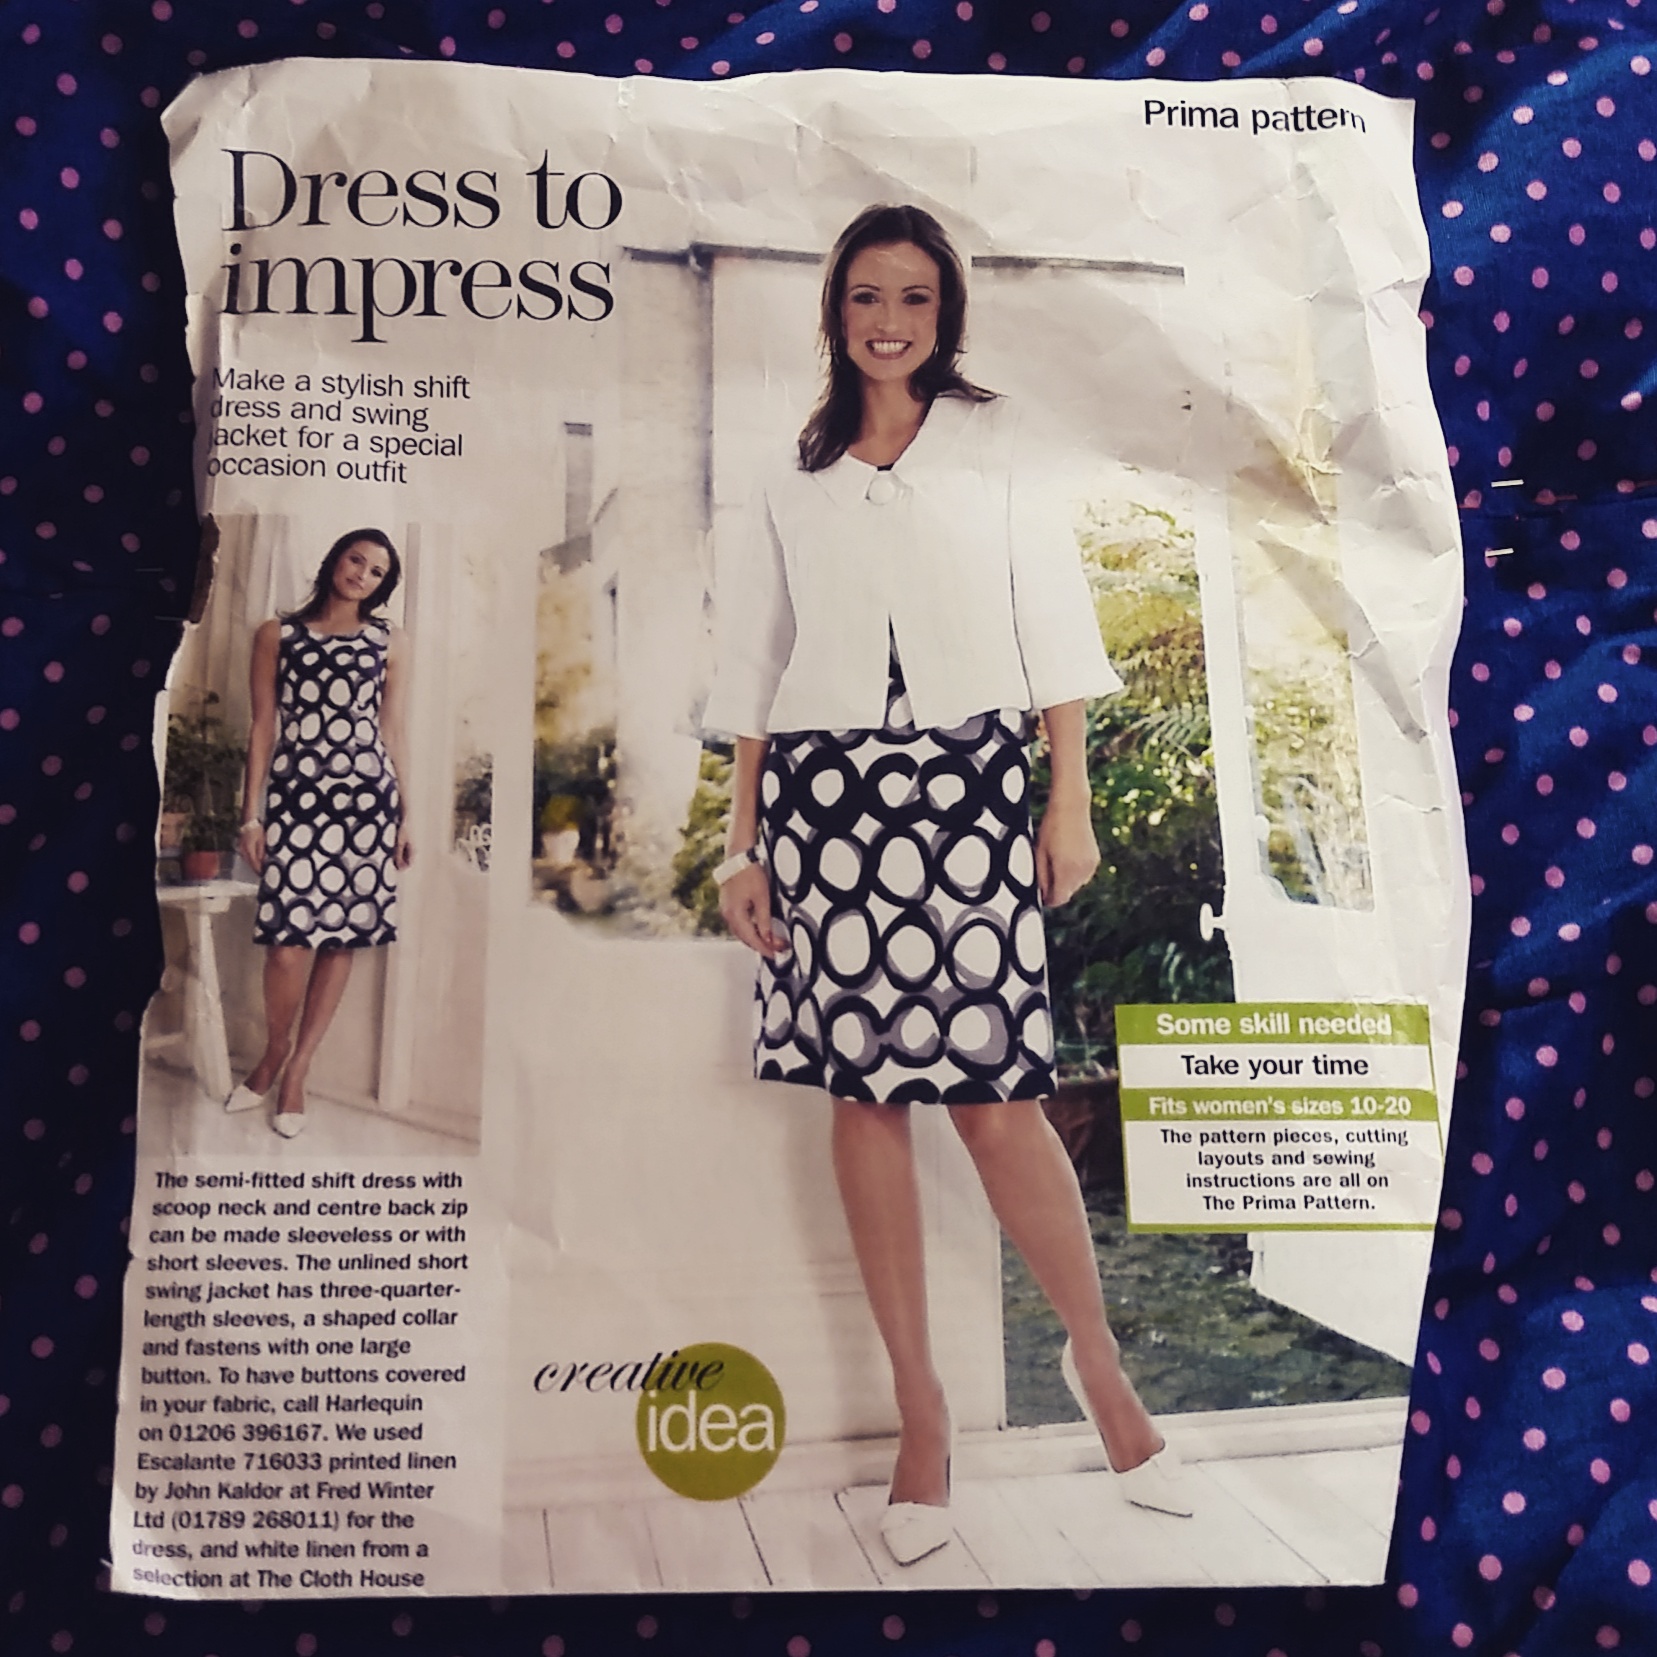
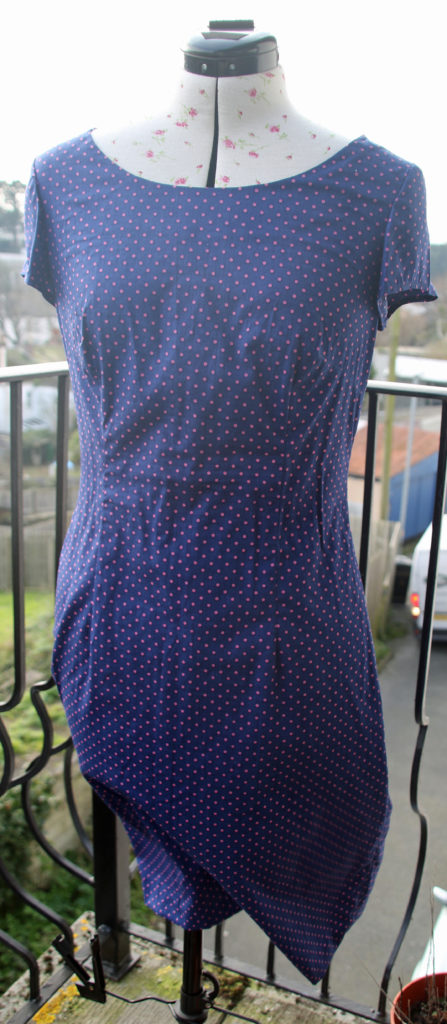
The first dress I made was sleeveless (mainly because I had bought a remnant which was not big enough to cut out the sleeves too). This time, my piece was big enough to make the short sleeved version.
I chose a light cotton weight polka dot fabric I had purchased at a wool shop. This is likely to crease while wearing it, but it was a good price and I didn’t want to spoil any really expensive fabric.
One great advantage in a sewing group is that someone is there to help pin up the back when you tack the pieces together to check the fit. I must admit that this was the main difference between my own sewing at home and sewing in a class – I didn’t skip this step (although we did actually tack to check the fit all those years ago when I made the sleeveless version). It turns out that I am a relatively standard size. There was a slight adjustment in the back seam where the zip goes, but the darts were in the correct places anyway. This may be why I haven’t had to make many adjustments so far.
The tutor loves to put in the zip after stitching the seams, contrary to the instructions, which is fine but made it a bit more challenging to insert. I stitched too close to the zip as well, which means it’s not covered very well and there’s the odd pucker. Also, when I’ve tried sleeves in the past, I normally had to create a loose stitch to ease it in, but the tutor simply pinned it in place for me to tack then sew. I’m not completely sure about this method and think I might stick to the additional stitching assistance for any projects at home.
I was going to wait until the next class before hemming the dress, but seeing as there is only another 5 sessions left and I have another project lined up which would benefit from additional guidance, I chose to hem at home. Hemming in a class situation is ideal as the tutor can pin it for you, but I have a lovely tailor’s dummy in my home, so I took advantage of the hem attachment on it. I hand stitched the hem instead of top-stitching, as I’m getting fond of this hand sewn element!
So the dress is complete, and while I am disappointed with the zip, it’s not too bad. As a pattern, I think it’s a great staple to your collection, if you happen to have a copy or find one in a charity shop. It is not as descriptive as other patterns (it doesn’t remind you to understitch, for example) but does provide guidance on inserting zips if you were making it at home alone. It’s a very summery make though, so I suspect it may stay on my tailor’s dummy for a while… (it was a windy day when I took the photos!)