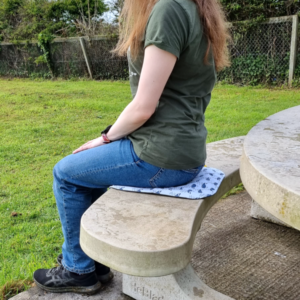
I haven’t sewn a lot recently but this project had been on my mind for about a year, and I finally made it happen recently!
I expect it was inspired by all the outdoor catch ups during the pandemic. However, I thought it’s still a useful item to make for yourself or a great and fairly simple gift to make for someone else.
What you need
- 1/2 metre Main fabric for the top – a sturdy fabric like cotton duck
- 1/2 metre Insulated wadding – to help provide some insulation
- 1/2 metre waterproof fabric for the base – I chose a 600 dernier canvas-like fabric as I hope it will provide some longevity
- 30cm of strap – I used herringbone twill tape as I had it to hand, but webbing might be more robust. If you have neither, you could make a strap from leftover fabric
- Matching thread
A quilting foot and temporary fabric spray are useful for the quilting stage but not essential.
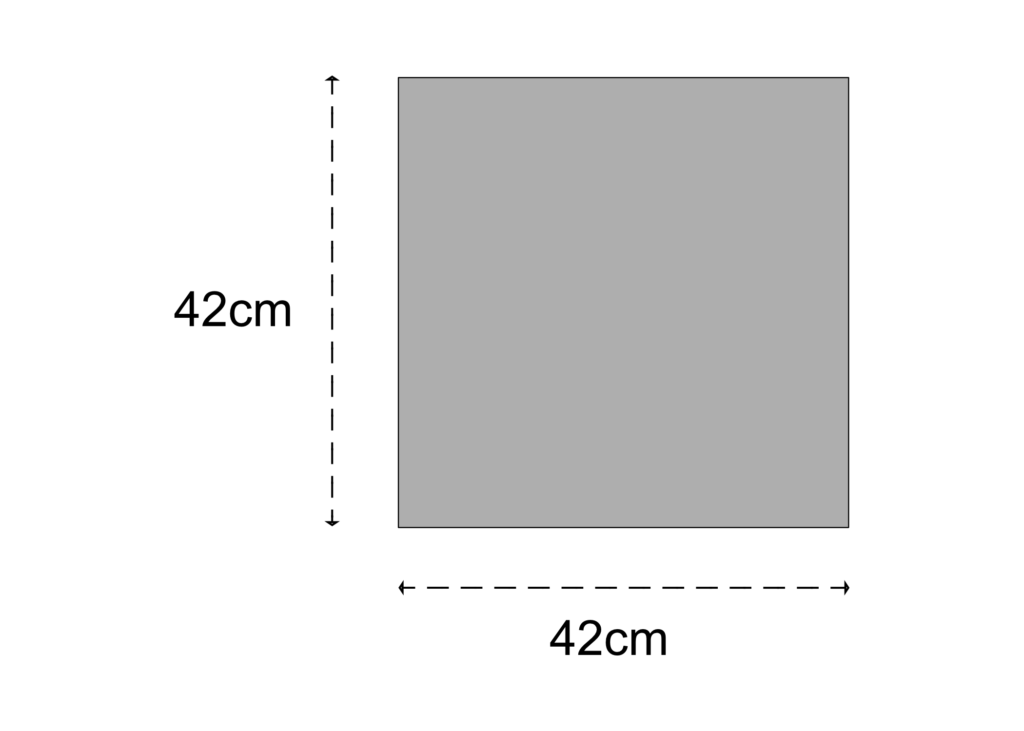

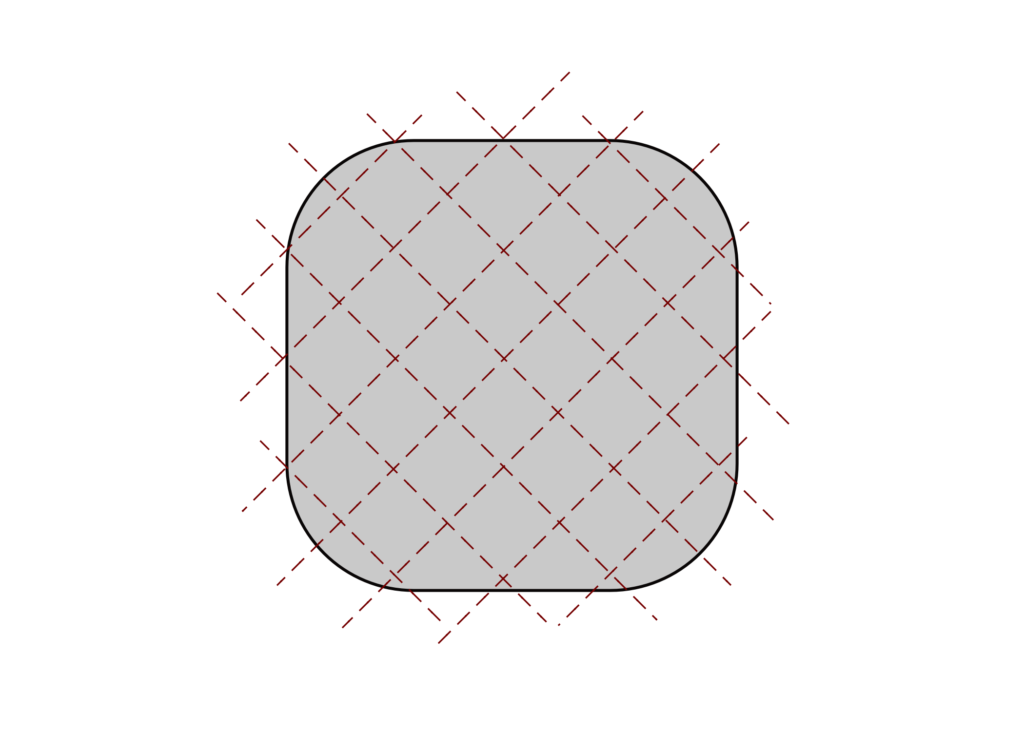
1. Make your template
I’ve popped down how I made my template but you could make it another shape, such as a circle!
Draw out a 42cm by 42cm square on paper. Use a side plate to curve the corners. Cut out.
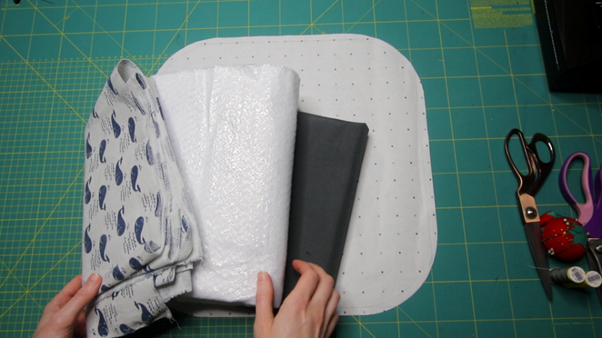
2. Cut out your pieces
Now you have your template, you need to cut out:
- 1x top piece
- 1x of waterproof fabric for the base piece
Once the top piece is cut out, either attach it to your wadding with pins or temporary adhesive spray and cut out.
3. Quilt the top layer to the wadding
Mark out a quilting pattern of your choice depending on the fabric and stitch the two layers together. You may find a quilting foot handy for this step.
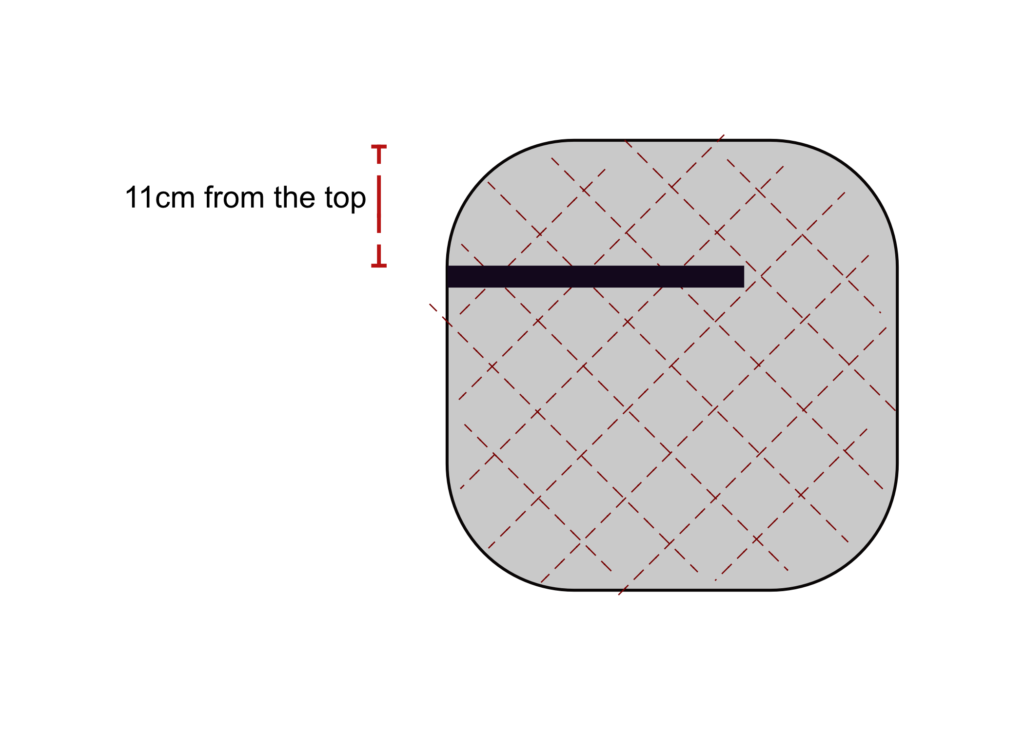
4. Attach the strap
Once quilted, position the webbing on one side overlapping the edge slightly, about 11cm down from the top. Stitch to secure just within the 1cm seam allowance.
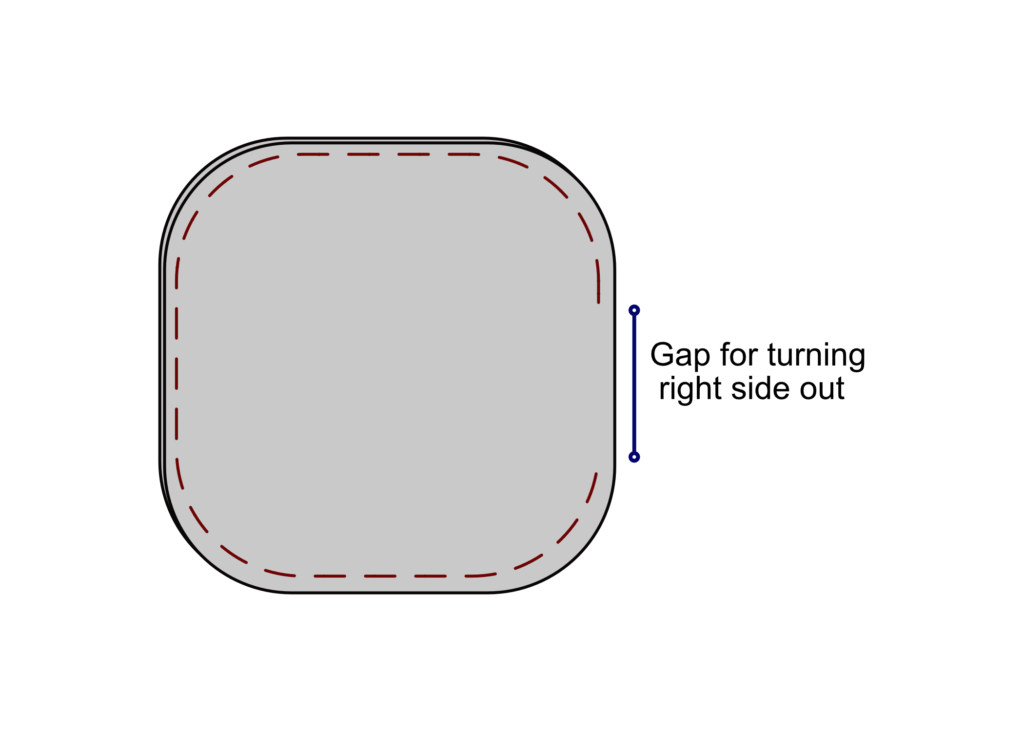
5. Stitch the front and back pieces together
Place the front and back right sides together and sew around the edges, leaving a 10cm opening on one side. Trim the seam allowance on the corners (or use pinking shears) and turn right side out.
Hand stitch the opening closed with slip stitch. With the top side on the top, carefully press with an iron.
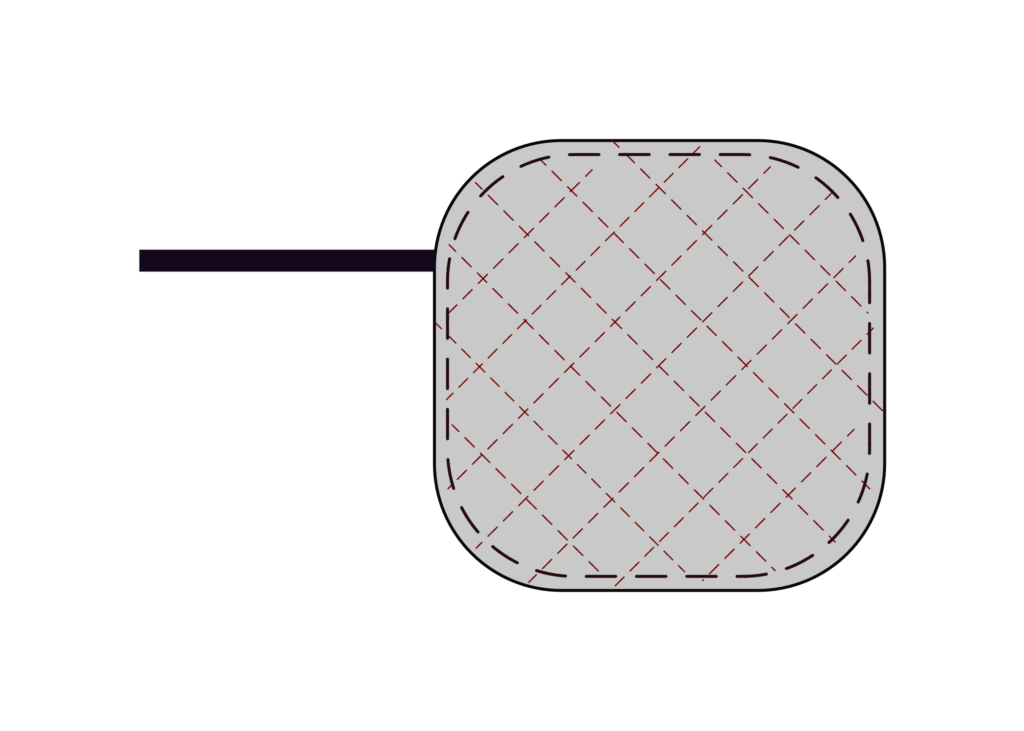
6. Topstitch around the edge
Top stitch around 1cm from the edge all the way around.
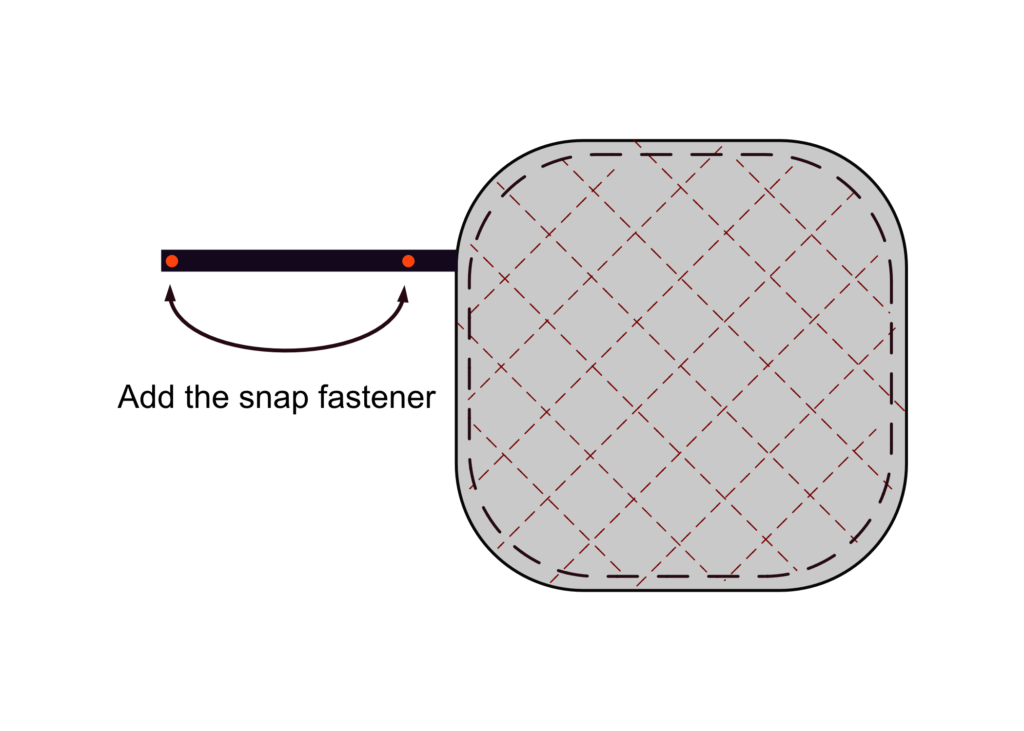
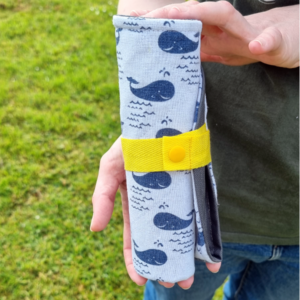
7. Finish the raw edge of the strap and add the snap fastener
To make the strap, fold the mat in two with the base on the inside, and so the bottom meets the top edge. Starting from the side without the strap, roll the mat up, and then wrap the webbing around to see where you would like to add the fastening. For me, I chose the tie to be 25cm in length.
To reinforce and hide the raw edge, I cut the webbing 4cm longer than I wanted the tie. I folded up the end by 2cm and then folded once more by 2cm and stitched in place close to the folded edge on the inside.
I then attached a snap fastener in the middle of the folded area of webbing, marked the placement of the other side of the fastener and attached this as well.
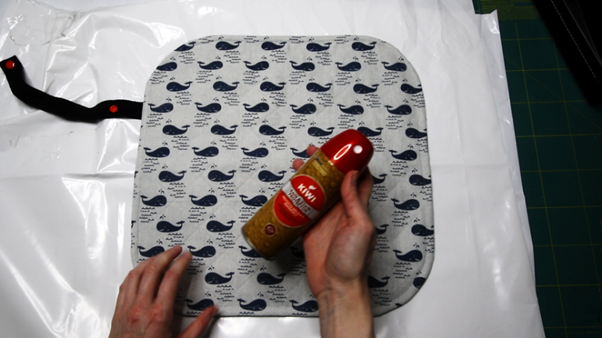
8. Spray rain and stain protector on the non-waterproof top piece (optional)
Finally, an optional extra, I used a spray to protect the non-waterproof side from getting too mucky.
Watch the tutorial
You can watch a video of me making it here:
Great Idea Chloe, Be really useful at the Beach Hut for the kids to sit on the chairs or decking when they are wet from being on the beach. reversing the role to stop water getting onto the chairs as opposed to stopping people getting wet from a wet seat. Good to put on the car seat to if have to get in the car wet. Endless possibilities