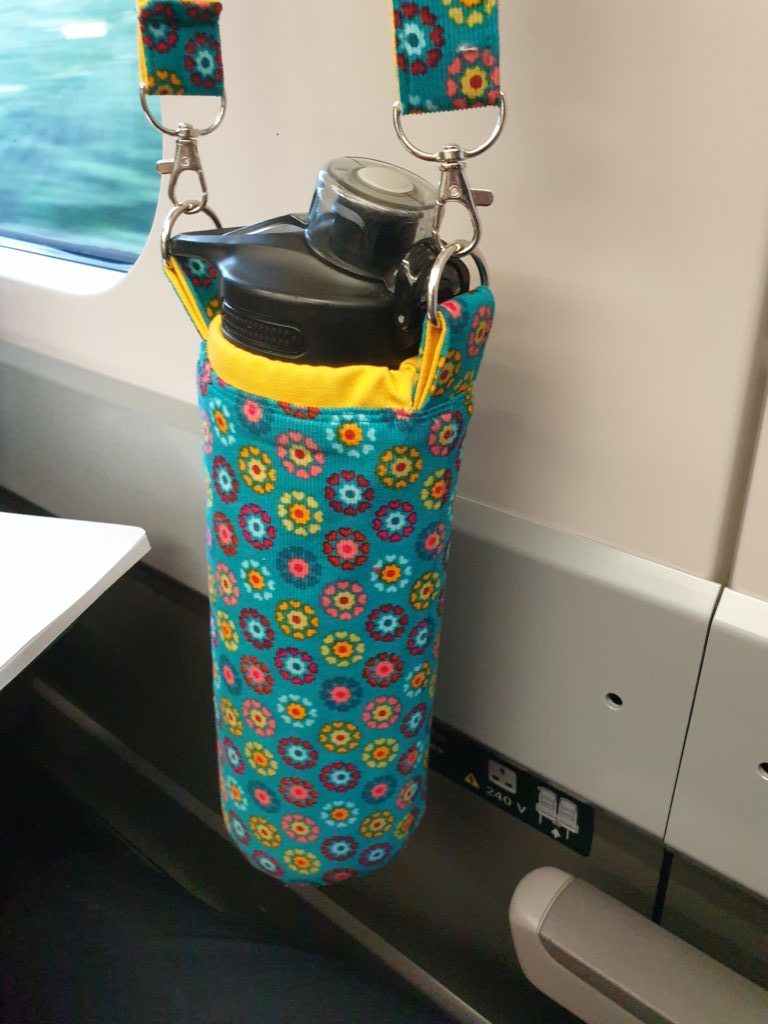
Today I am excited to (finally) share a tutorial I filmed a while back! It’s a water bottle carrier which I use practically every day. I thought it might help someone else who would like one or wants a gift idea!
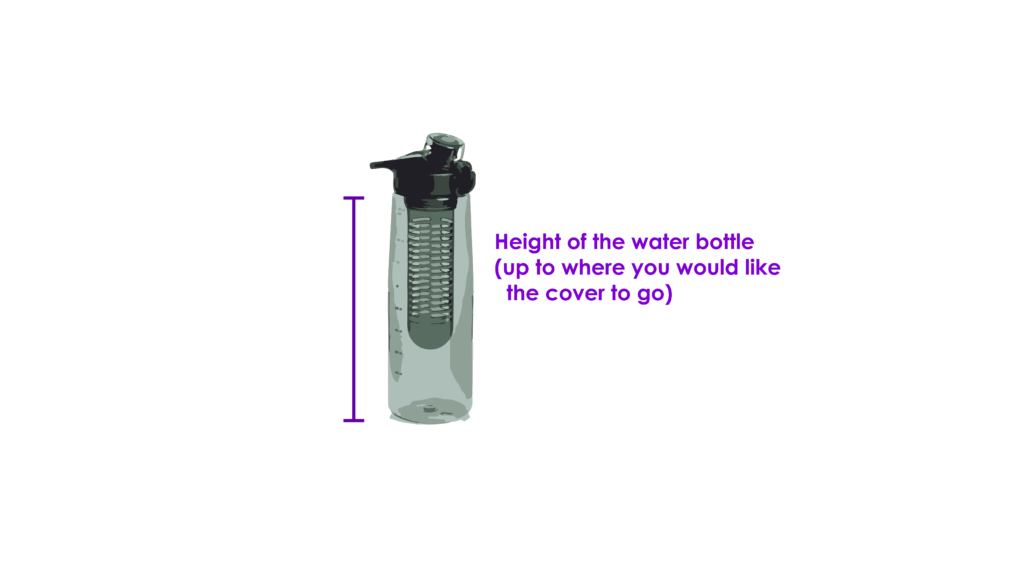
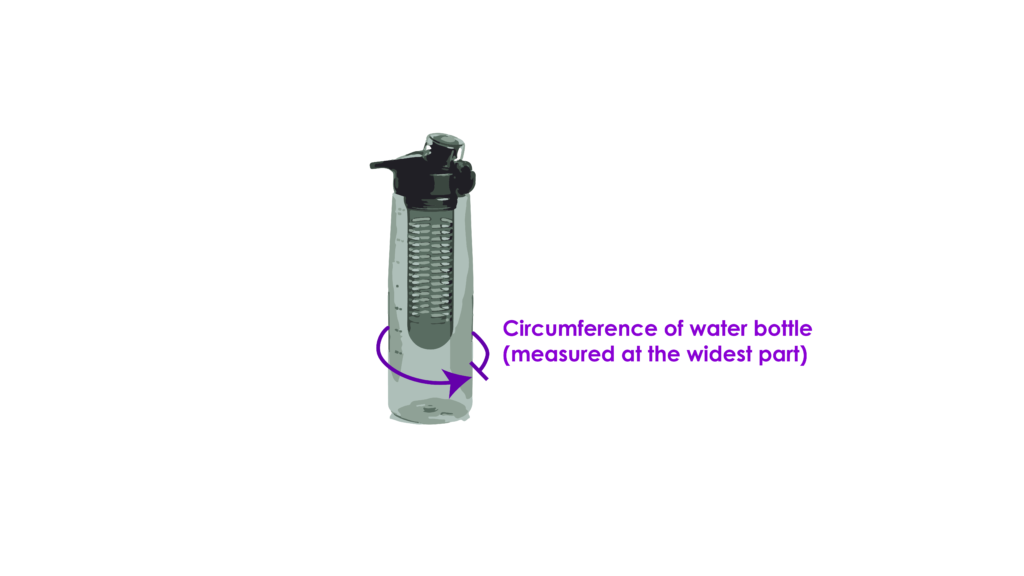
1. Take your measurements!
There are so many water bottles out there, I could not do a generic pattern for this as I wanted a brilliant fit for the one I tend to use. The key measurements you need are the height you want your finished carrier to be (by measuring the height of your bottle) and the circumference of your water bottle at the widest point. Not all bottles vary in their shape, but mine was certainly wider at some parts than others!
2. Gather your resources and cut your pieces
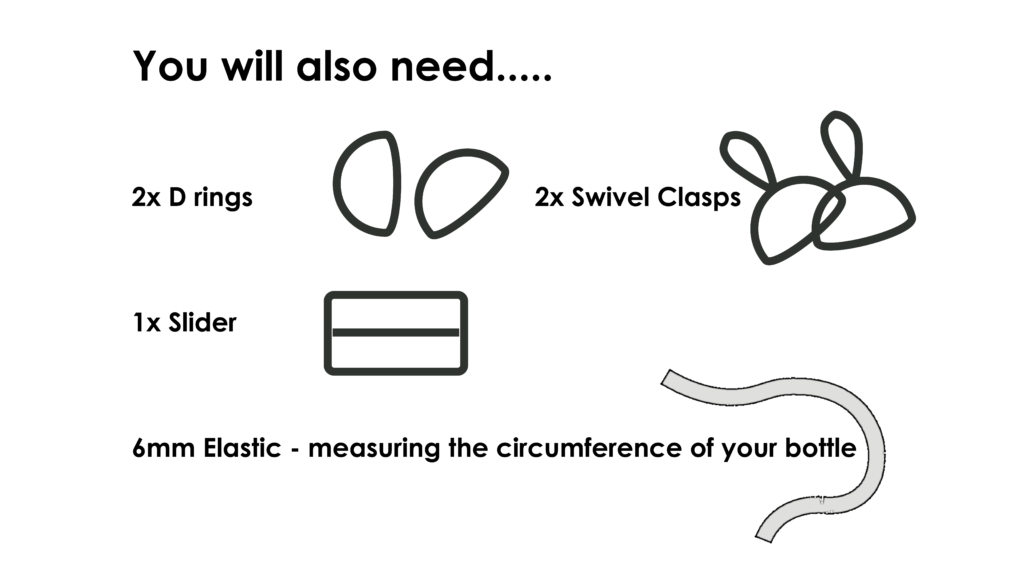
Things you will need:
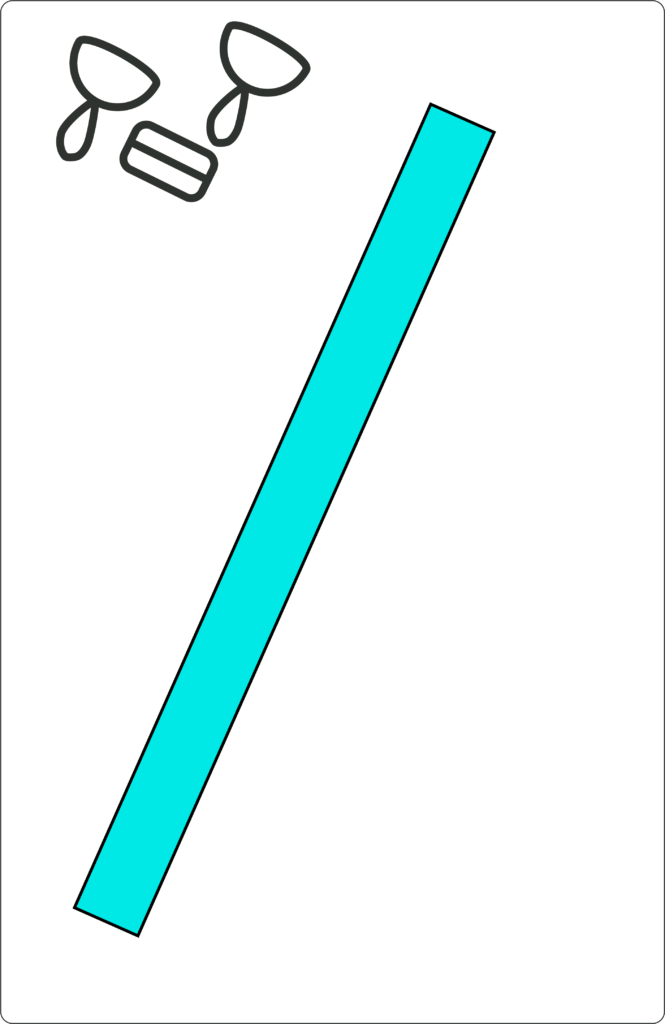
- 2 D rings
- 1 slider
- 2 swivel clasps
- 6mm (1/4″) wide elastic – enough to fit the top edge circumference of the water bottle
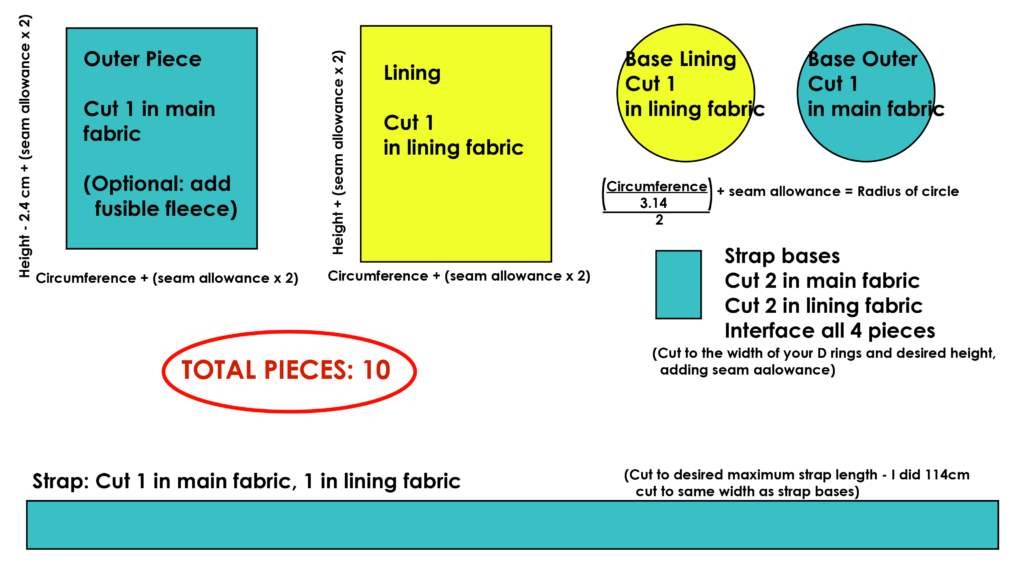
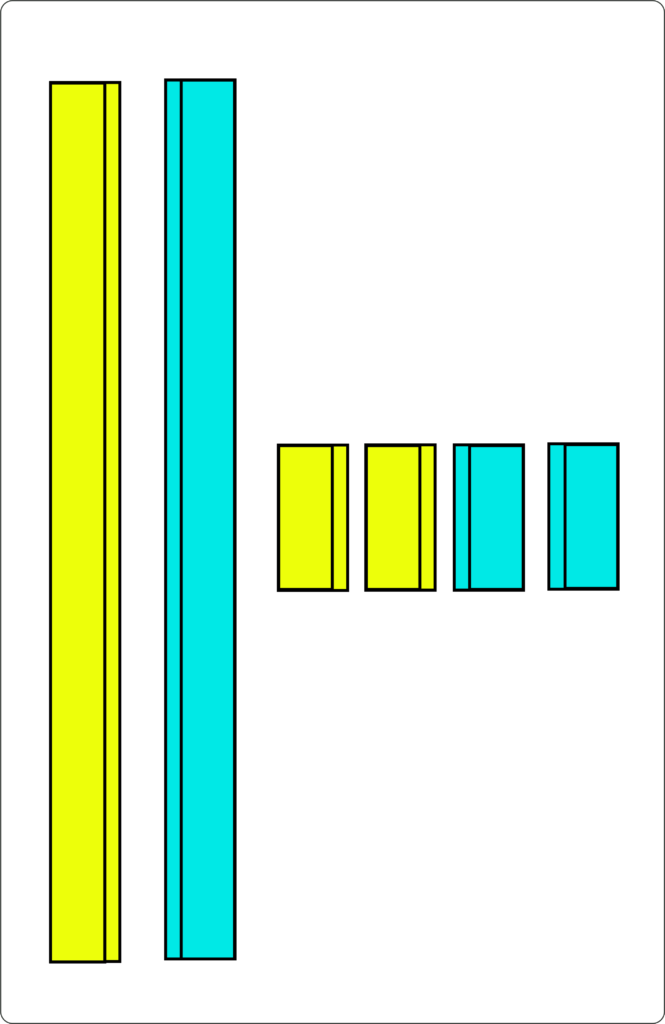
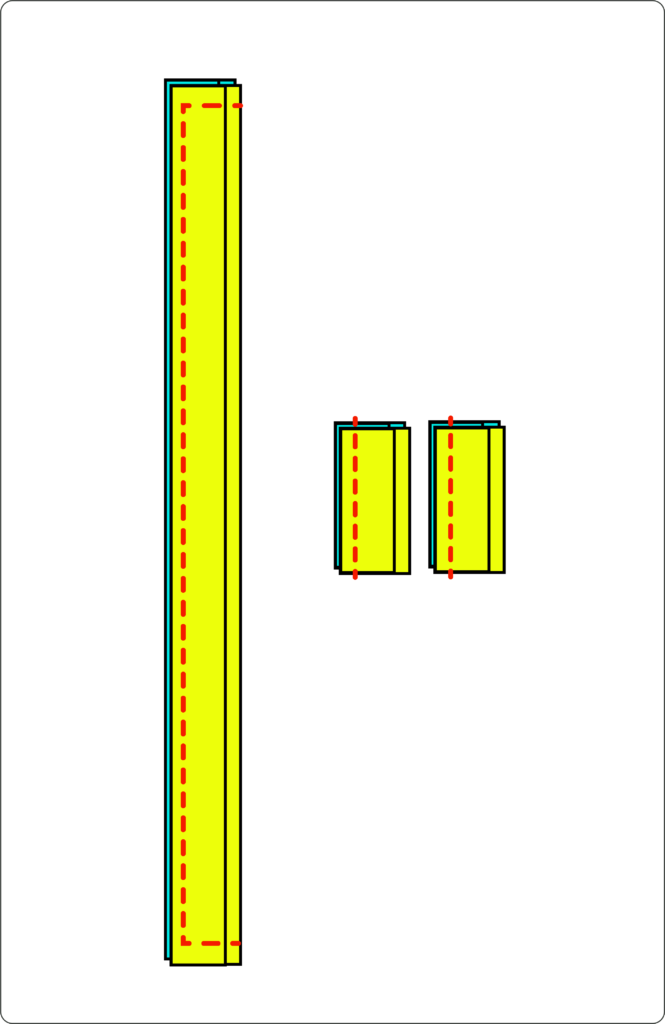
You will need to cut out:
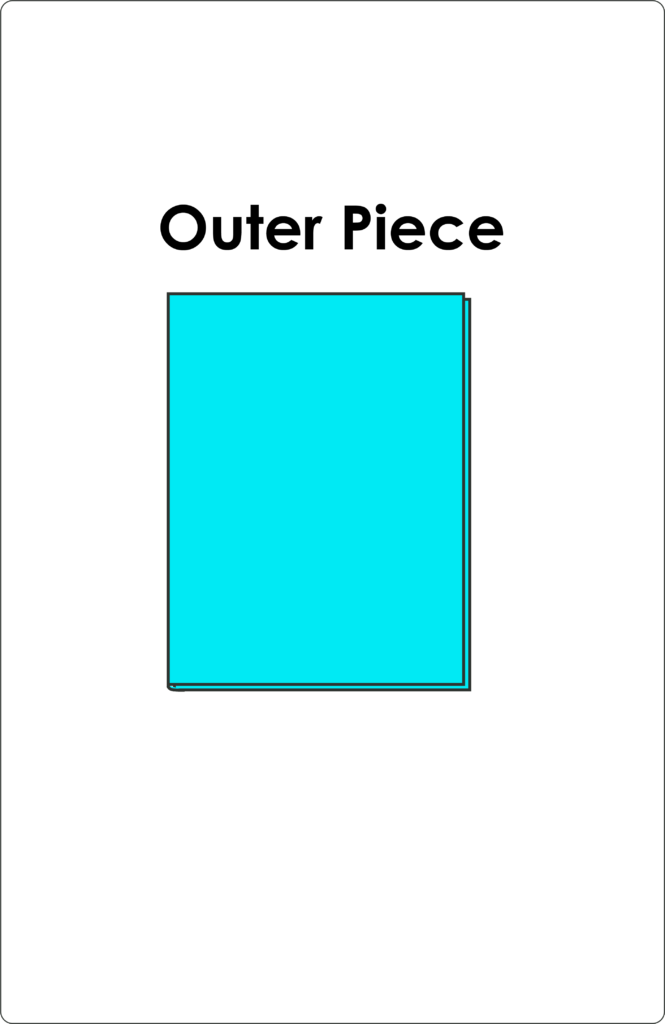
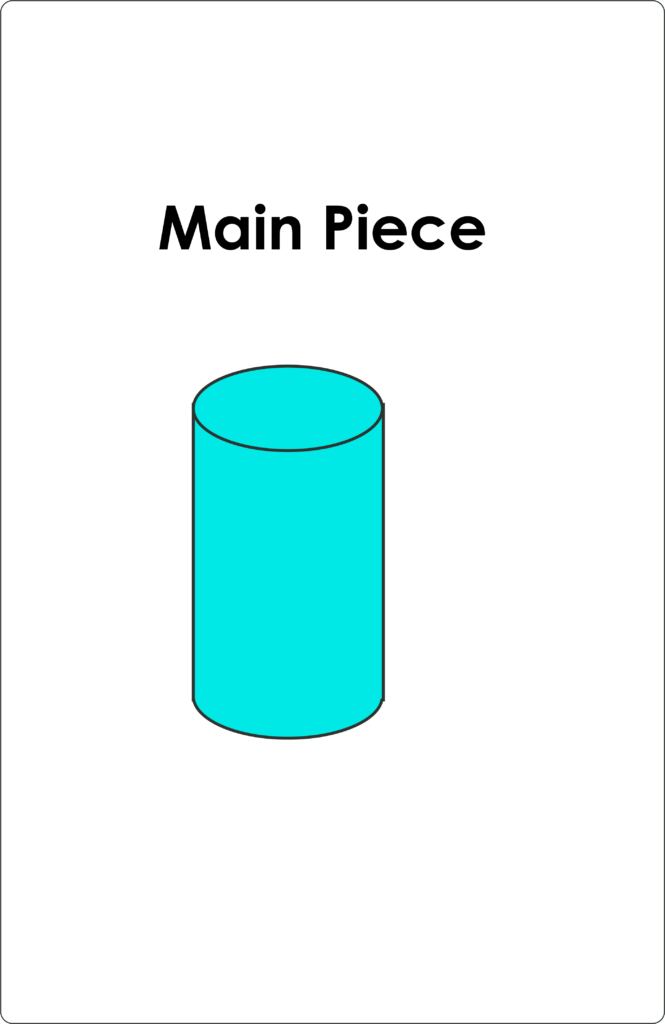
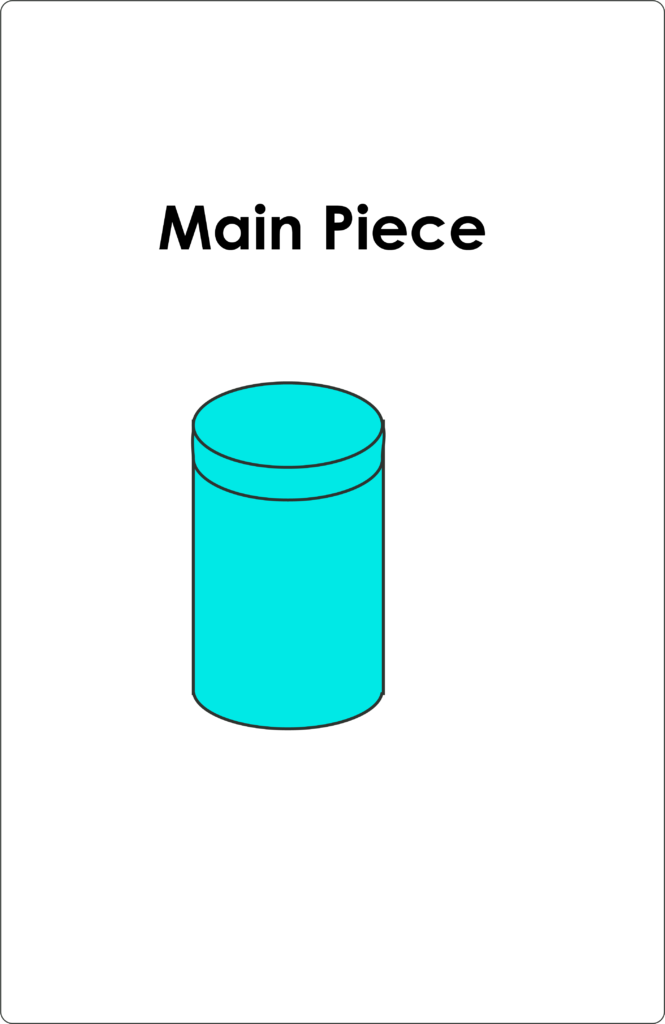
- 1 Outer piece in the main fabric (option to add fusible fleece if you wish for more cushioning)
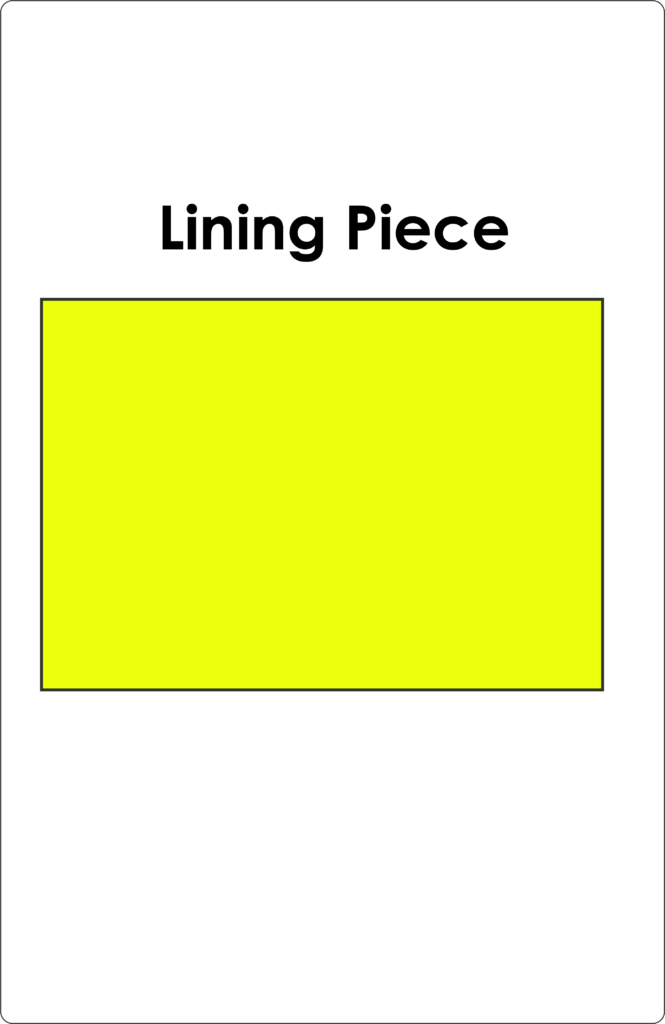
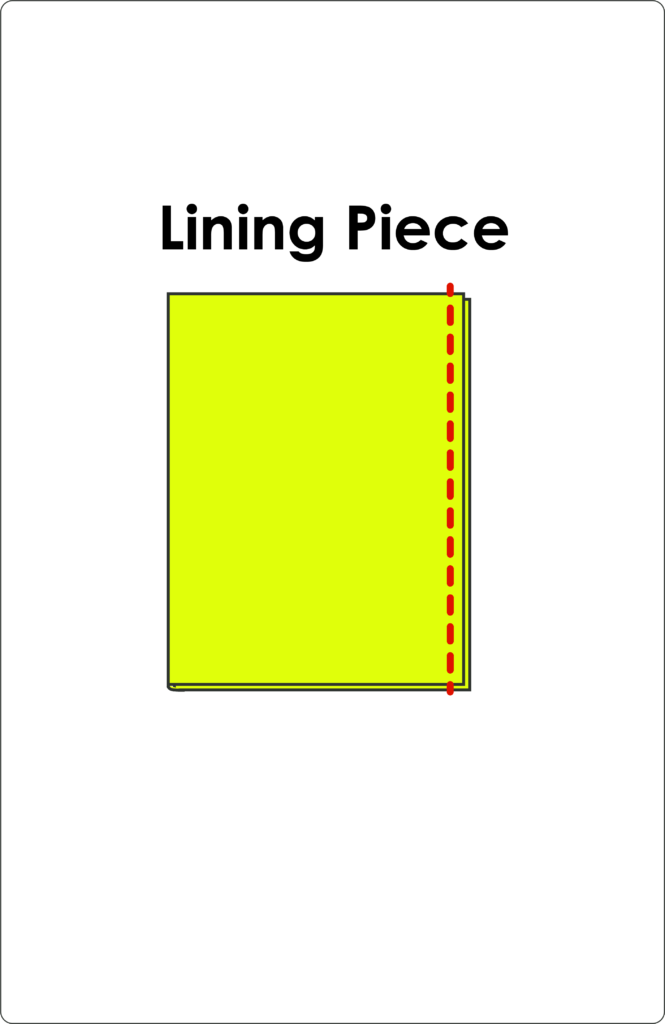
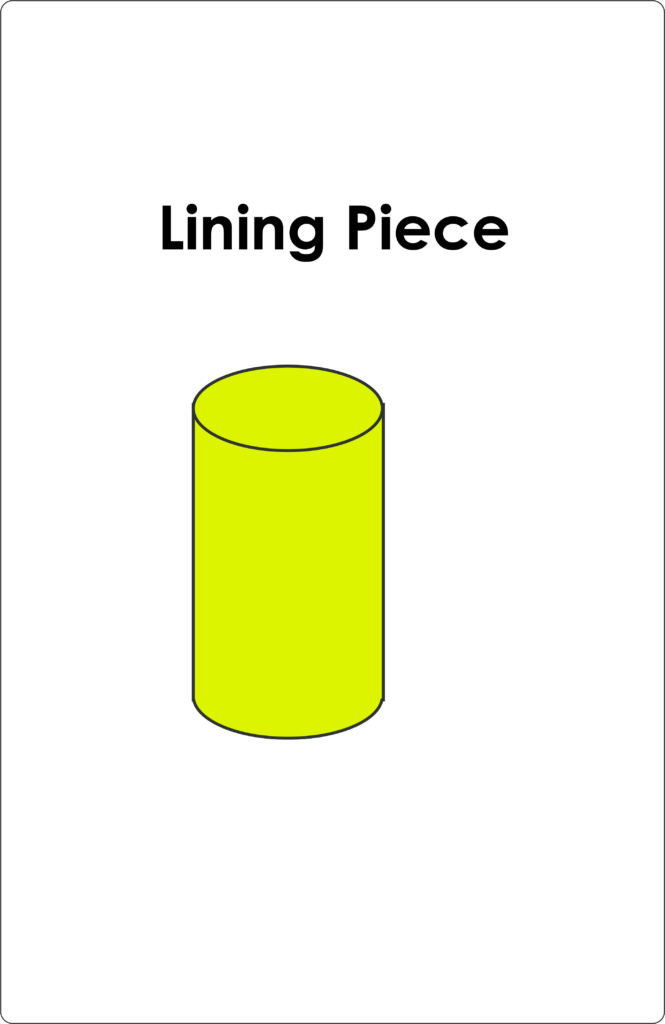
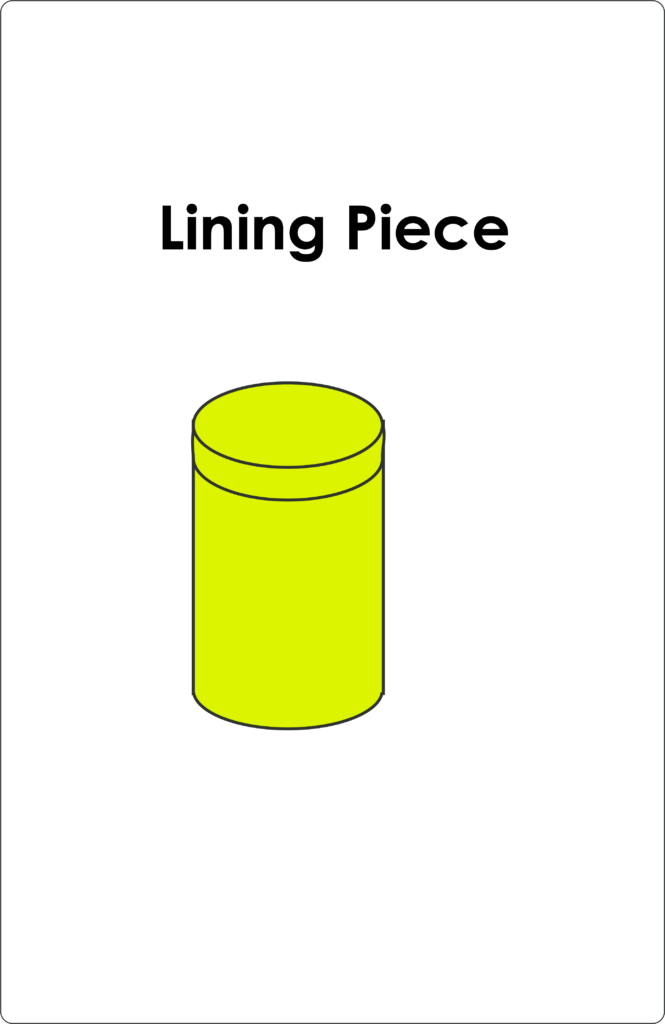
- 1 lining piece in the lining fabric
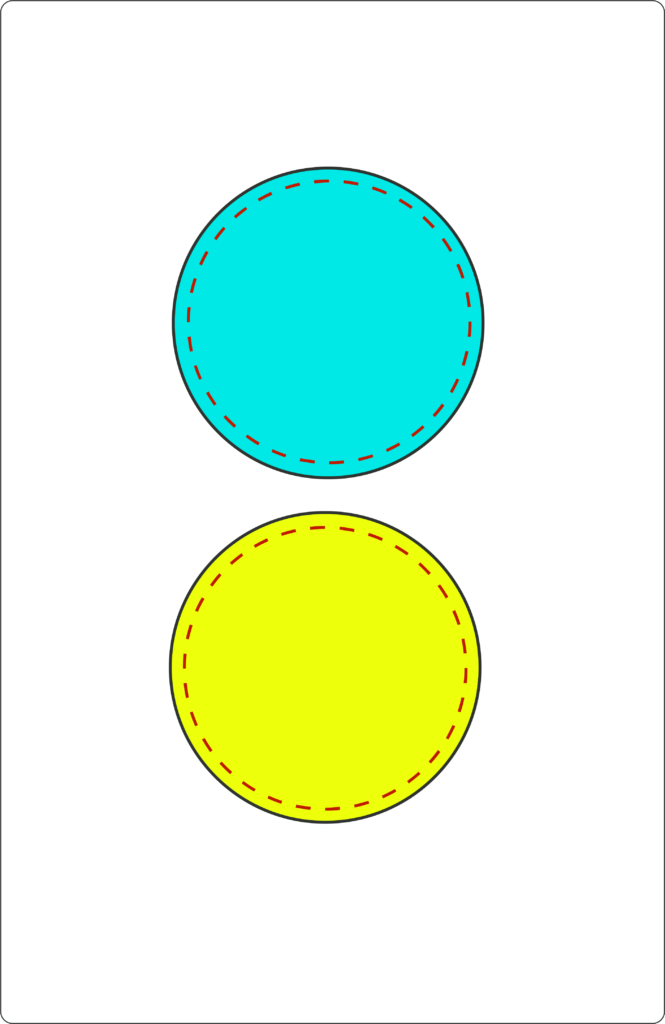
- 1 base outer piece
- 1 base lining piece
- 2 strap bases in main fabric – interfaced
- 2 strap bases in lining fabric – interfaced
- 1 strap in main fabric – interfaced
- 1 strap in lining fabric – interfaced
I have provided a guide on how to scale your water bottle in the image. A bigger version of the image can be seen in the video linked at the bottom.
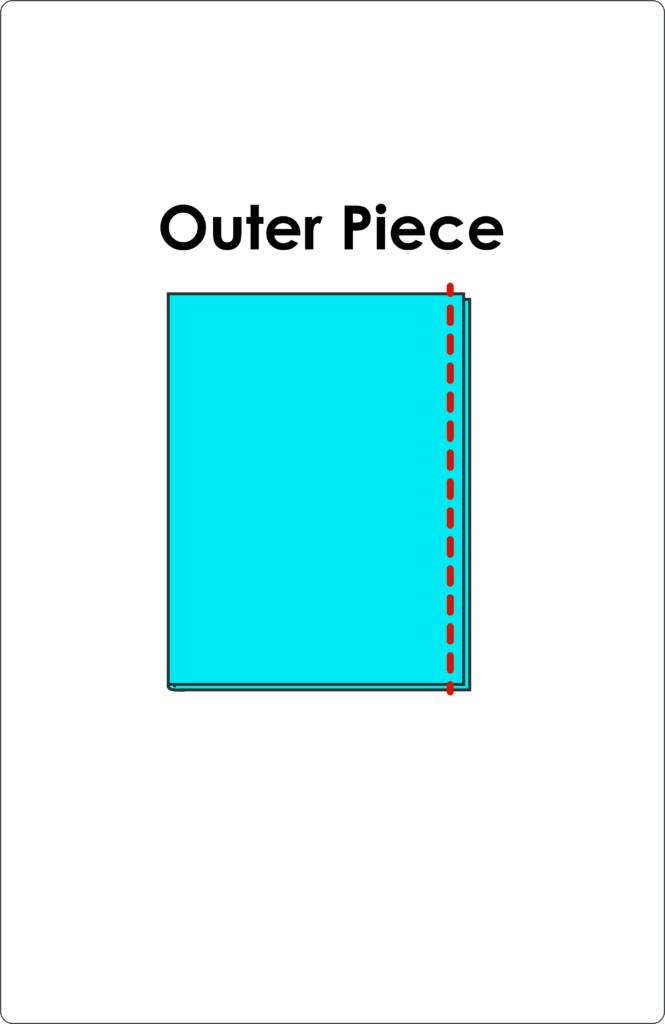
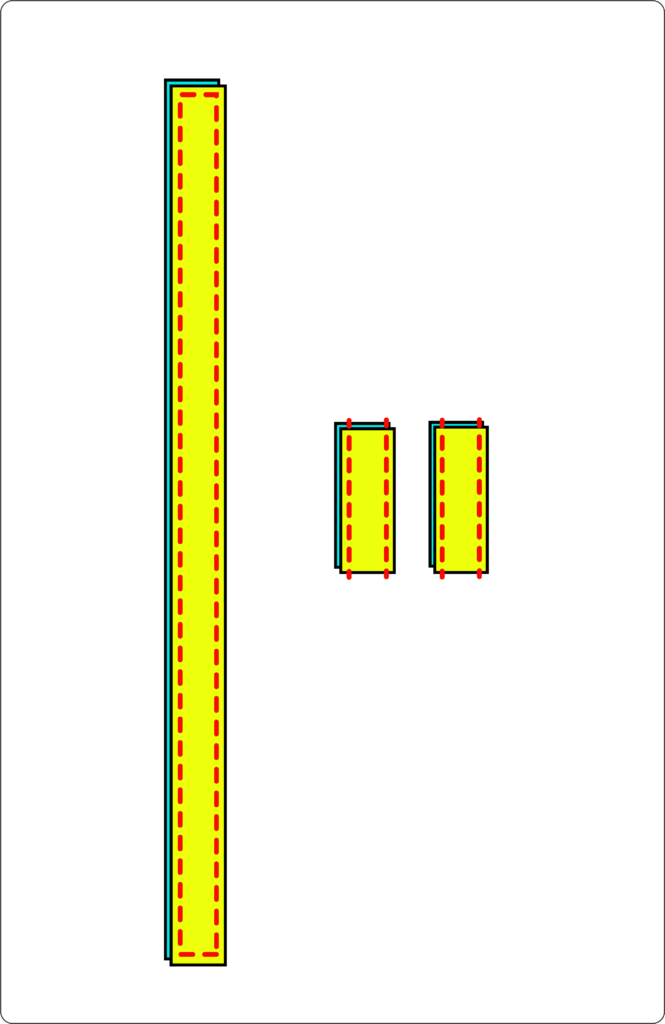
3. Stitch the side seam of the outer piece and lining piece
Fold the outer piece so that the side raw edges meet with right sides facing. Pin then stitch in place with the seam allowance you have chosen. Press the seams out. Repeat with the lining piece.

4. Press down the top edges on the outer piece and lining piece
For the main piece, press the seam allowance towards the inside (wrong sides facing).
For the Lining piece, you will need to press down 1.2cm plus your seam allowance.
5. Stitch around the base pieces
Stitch around the circumference of the outer base piece. You will need to stitch the seam allowance distance from the raw edge.
Repeat with the lining base piece.
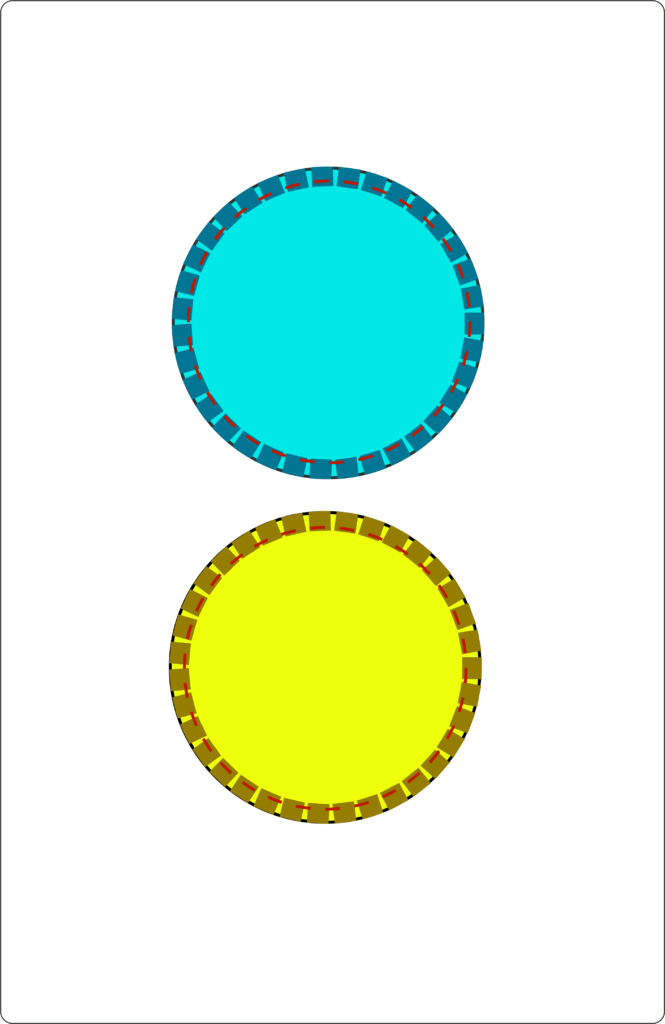
6.Cut into the base layer seam allowance
To make the next step easier, snip up to the stitching line at regular intervals on both base pieces.
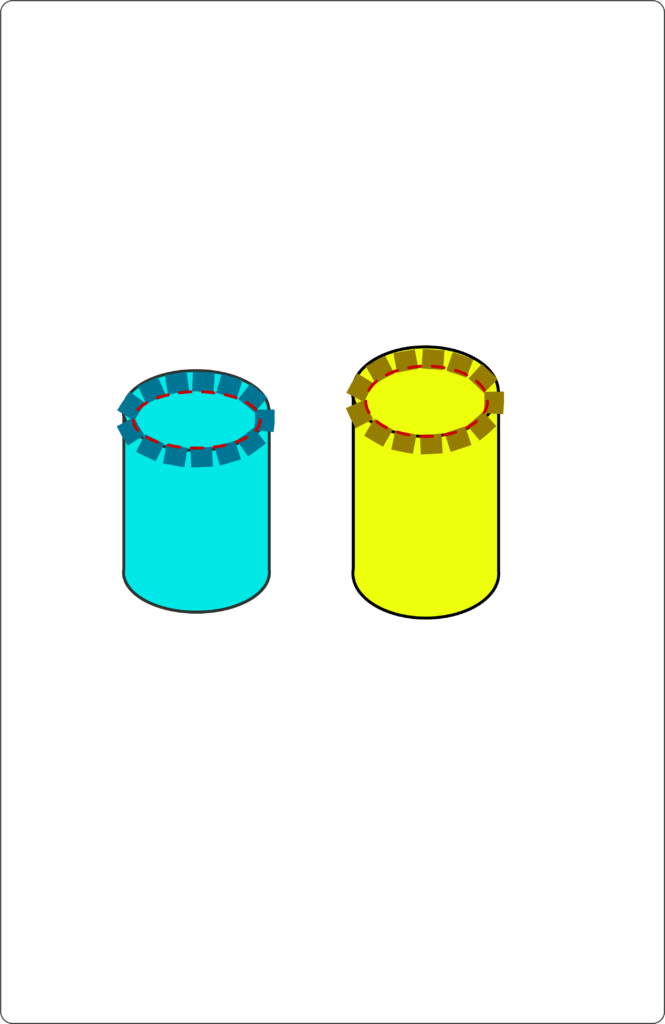
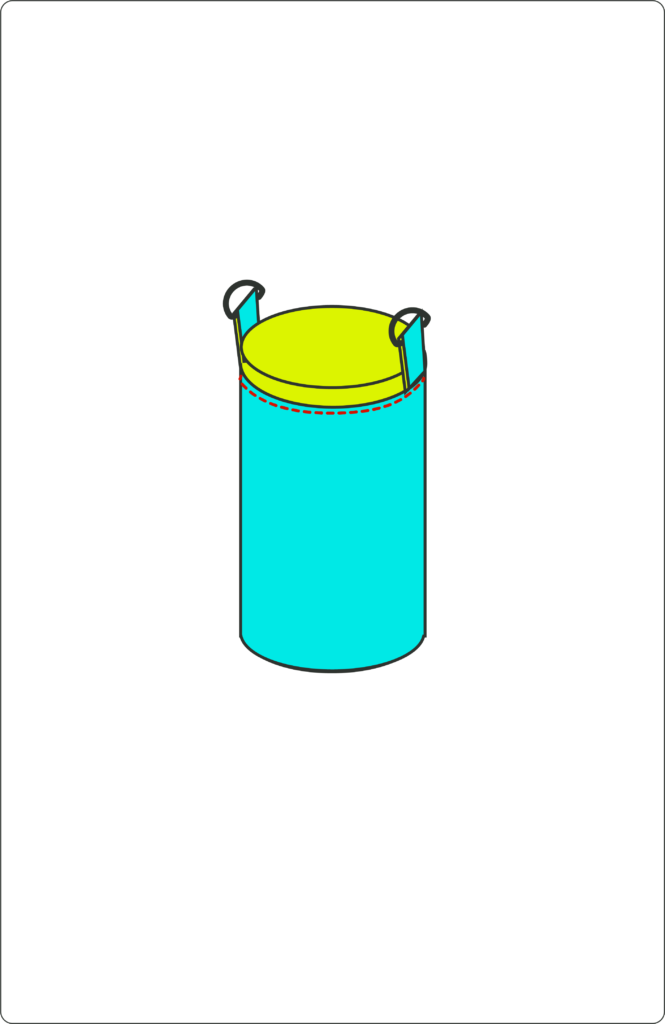
7. Attach the base
Using pins or quilting clips, line up the outer base with the outer piece bottom edge, right sides facing. Carefully stitch in place.
Repeat for the lining piece and lining base pieces.
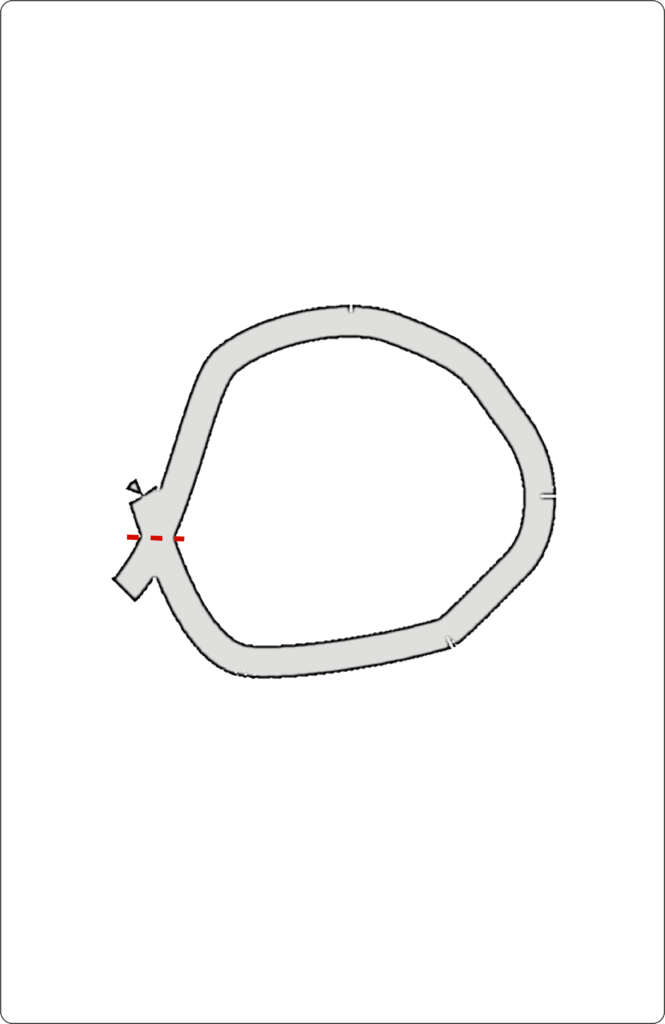
8. Stitch the elastic into a loop and position in carrier
Using the circumference of the bottle as a guide, cut the elastic to size leaving enough length to overlap the ends. Stitch together (stitch over this a couple of times to reinforce).
Place the elastic up into the casing in the lining piece of the carrier and pin or peg in place.
9. Create the straps and strap bases
Ensure you have added interfacing to the wrong side of all the pieces.
On one long edge, press the seam allowance of the strap outer piece inwards (wrong sides facing). Repeat for the lining strap piece.
Repeat this method with the 4 strap base pieces.
Pin together the two strap pieces, right sides together, along the long raw edge remaining. Starting at one short end, stitch the two pieces together so that both short ends and the unpressed long edge are stitched. Trim corners.
Pin together one outer and one lining base strap piece on the remaining long raw edges, right sides facing. Stitch in place. You do not need to worry about the short ends as these will be hidden. Repeat with the remaining two base pieces.
Turn all 3 pieces right sides out and press in place. Pin or clip together and then top stitch each piece.
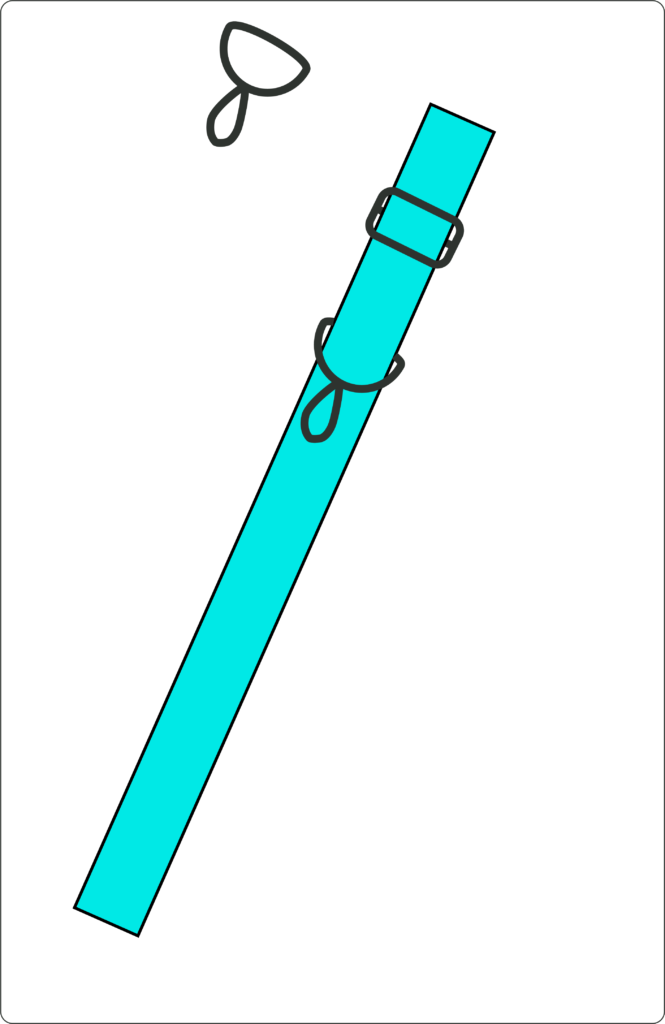
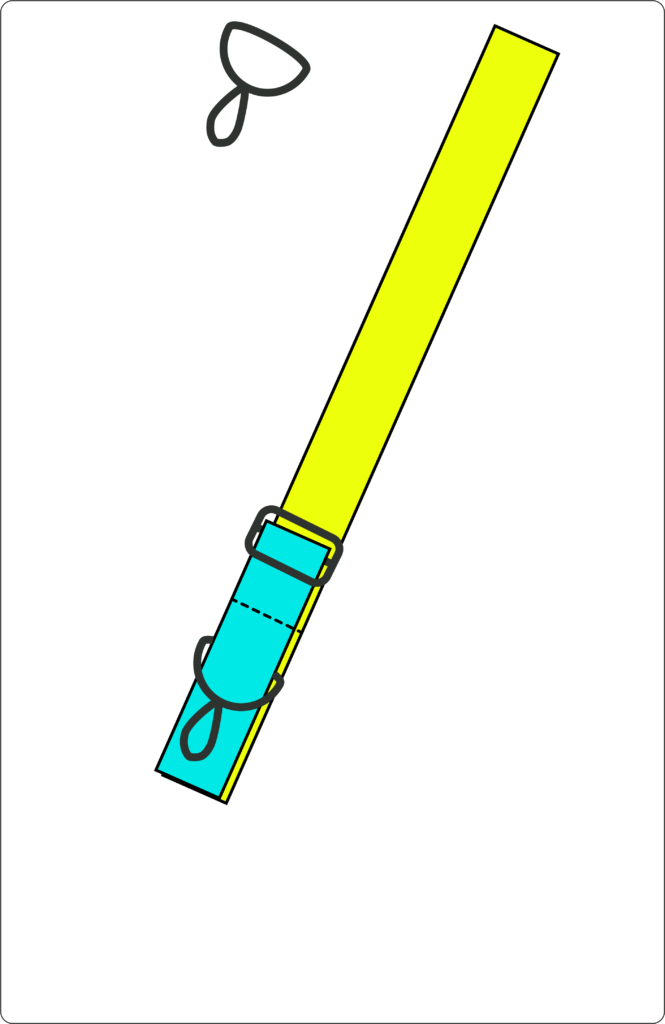
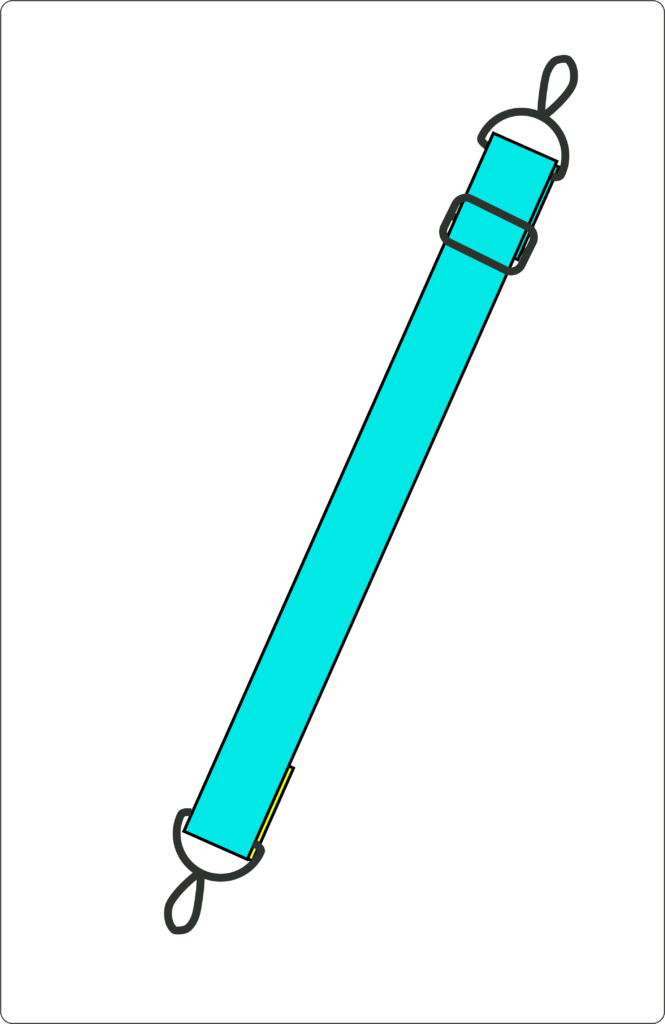
10. Assemble the adjustable strap
Right, here is my attempt at explaining this! You will need your strap, two swivel clasps and the slider (a).
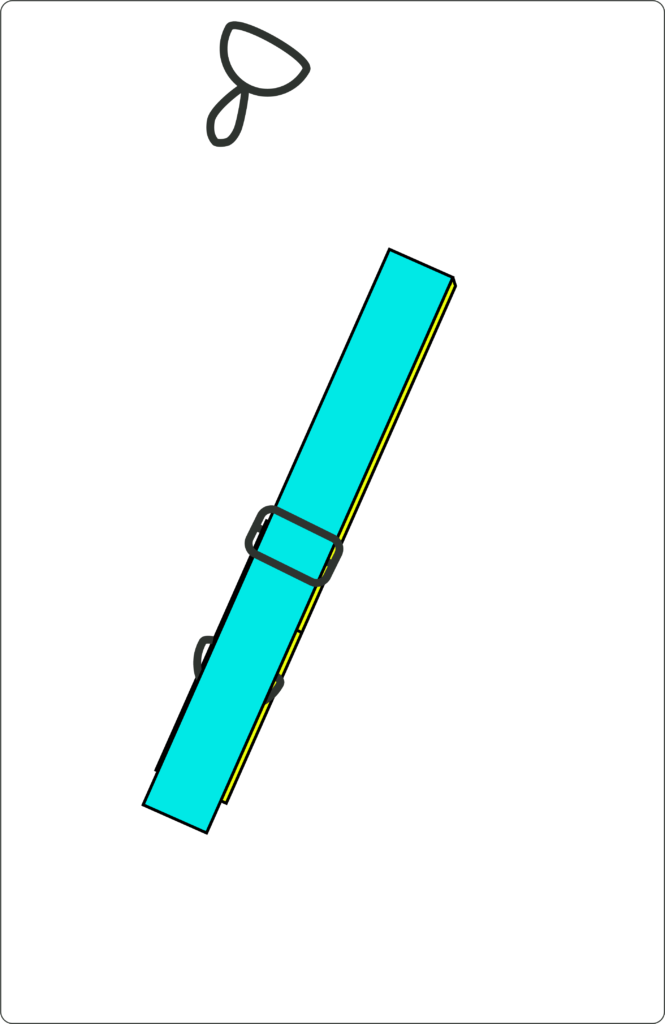
Slide one swivel clasp onto the strap, with the clip side on the right side of the strap (b). Add the slider after this, feeding the strap above the middle line but under the outer sections of the slider (c).
Fold the short end of the strap underneath itself so that the slider is now caught between the strap (d). The strap should be lining sides together. Stitch across the width of the strap close to the short edge to secure the slider in place (e).
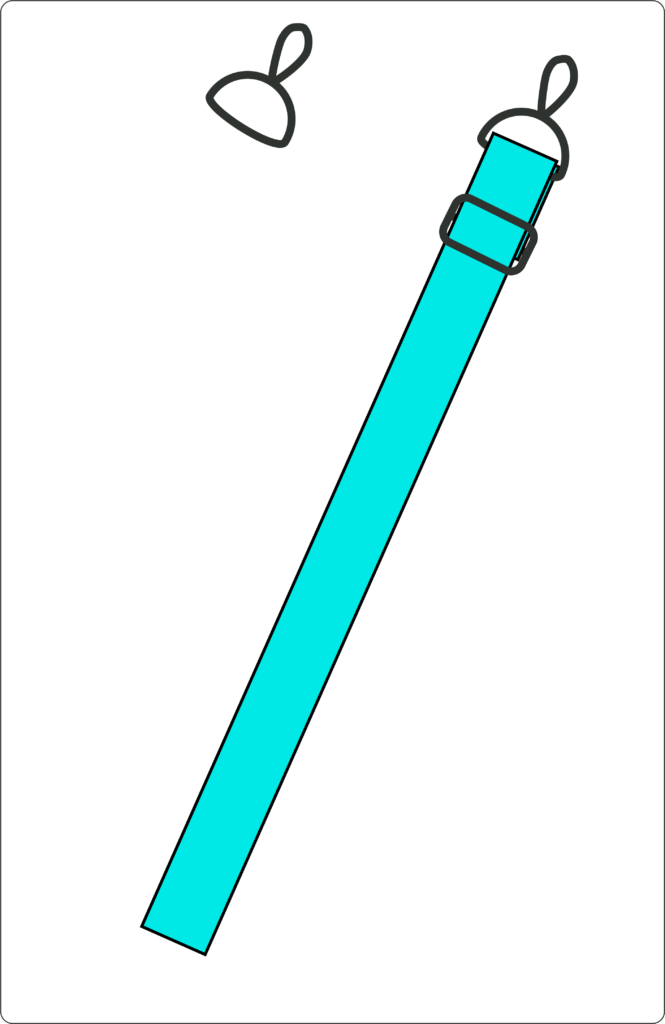
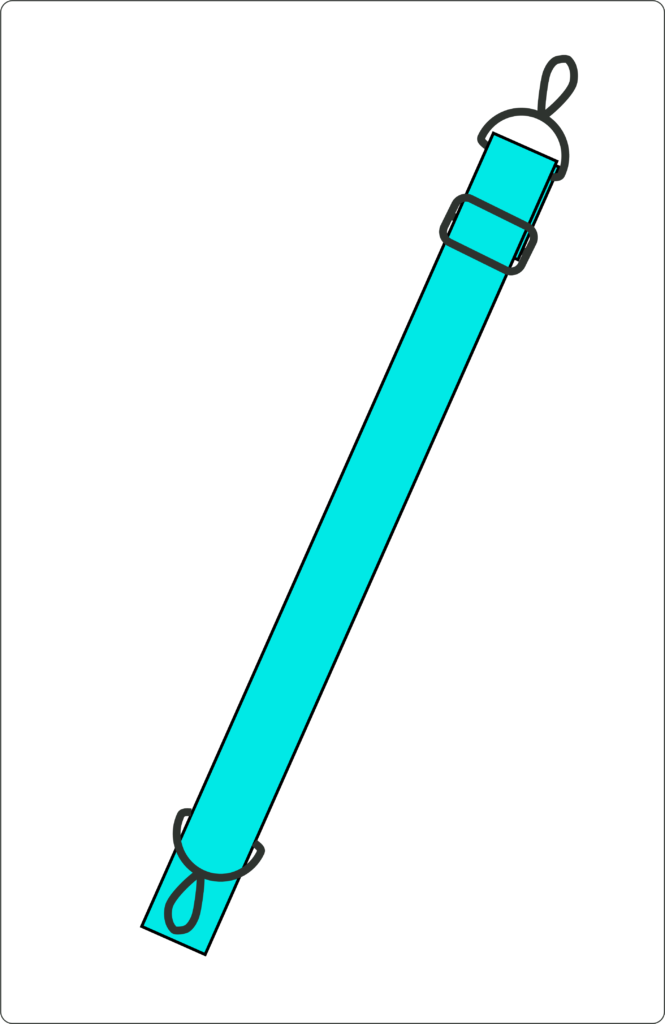
Bring the remaining short edge underneath the other end so that the swivel clasp and slider are down one end and the lining side is showing on the remaining end (f). Fold this remaining end over on itself and guide through the slider as before by going under the first edge, looping the strap over the middle section and dipping back under the other outer edge (g). Pull through this end until the attached swivel clasp and slider are down the other end (h).
Slide the remaining swivel clasp onto the open short end of the strap with the clasp end showing on the outer side (i). Fold over the end so that the lining sides of the strap are facing each other. Stitch in place close to the short edge of the strap.
a)
b)

c)
d)

e)

f)
g)
h)
i)
j)
k)

11. Assemble the main carrier
Fold the two strap bases in two, so that the outer fabric is on display. Slot a D ring on each.
Position, pin and tack the strap bases on either side of the outer carrier piece.
Slide the lining piece into the outer piece so that the wrong sides are facing each other. Pin and tack all the way round, ensuring the raw edges of the strap bases are enclosed.
Top stitch all the way around the carrier about 1mm below the folded outer piece. I would recommend adding another line of stitching a few milimetres below this for good measure to make it more robust.
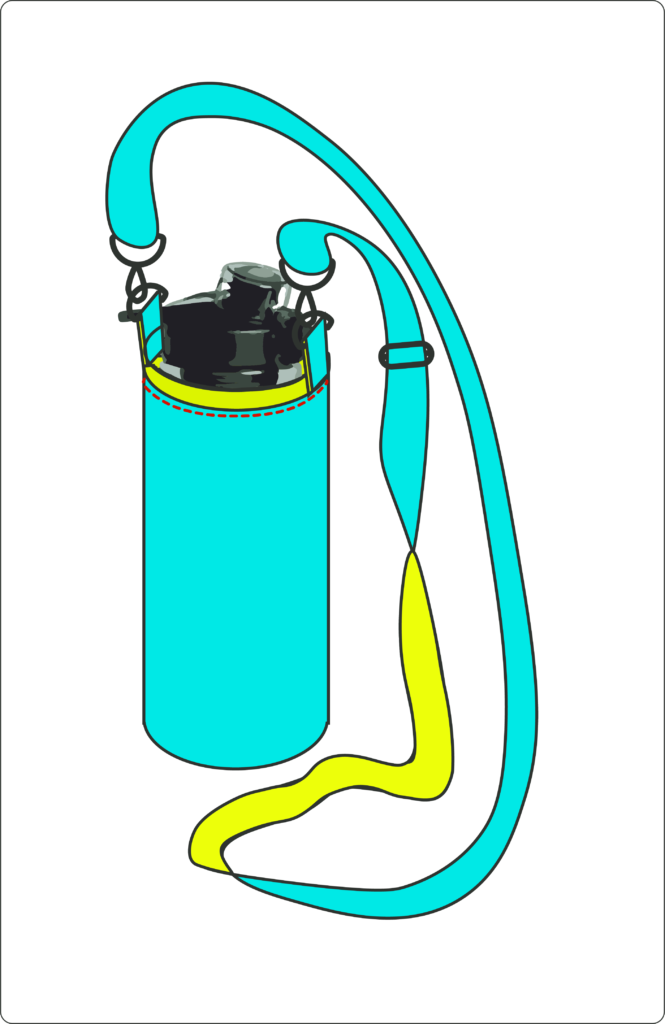
Attach the strap, pop your water bottle inside, and you’re done!
And that’s it! You could leave out the elastic or make a drawstring instead.
Watch it on the Vlog
You can watch my video tutorial on this make below: