I tried out the sketch-a-graph in order to enlarge some pattern pieces from a sewing book. Here’s how I got along with it.
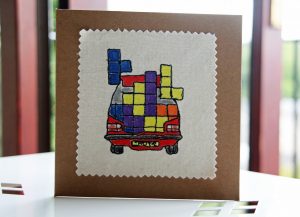
I wanted to make my new niece the penguin towel wrap (left photo on the front of the book). However, the templates in the back of the book needed to be enlarged by 200%. I decided this was the perfect opportunity to finally test out this gadget.
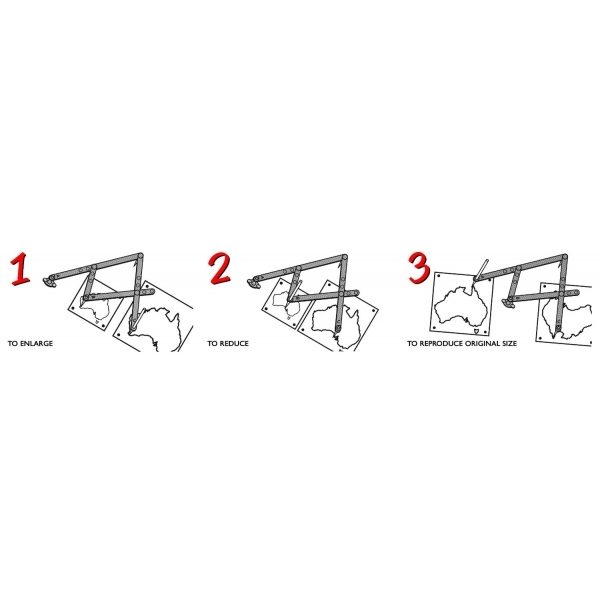
As you can see from the instructions below (which are printed on the outside of the box), there are three ways to use the sketch-a-graph. The first is the one I wanted to use it for: enlarging. The second way is to reduce. The third way to use it is to sketch out a replica of the original. You have to move the guide pointer, pivot and pen into different sections of the sketch-a-graph in order for it to achieve the desired outcome.
You can see my attempts to us it in the linked video at the bottom.
So here are the results…
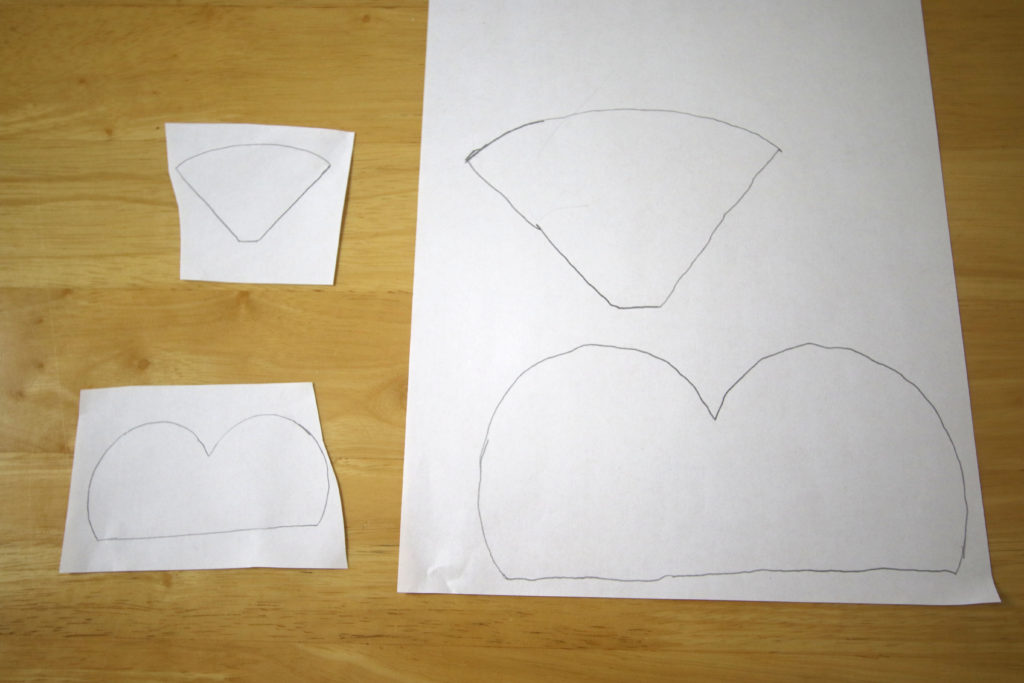
Towel beak and eyes outline
For some reason, the beak (top shape) was the hardest to copy due to that curved line at the top
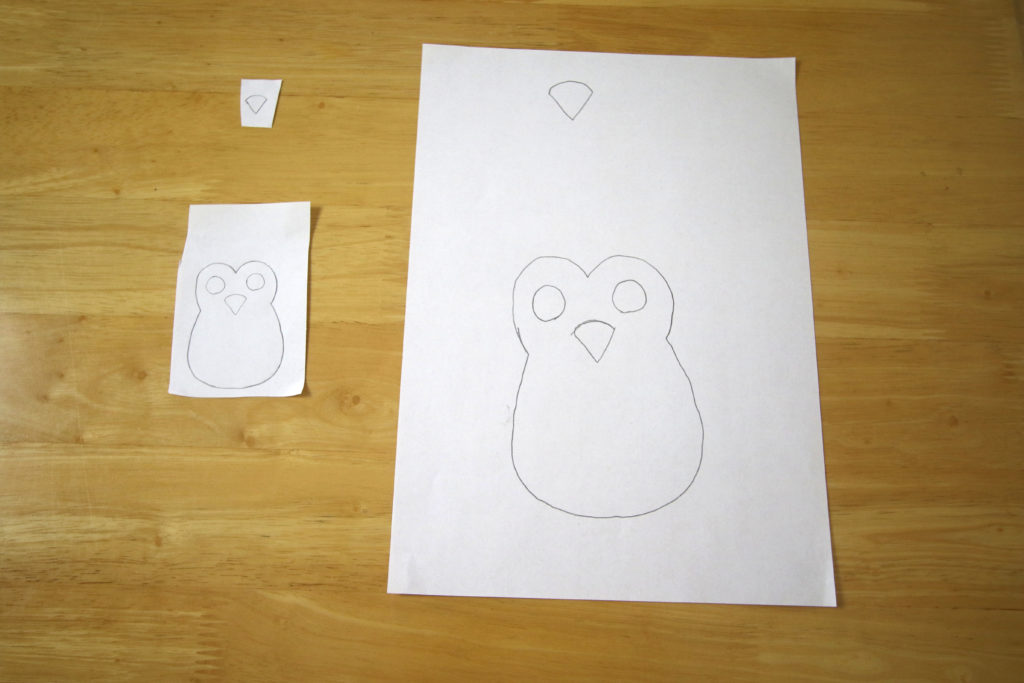
Toy penguin features
It was easier to copy these smaller items, but I am not sure how accurate it is.
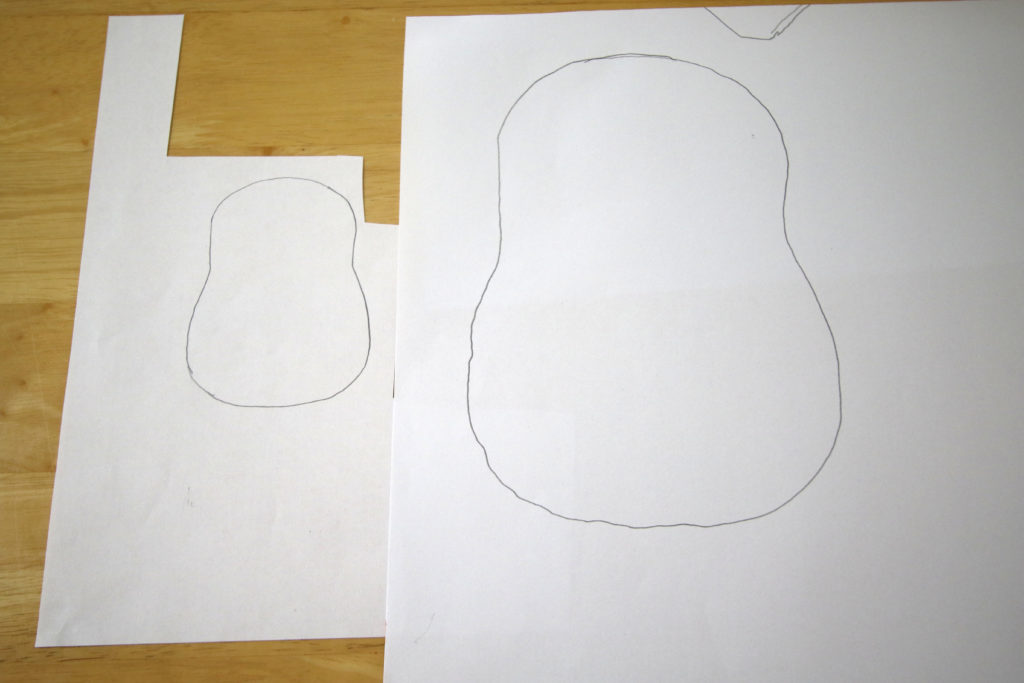
Toy penguin body
You can see that I was a bit shaky making this larger template.
My Verdict
I wouldn’t say this is the easiest way to enlarge pattern pieces, and as far as I am aware, you can only enlarge to 200%. However it was fun to try out and is useful if the template cannot be enlarged accurately digitally.
Additional observations:
- The originals are best on a flat surface (if it is in a book you may need to trace it which arguable defeats the point…)
- Cut out your templates so that you can get the paper you are copying onto as close as possible.
- The closer the original and new copy are placed, the easier I found it to copy with less wobbles.
Watch it on the Vlog
You can watch my “work it out as I go along” attempt at using the Sketch-a-Graph on the Vlog below: