Christmas makes 2016
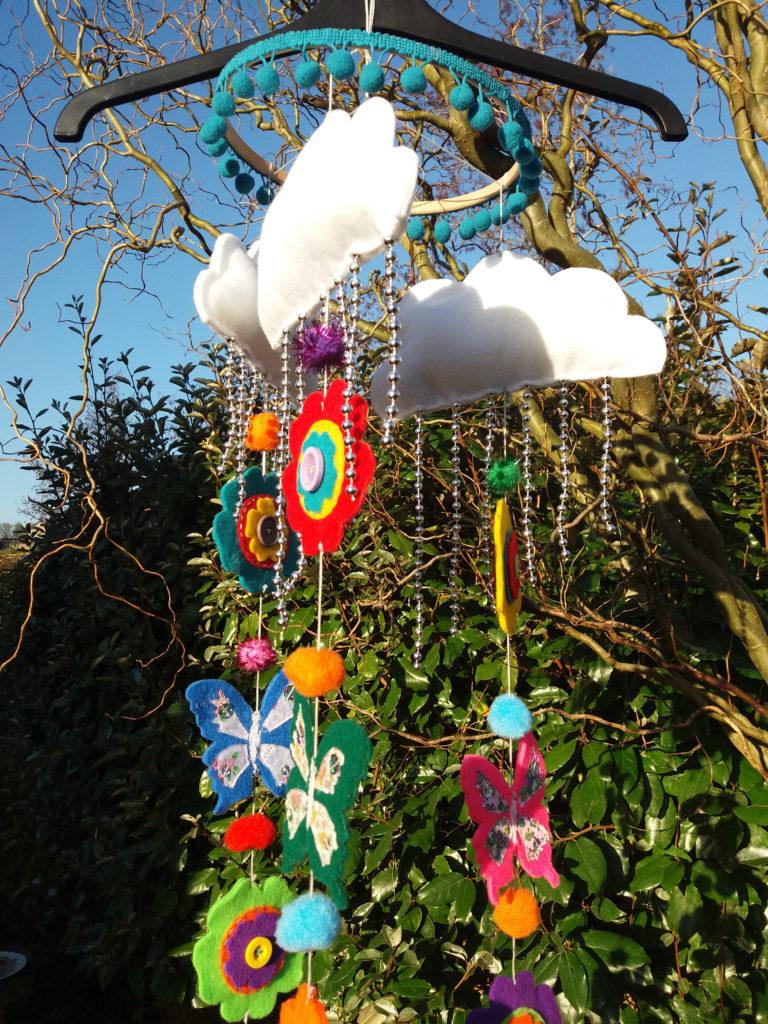
Just a quick post to reflect on some of the makes I have made this year for Christmas! There are a few which have been good or challenging which I wanted to share. The upcycled t shirt cushions My dad suggested that his old Hard Rock cafe tshirts should be transformed into cushions about two years ago but I wasn't convinced and didn't do it until this month. They have come out much better than I expected! I was worried that they were too faded, but I simply cut out the designs and appliqued them onto calico and created envelope cushions! The 1940s tapestry bag and purse This is another gift which had been on my mind for years but I had never got round to creating. However, I finally created it this year, even having time to create the matching purse (from Making Vintage Bags). Hare bag I wasn't intending on making a hare bag this year, but when I clapped eyes on the fabric, I had to make something with it for one of Phill's relatives who loves hares. I followed a free pattern online but I was a bit disappointed with the depth of the bag, which I would have preferred to have been a bit deeper, but I added a magnetic clasp to it to make it more like a shoulder bag. I did find a preferred tote bag pattern but I don't have a photo of it yet so will write about it another time. Oscar glasses case This personalised glasses case was fun to make as well to add to my grandad's collection of Schnauzer based gifts over the years. Baby Showers Mobile My biggest challenge was making this mobile for my niece! I gave my sister the choice of patterns for a baby mobile, and halfway through making this mobile I felt a bit of regret at doing that! However, it was a great challenge and pushed me much further than the other choices (and it looks much more impressive too)! I adapted the pattern from Chloe Owens (All Sewn Up) to what I had available, using Christmas tree decorations for the raindrops instead of jewellery chain. Glittery sequins were attached to the butterflies, which make light bounce off it. I could not follow the pattern precisely as I could not get a needle through the fabric flowers when assembling as the fabric glue made it too hard. Instead, the embroidery floss was attached securely either side of the flowers. I greatly underestimated the many stages to this mobile! I would recommend starting far in advance to ensure you make this in time to avoid the last minute stresses of making gifts! Fortunately, my mum helped ensure the clouds were sewn securely and to help with the final construction stage.