Spring 2019 catch up
Here is a catch up on my progress this year, from sewing projects I have completed to my upcoming plans for the near future.
Here is a catch up on my progress this year, from sewing projects I have completed to my upcoming plans for the near future.
The hundred day project begins on Tuesday 3 April! My chosen project is to spend 100 days stashbusting.
I’m definitely one to hoard fabrics and then deliberate endlessly on what the best project will be for every piece.
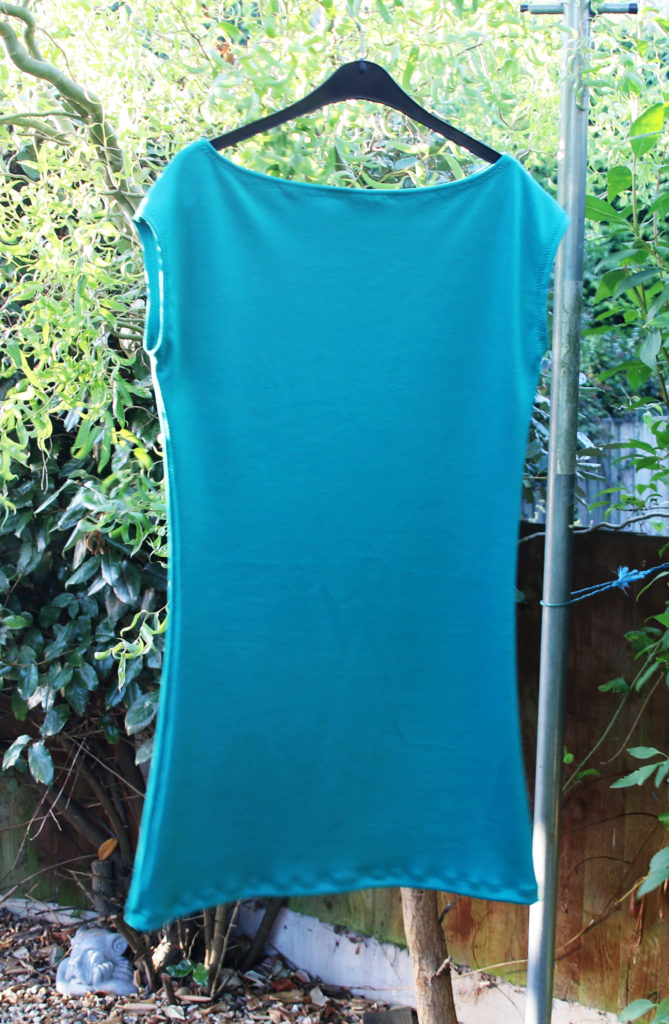
While on a bit of a dressmaking roll, I decided to delve back into the realm of knit fabrics. Having only made one successful garment with knit, I decided that I wanted to keep the pattern as simple as possible. The simple question for this project was The Walkley Dress by Wendy Ward MIY. This pattern requires two pieces to be cut out of your fabric, and they come from the same template. If you're lucky enough to have 150cm wide fabric, you only need a metre! In this instance, I already had some fabric ready and waiting - a remnant from a fabric shop! Setting up the machine proved the most difficult part. It's been about six months since I last tried a stretch pattern, and it was a challenge to set up my machine. Following the advice from the pattern, I opted for the small zigzag stitch for the seams, and the three stitch zigzag for the hems. In addition, I attached a walking foot to my machine and loosened the pressure of the presser foot; without these adjustments, my machine did not want to stitch! Originally, I planned to try a twin needle on the hems, but I managed to break my stretch needle one a while ago and haven't replaced it yet. It turns out that I keep loosening the needle whenever I attach the walking foot to my machine! I didn't colour match the thread for this garment as I had recently acquired a set of threads in different colours (none of which were a perfect match) and I didn't want to go out and buy more supplies on this occasion. The downside to this is that the hemming is a lot more noticeable than it would have been. Also, I stretched the hem a bit while stitching (I did the hem before the neck and armholes). I didn't have any stay tape or stabiliser, which could have helped to prevent this, but I did adjust my stitching technique to decrease the amount of stretching after noticing the issue on the hem. The neckline is quite wide (though this could be in part due to my stitching ability!) but it's really comfy and it is definitely a pattern which provides you with fast results which are satisfying! It's a brilliant 'first knit' pattern too as there aren't too many steps or seams to stitch which means you can focus on working carefully with the knit medium. I think next time I use this pattern, I will definitely try out some knit stay tape to ensure that the garment lasts a long time. Also, I think I may opt for a patterned material. I think I will give this pattern another go with the lessons learnt from this occasion in mind! As it only requires a metre of fabric to create a whole dress, and can be made in less time than a lot of the other patterns I have, I think another one will be made! As…

One of the projects I made during #miymarch16 was the upcycled pinny from an old pair of jeans. I got these jeans for my 21st. I'm a bit of a hoarder, and while they had a tear in them where the fabric was so thin and worn out, I hadn't had the heart to chuck them away. When I met up with my mum and sister in March, they suggested cutting them up into something new. Due to the location of the worn out section, a skirt was not suitable! However, we came up with making a tool belt. One of the best parts of making something from something you're prepared to throw away is that it doesn't cost you anything and you have a lot of freedom to just go for it! I simply placed a ruler over the jeans roughly where I thought the length would be good and took a rotary cutter to it! As you can see, I curved the back to make it more apron like, but also so I could keep the back pockets. Jeans lend themselves to being a belt because of all the pockets!! I added some patches to the back pockets and then added a pom pom trim and ribbon border. I wanted to add more decoration, and following my recent addiction to free machine embroidery (which I will go into more detail at some point in the future), I drew out some sewing related appliqué onto bondaweb! Et voila! Here is the end result! I added some random buttons to the front pockets and stitched additional detail on the appliqué. Now I put my scissors on a bungee rope so they're always with me but I do think I need to add a scissor holster to it to improve it.
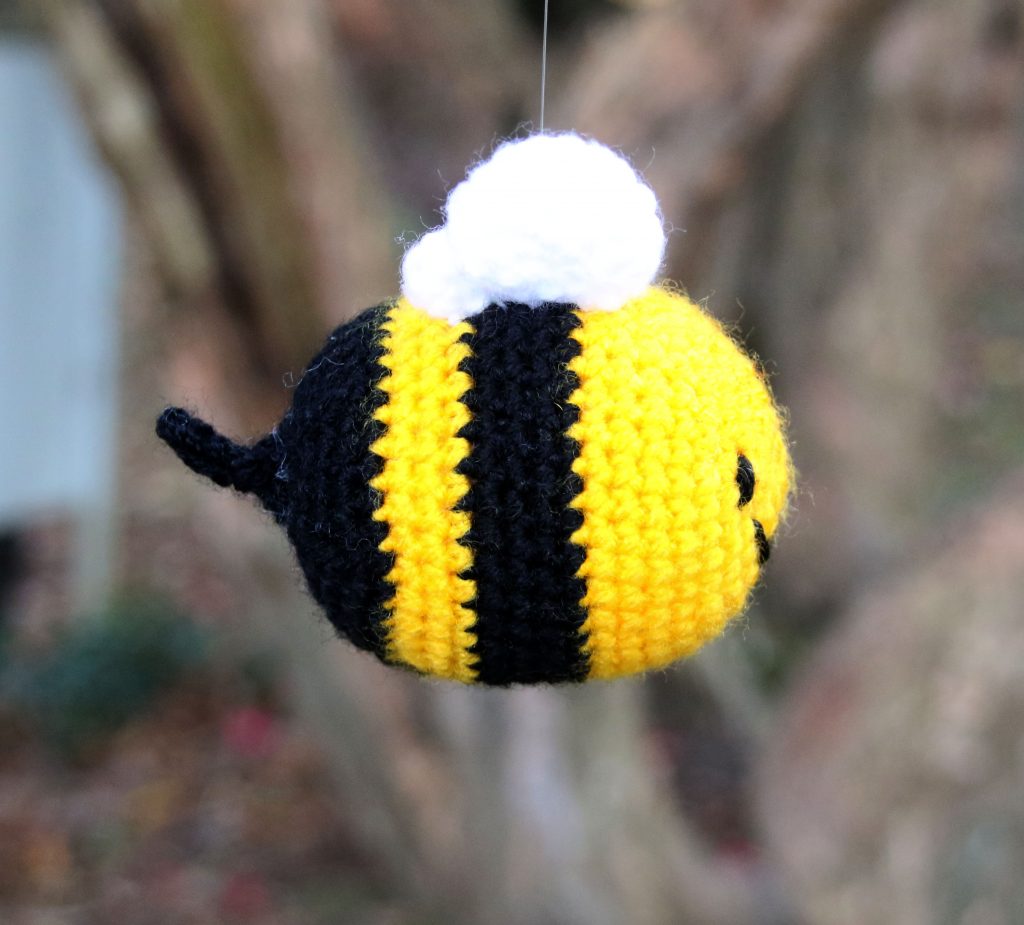
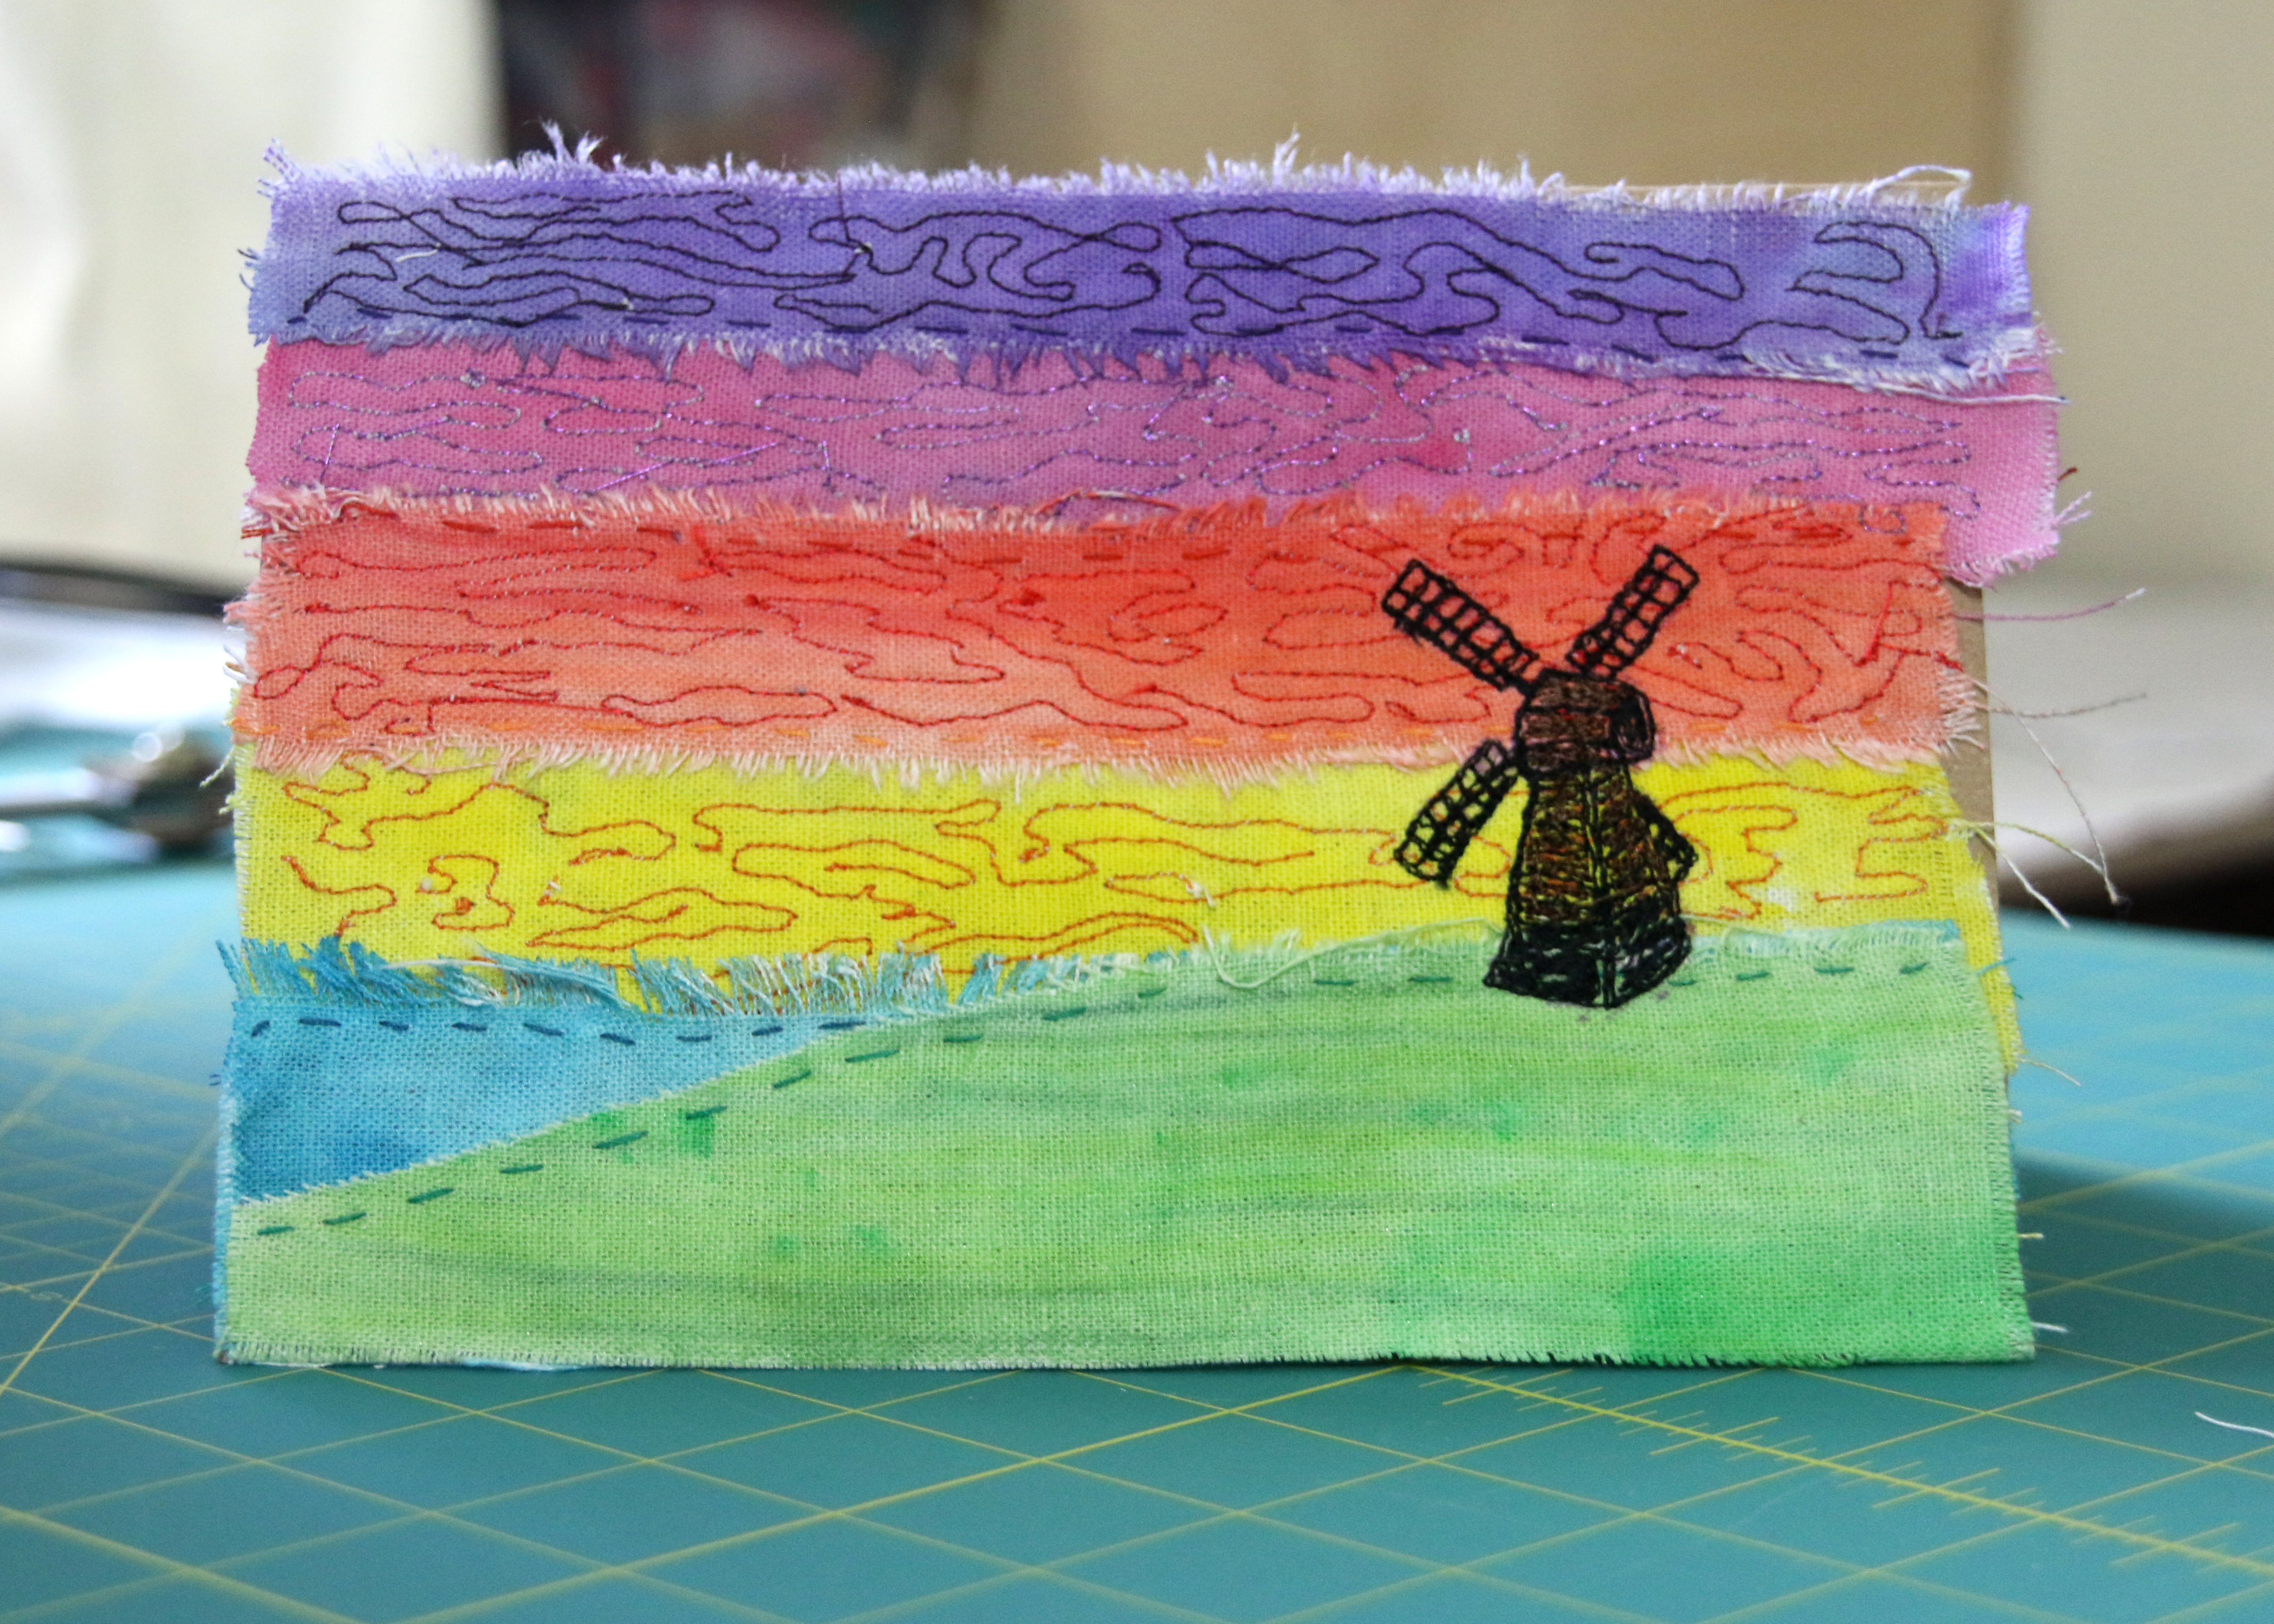
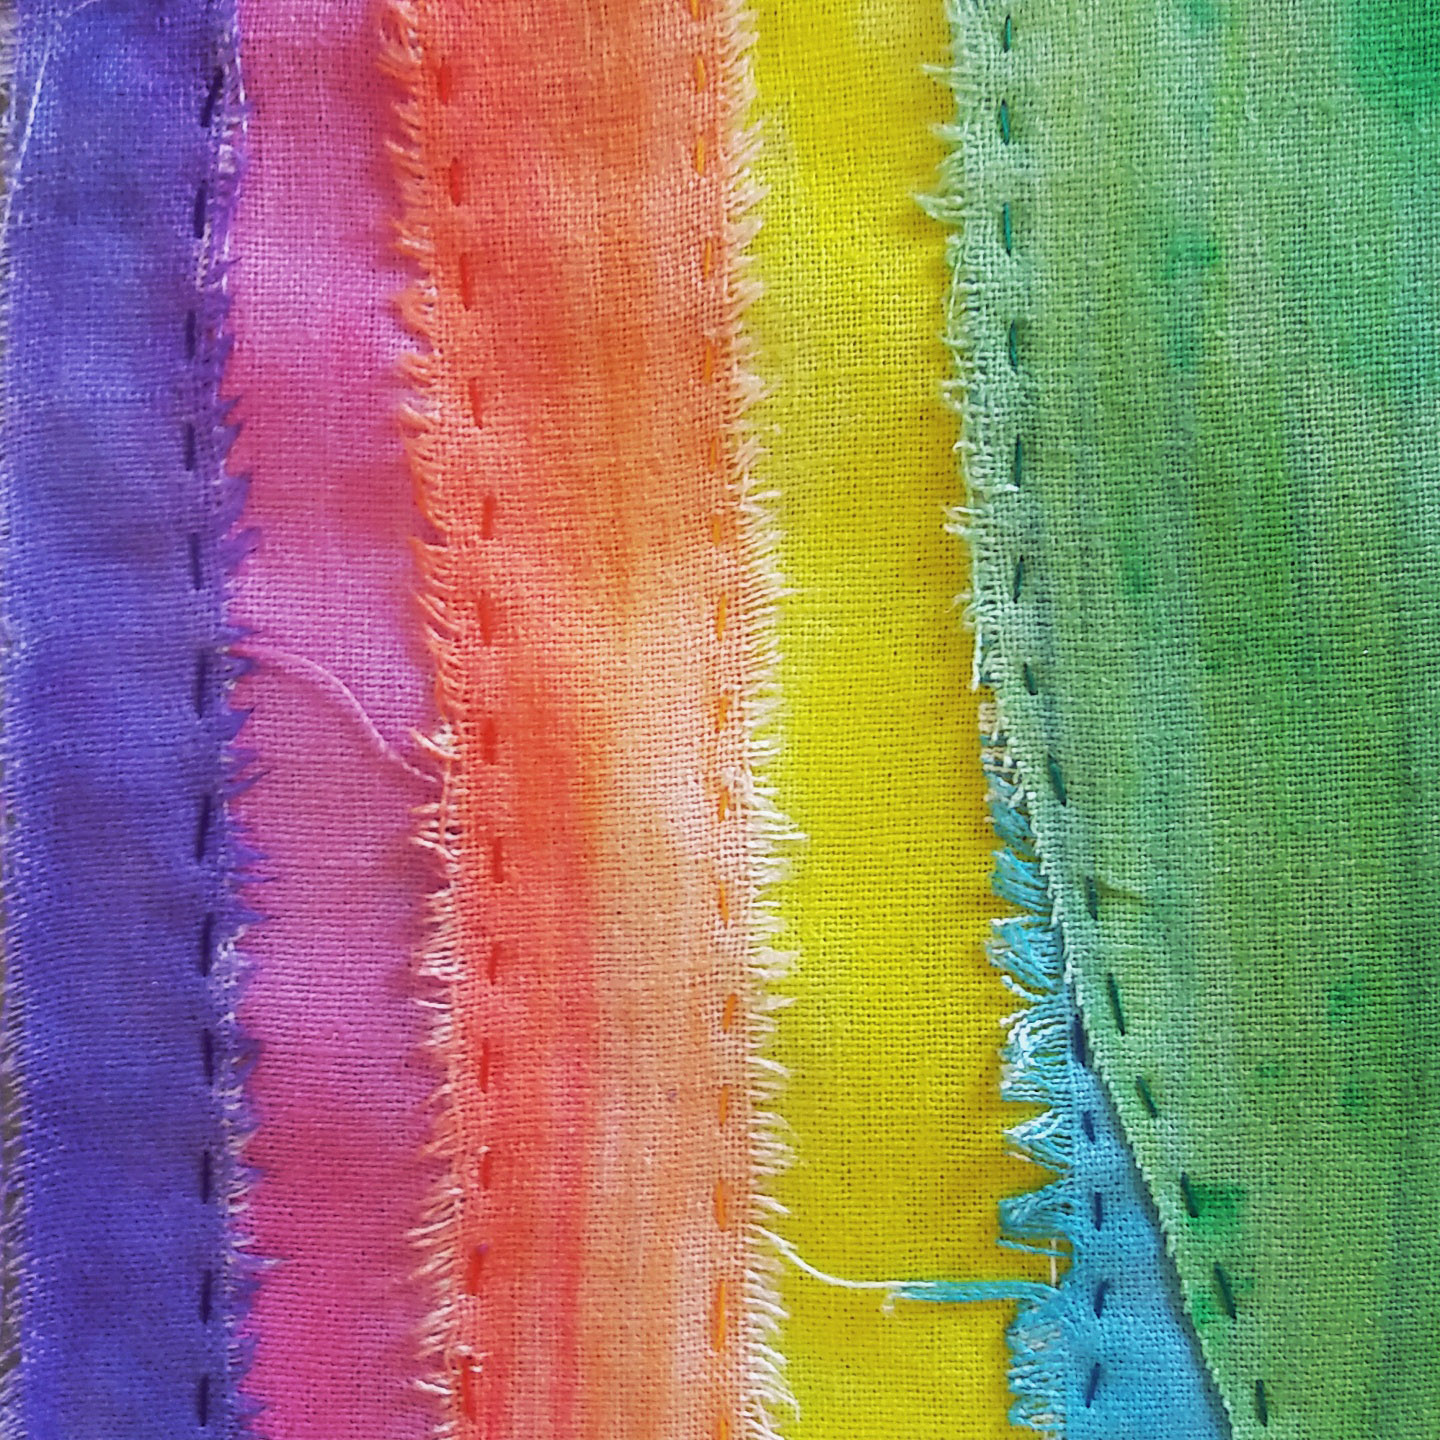
One of the best parts about handmade is that you can make whatever it is you're making personal! This is how my bee themed gift and card came about when a couple my partner's friends with had a baby recently. As the father currently does work relating to bees, the gift became centered around this! The crocheted bee mobile was a lot of fun to make. I used clear nylon string to attach them to an embroidery hoop for the top of the mobile. Acrylic yarn was used so it should be hard-wearing. I love the little sting detail too! They were made on the round which meant no seams to sew up! I've been learning how to free machine embroider this year so I used this technique to create a simple card. I'll be adding an improved version of this card to my etsy shop in the next week.
Crafting with others is a great way to find inspiration and motivation. Here is what we got up to when I stayed at my mum's for a little craft retreat.