Cosy Winter – the Ivy pinafore
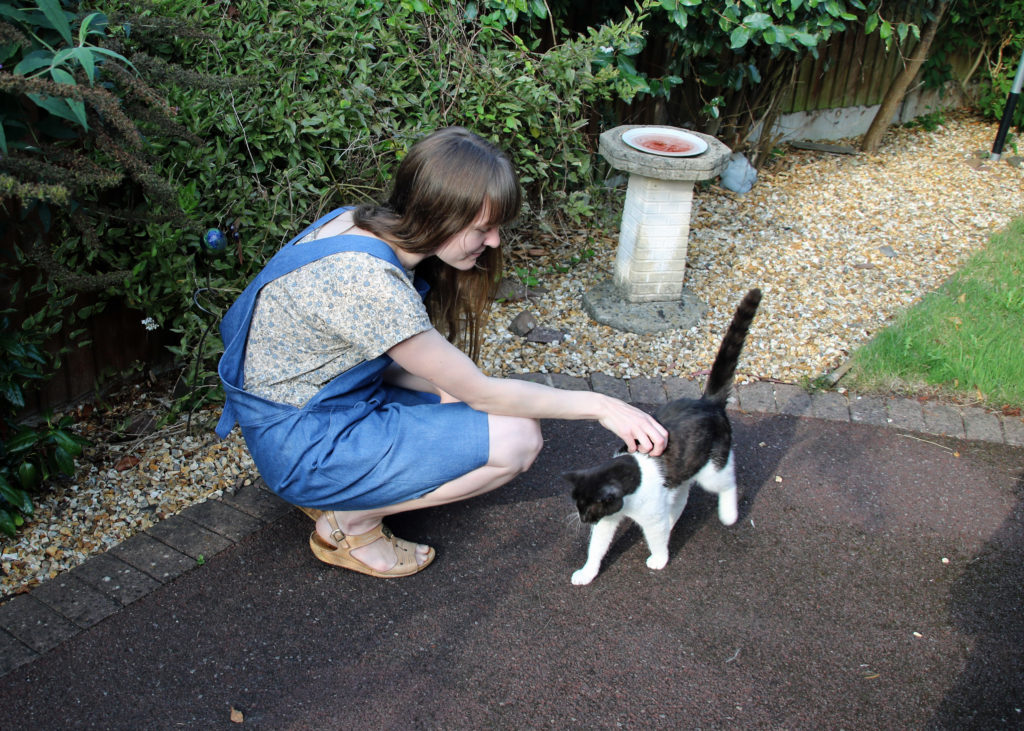
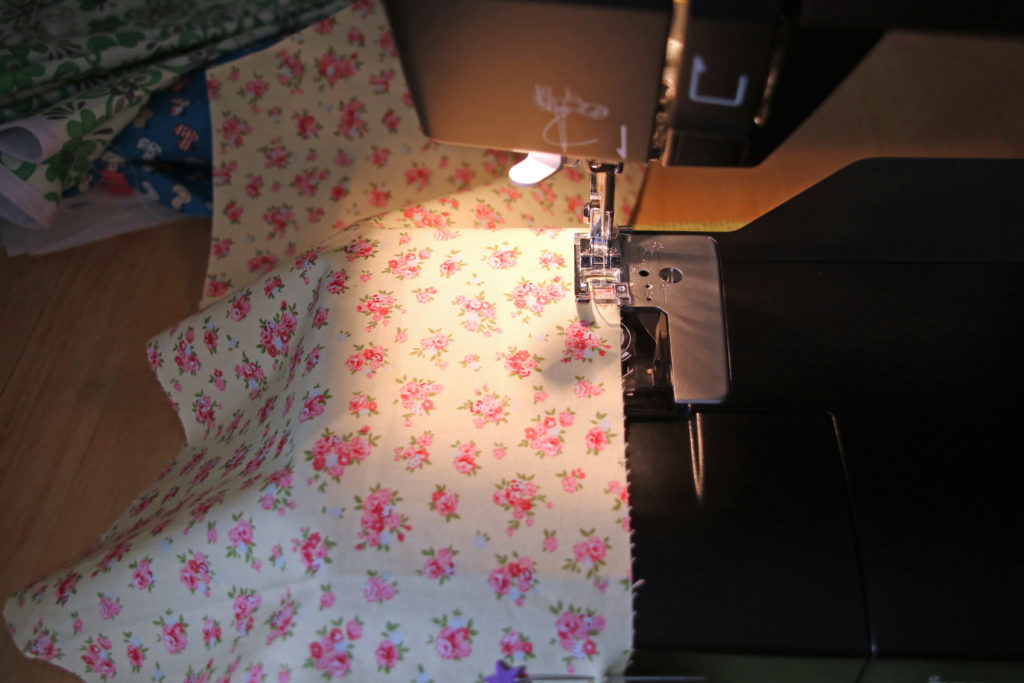
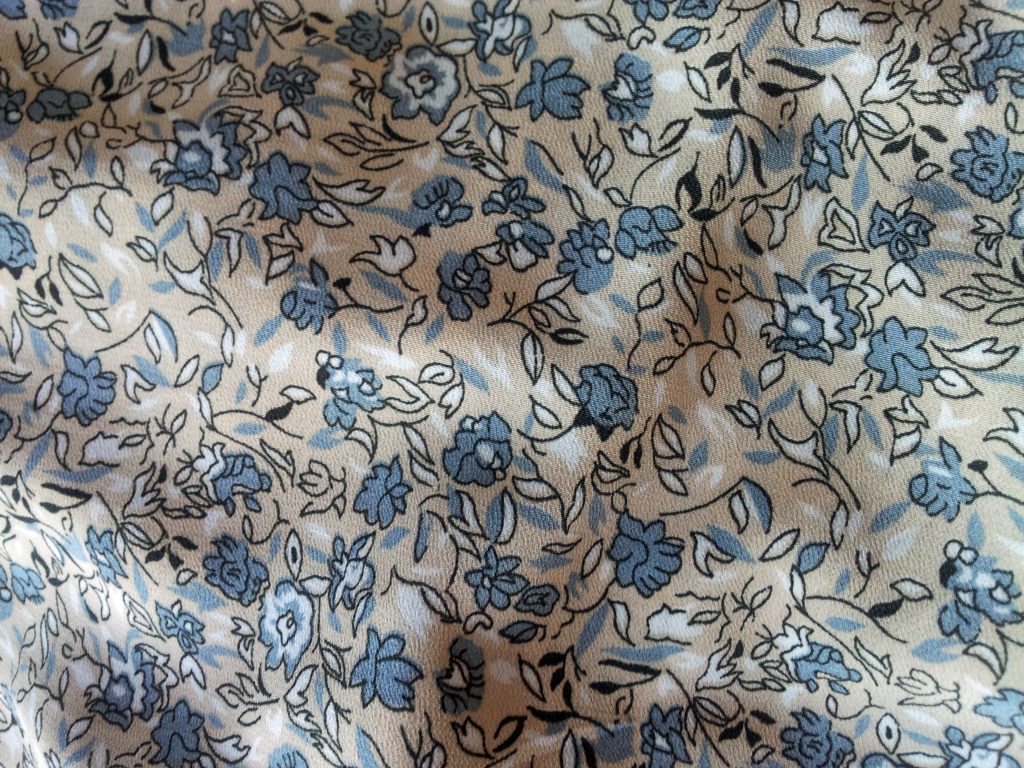
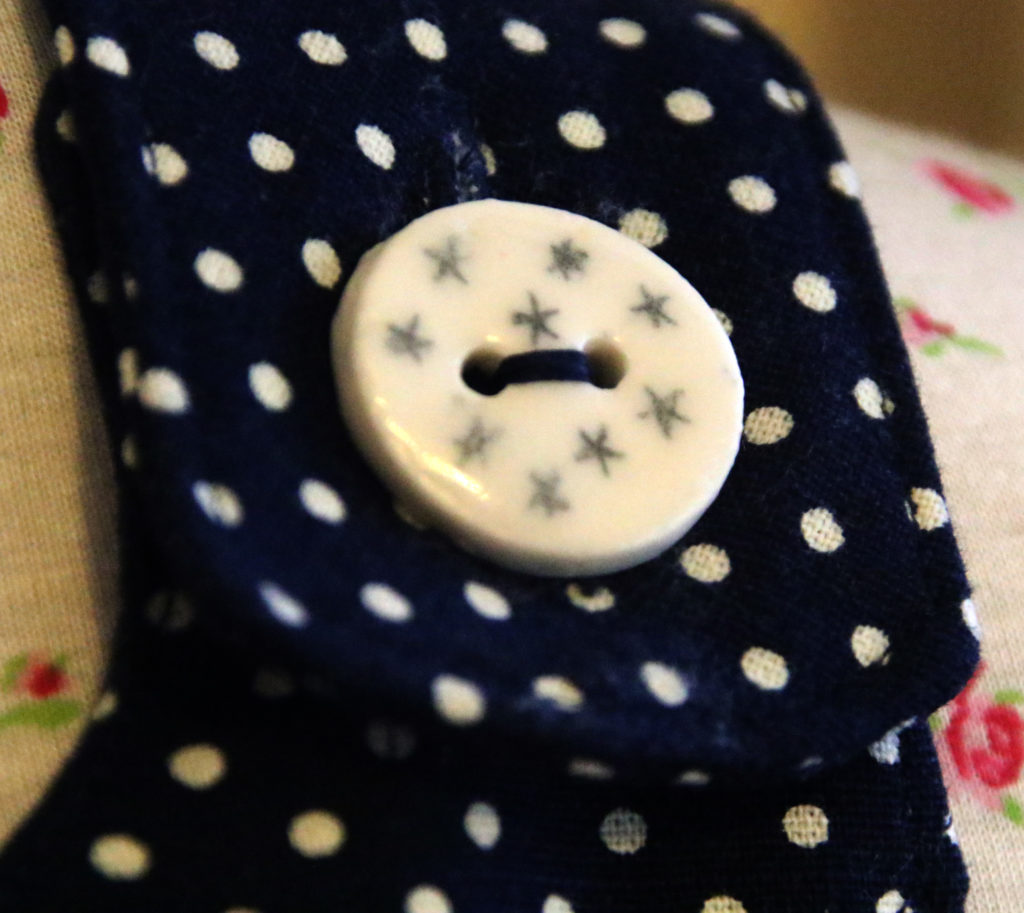
I've been enjoying a bit of dressmaking this month and am finally cutting into some fabrics I bought in one go for numerous projects. One piece of fabric was some navy polka dot cotton bought especially for the ivy pinafore pattern by Jennifer Lauren. One worry I had at the very beginning was that I didn't have enough fabric. The pattern for view 1 advises to purchase 150cm wide fabric, and my own fabric was 115cm after pre-washing. However, my fabric did not have a one way nap or design, so i was able to re-jig the cutting layout plan, which reduced fabric waste as well. I may have enough to make a tote bag too at some point! I still have my stash of ceramic buttons from taking pottery classes last year, and have only used one so far, so I wanted to use some of these if possible for the fastenings. The pattern suggests larger buttons, and I was worried that they wouldn't be big enough. However, I left worrying about this until the button hole stage came up, and decided that my own buttons would work well. It's a real buzz to see my own handmade buttons on a garment! I selected a traditional lining fabric for the lining, as I wanted this make to work well with tights, leggings or jeggings. It was a little tricky to work with, and I ended up hemming the lining by hand, but I think it means I will get a lot more use out of it! It's a real joy to wear this garment. It's loose fittings with seam pockets, which makes it a great lazy Sunday wear when all I want to do is sit in my rocking chair and knit or crochet with a cup of tea! I can imagine wearing it out on a walk too, when I am on the hunt for discarded rusty items to use when rust dyeing! It's definitely a make reserved for my days off! I'll have to try out the gable top sometime soon as I only have one top that goes nicely with this pinafore! The gable top has a high neckline, which works well with this style of pinafore. Looks like I will be getting the walking foot and ball point needles out very soon!