Review of 2016 highlights and lessons
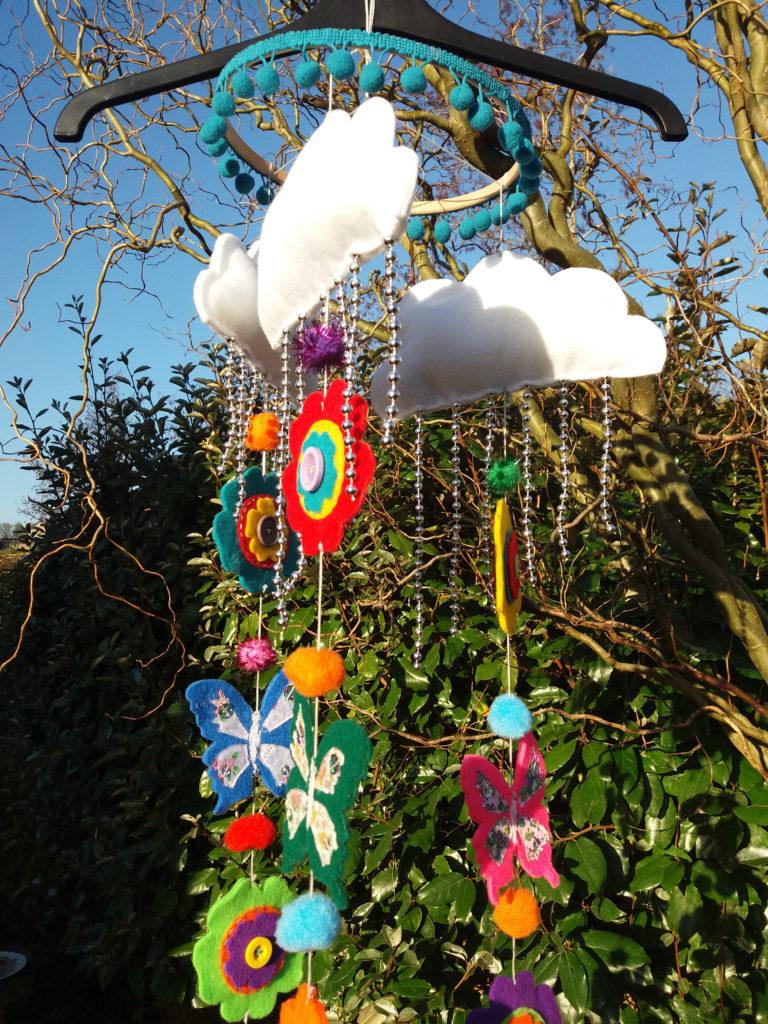
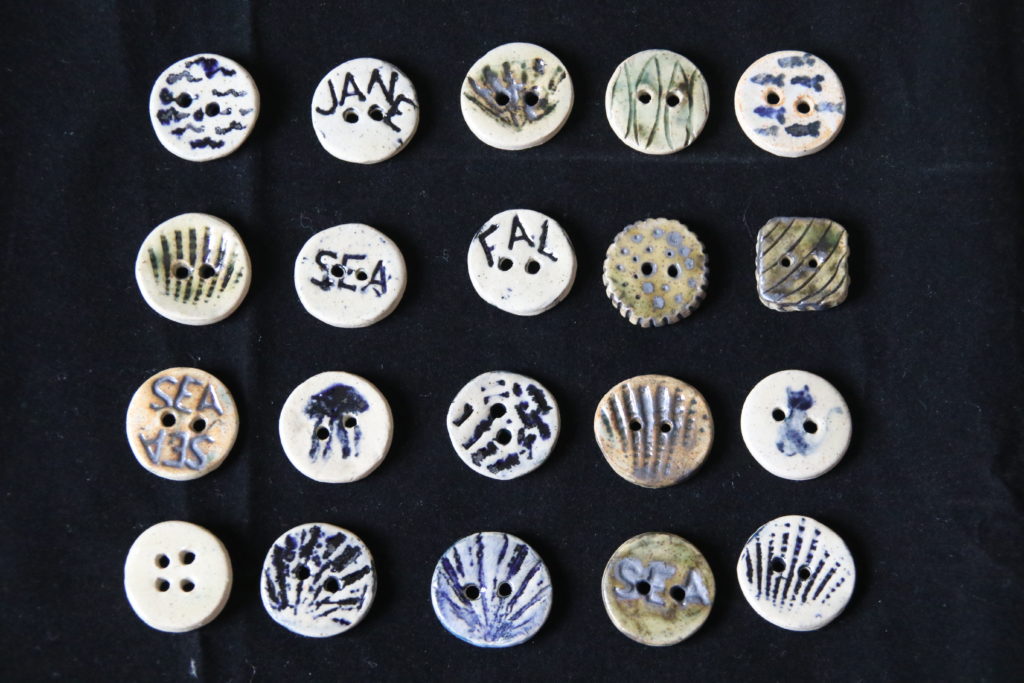
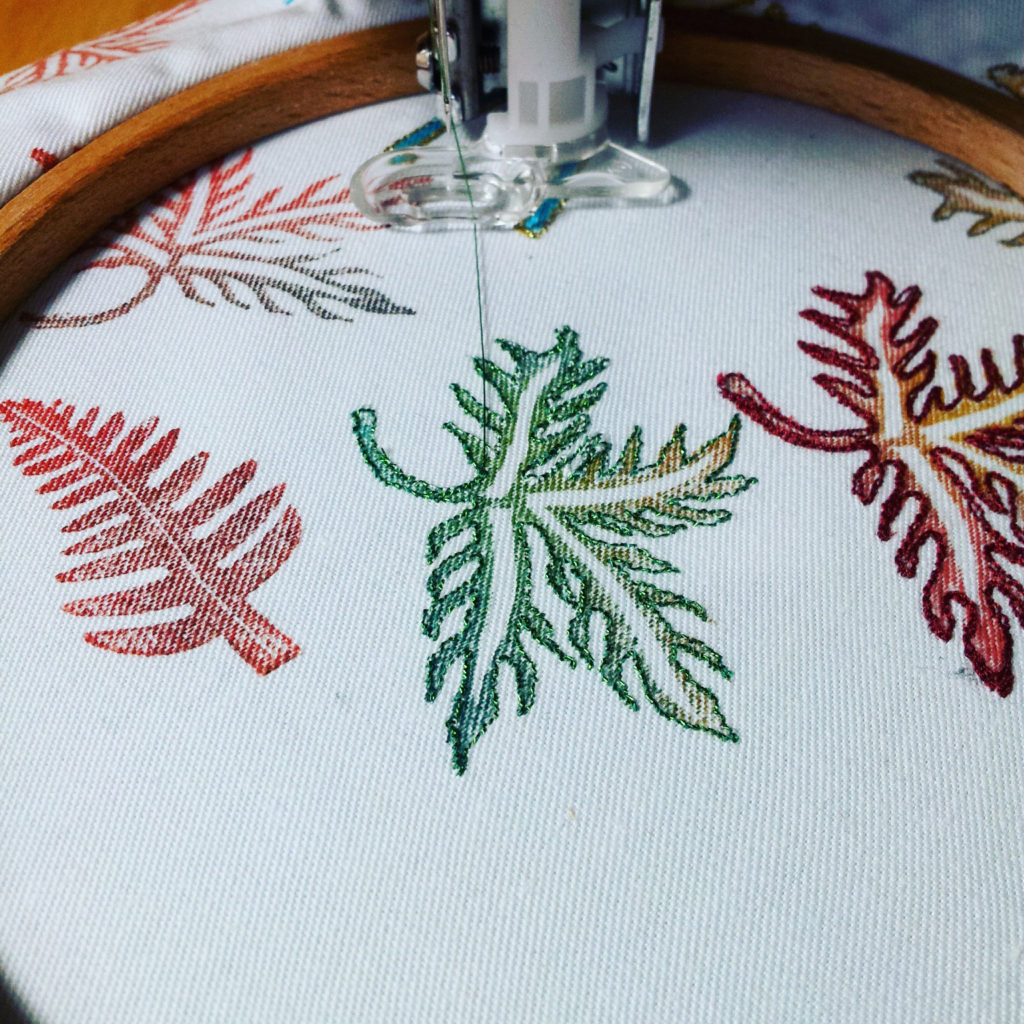
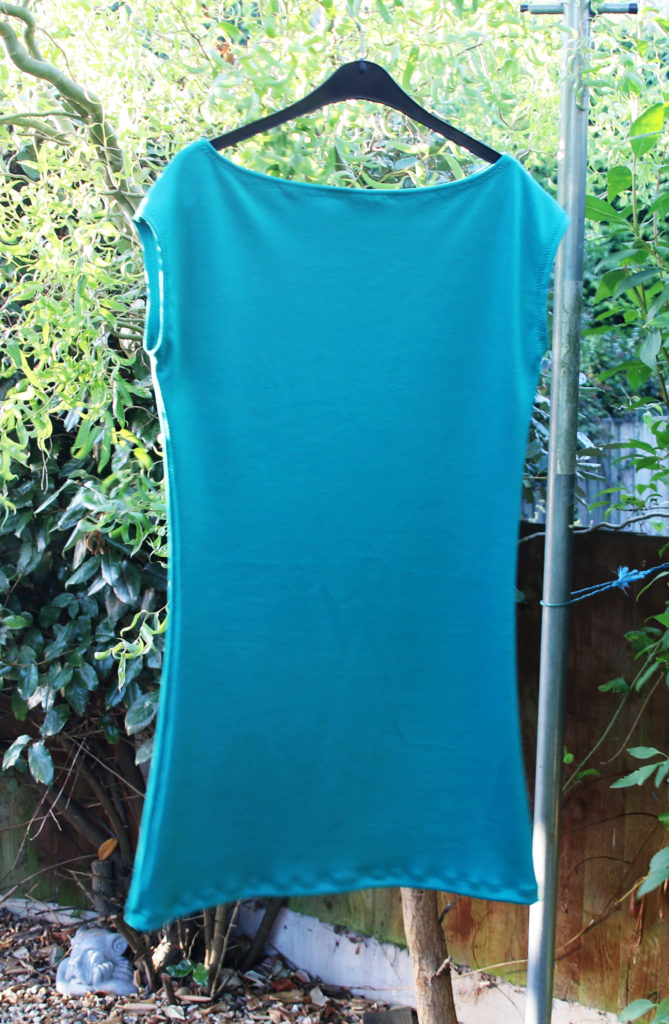
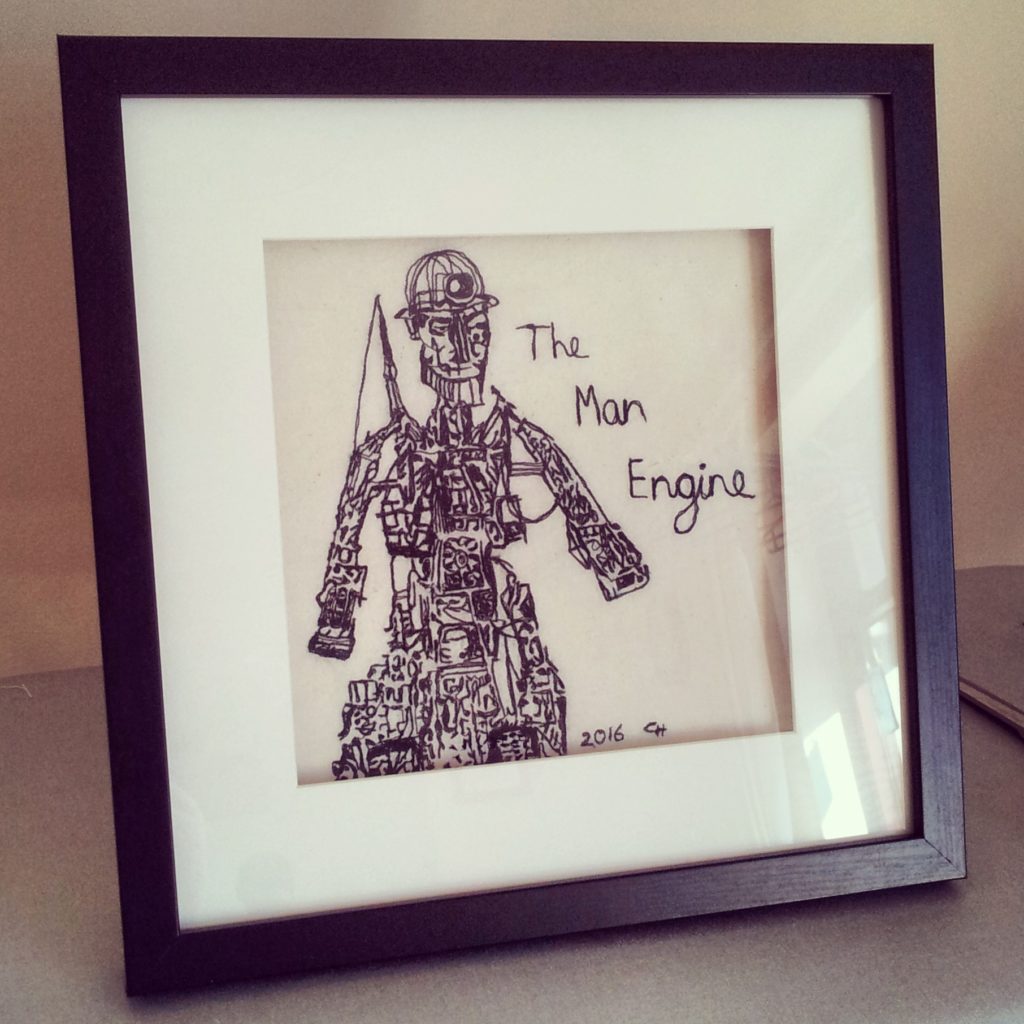
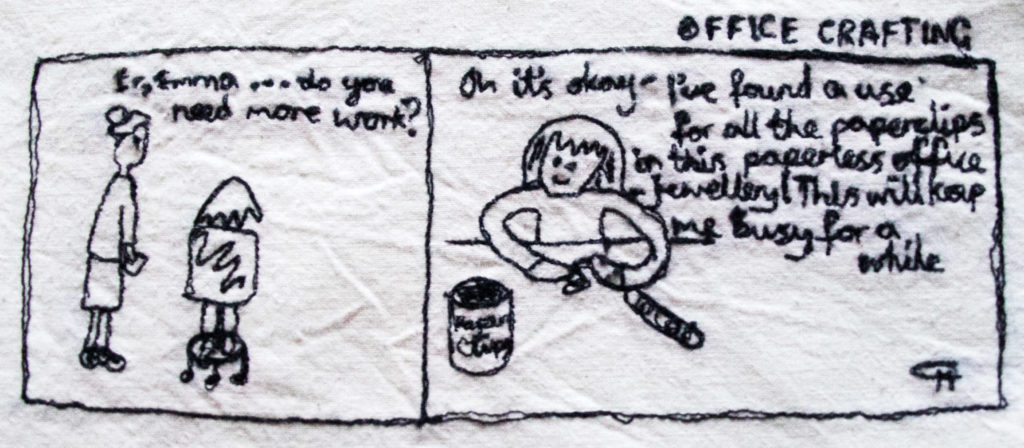
It's nice to pause and reflect back over the year before looking forward to the new year, so here are my highlights and lessons from 2016: Highlights Ceramic buttons! I don't have any plans to continue ceramics at the moment, but a highlight for me has been making ceramic buttons! So far, I have only used one (which may be part of the reason I have decided to leave ceramics for the moment from my stream of hobbies) but I have plans in the new year to use more of them. Free machine embroidery Free machine embroidery has increased the use of my sewing machine greatly. Since taking a 10 week workshop at the beginning of the year, I've struggled to stop! I find it very fun and an easy way to personalise makes without the use of an expensive embroidery machine! Man Engine Stitch Following on from my discovery of free machine embroidery comes my most focused project using the method - The Man Engine stitched. It took a day - from editing a photo on the computer which I took in St Austell - to stitching the design onto calico. Instagram I hadn't really used instagram until this year and I have found it a great way to connect with other crafters and keep up to date with designers and artists. Poppy Playsuit (by Sew Over it) The Poppy Playsuit is my favourite make of the year garment wise (just a shame that the UK isn't ideal weather-wise for it!) Upcycled pouffee The new cover for the inherited pouffee makes me smile! Baby showers mobile (from Chloe Owens All Sewn Up) Probably the longest and probably the most complicated make of the year! However, it does look nice now it's finished (and I should have started it much earlier than I did) Upcycled t shirt cushions Another Christmas gift make to be shortlisted are the t shirt cushions. They came out much better than expected and it has been great to get them out of my stash! Lessons Sewing with knit fabrics The main points I learnt were to use stay tape to stop seams stretching too much and to use a walking foot. Starting presents much earlier! I did learn this lesson a long time ago, but I still struggle to adjust my working pattern accordingly! A couple of years ago, I made everyone's gifts well in time for Christmas. It hasn't happened again, but it will be something I strive towards in 2017. While I always argue that I need the deadline looming to be motivated, I am going to try new methods to get that motivation working much earlier to make it less stressful! Don't always follow patterns blindly I had trouble making the baby showers mobile by Chloe Owens as the fabric glue made it too hard to attach the flowers at the end. In the end, I had to adapt the pattern anyway.