
I couldn’t resist the temptation of one last Christmas DIY before the main event! This time, I decided to explore making personalised fabric gift tags.
Now it is worth noting that in order to make this a bit less wasteful, it’s best to make tags for people where you can retrieve the tags back from them after they open the gifts (unless they really want to keep them) so you can use them annually. As a result, I would only make them for close relatives.
The tools I used for the ones I made:
- Fabric remnant in desired colour (I used a scrap of bleached calico)
- Thread – matching and contrast for design
- Sewing machine
- Free machine foot (as I embellished with free machine embroidery)
- Embroidery hoop (again due to free machine embroidery)
- Eyelet tool and eyelet (but you could do a button hole instead)
- Short piece of twine
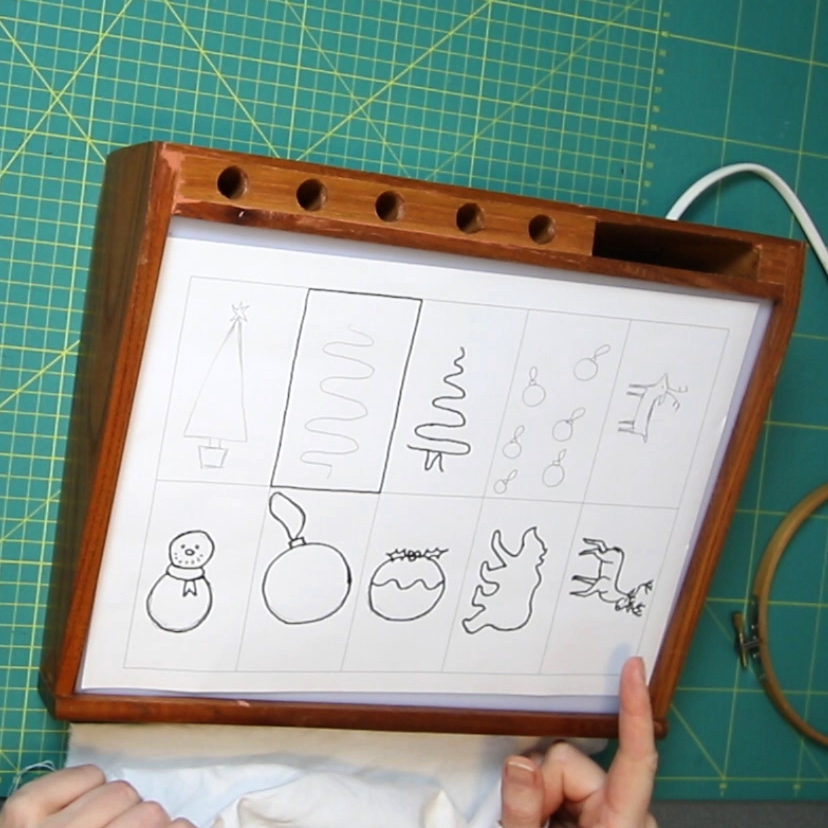
1.Decide on the size of your gift tag and create some designs
I decided to make my tags 9cm by 5cm rectangles, but you could create them a different shape. Remember to allow space for the hole you will punch at the end for the string or twine to thread through.
I used the internet to come up with some design ideas. If you are not too confident drawing your own designs, you may be able to find some downloadable templates online.
Ensure you have enough of a border around the edges to sew the front and back pieces of your tag together so that it won’t interfere with the tag design.
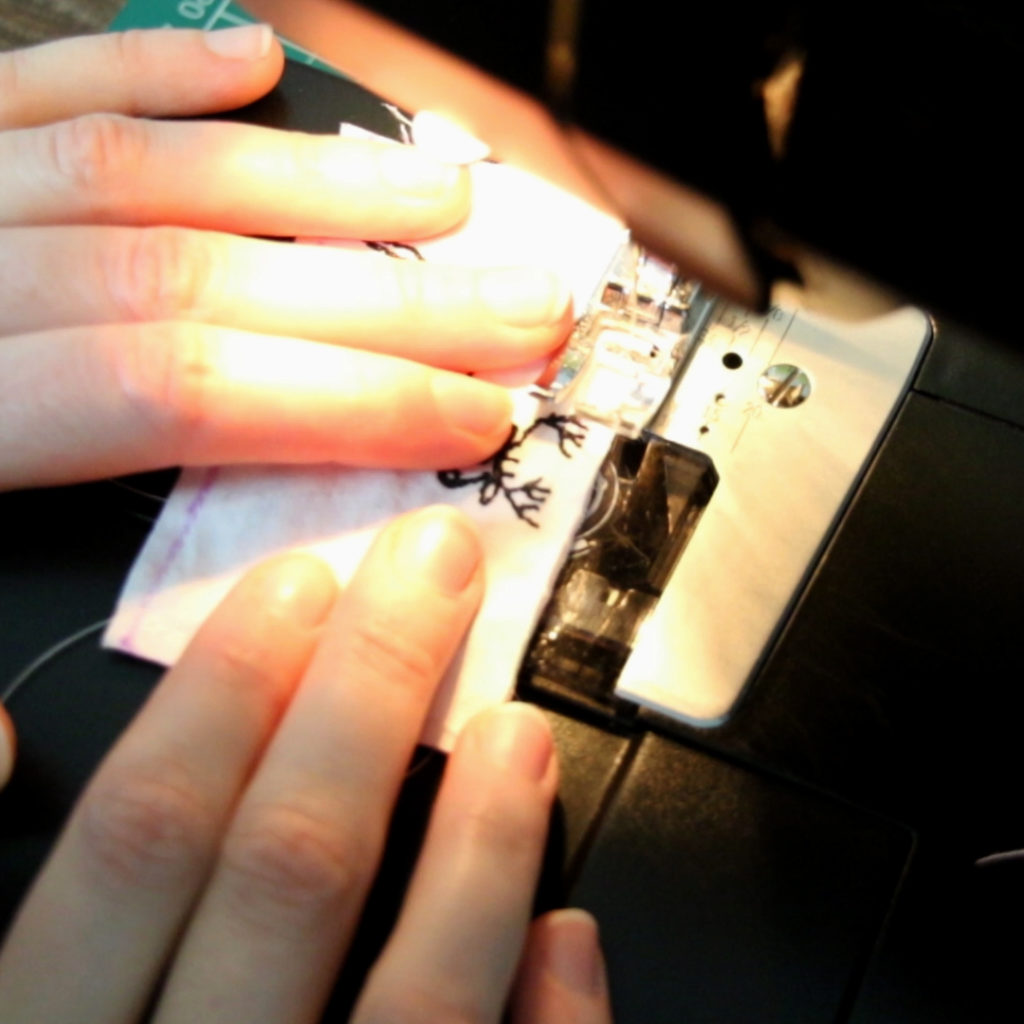
2. Transfer your chosen design onto fabric
Depending on your chosen design, you may with to use applique, fabric paints, or machine stitching to transfer it to fabric. I used free machine embroidery, which you can watch in the video linked below.
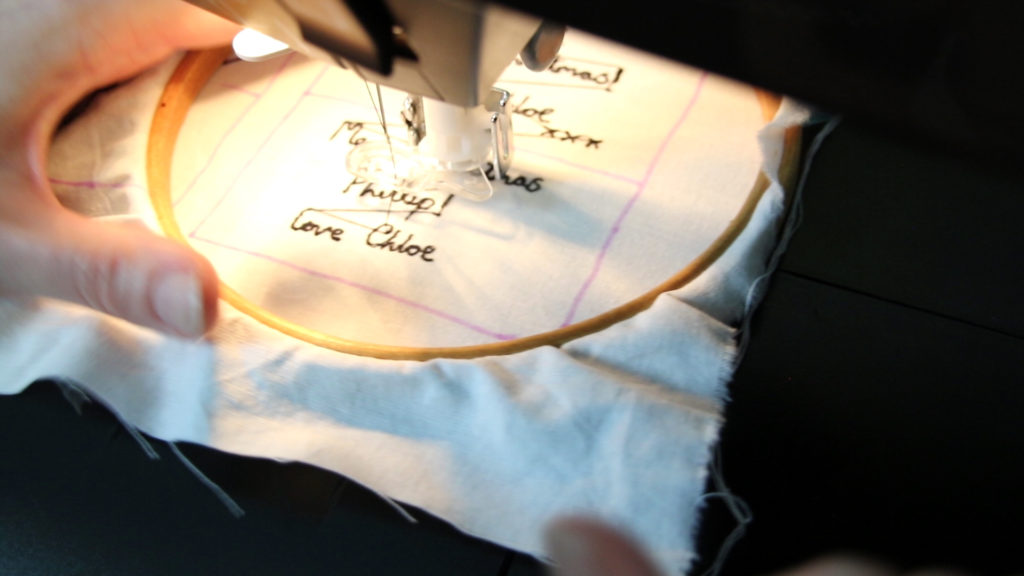
3. Create your message on the other side of the tag
You could use a fabric pen to write on the other side of the tag, or if you have a sewing machine that does embroidered letters, go for it!
I used free machine embroidery, as I like writing freehand with stitch.
4. Sew the two sides of the tag together (wrong sides together)
With both sides of the tag decorated, it’s time to stitch them together! Place the two sides wrong sides facing and stitch around all four sides (or all the edges depending on your chosen shape). I left a very small seam allowance of about 3mm from the raw edge.
I used matching thread but I think you could go for a contrast with a decorative stitch.
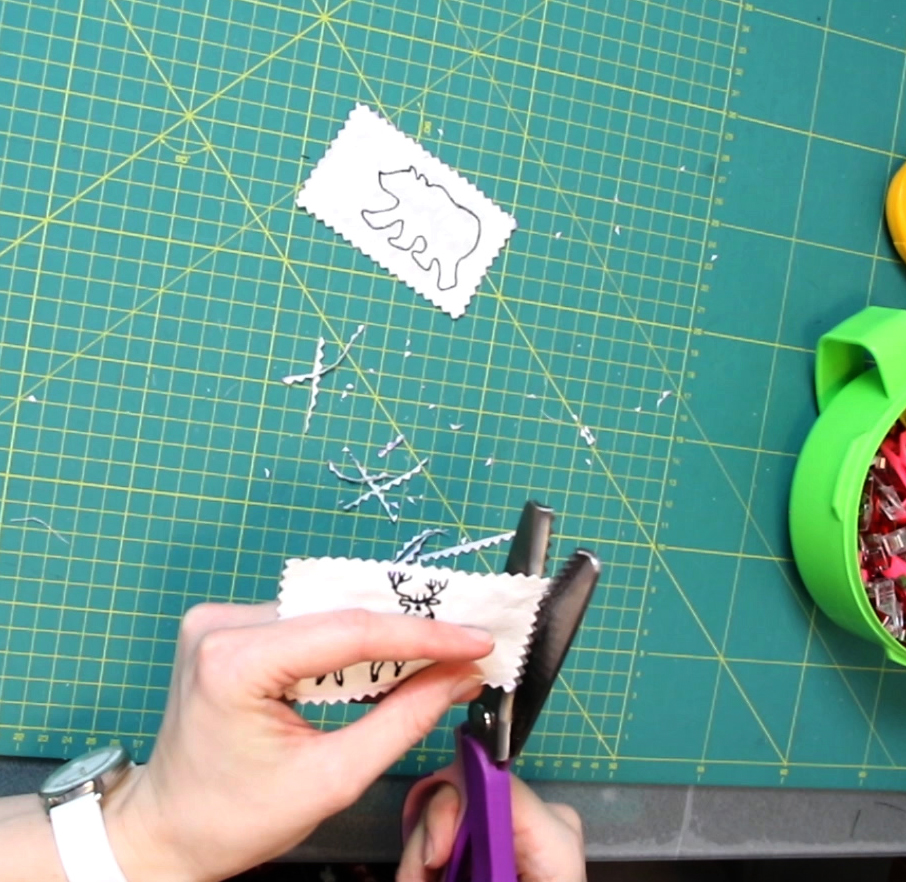
5. Neaten the edges (optional)
Entirely optional, but I felt mine looked a bit better by neatening the raw edge with pinking shears.
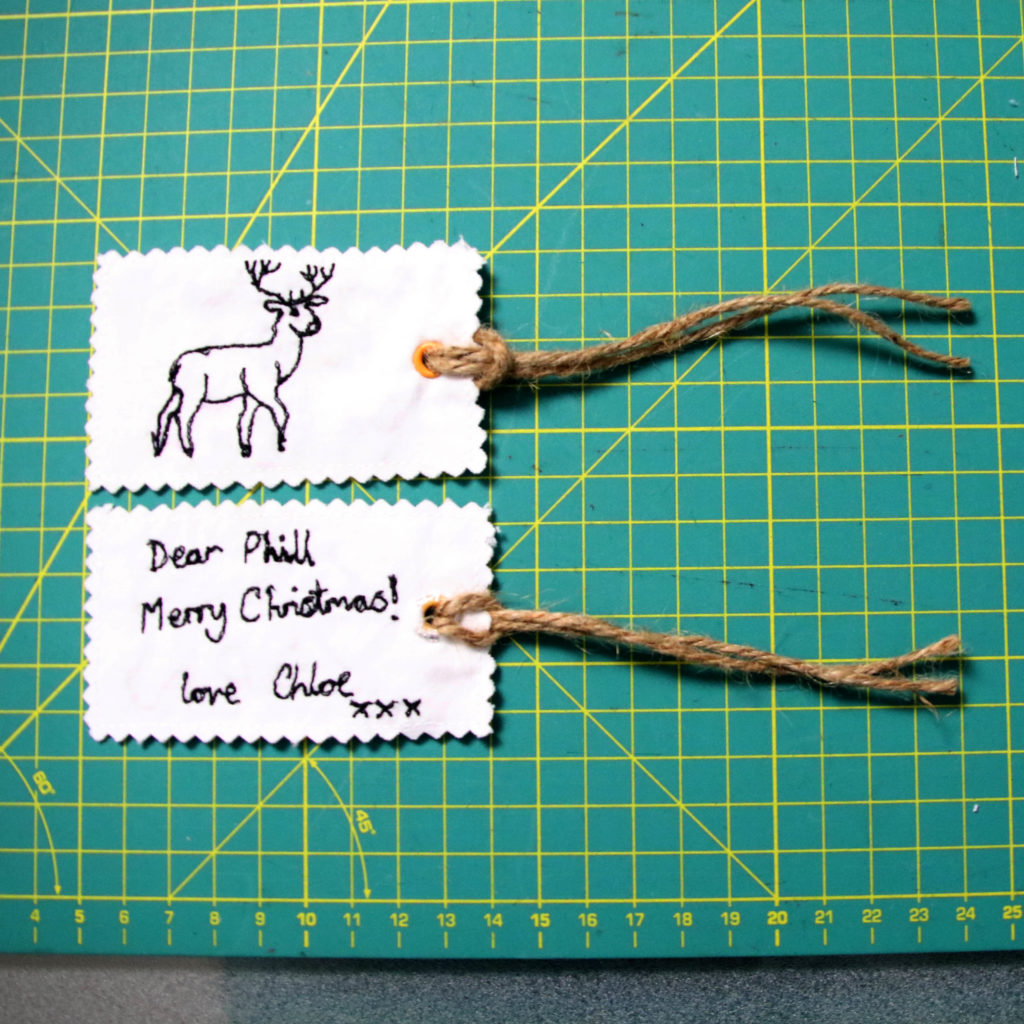
6. Add an eyelet, then add your twine!
I used an eyelet tool to create the hole for the twine (see video). However, you could create a small button hole if you don’t have this resource.
Repeat to make as many as you wish.
Watch it on the Vlog
I’ve linked my video on this DIY below: