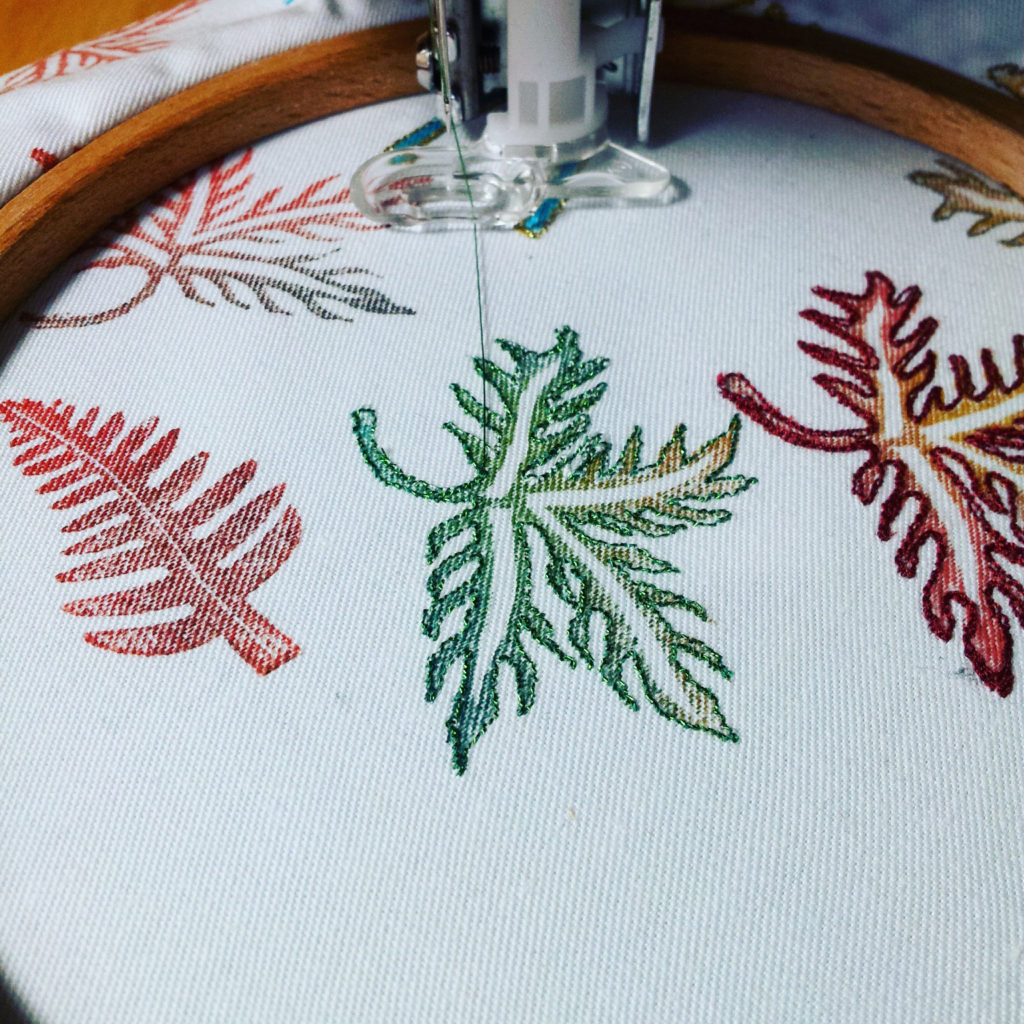
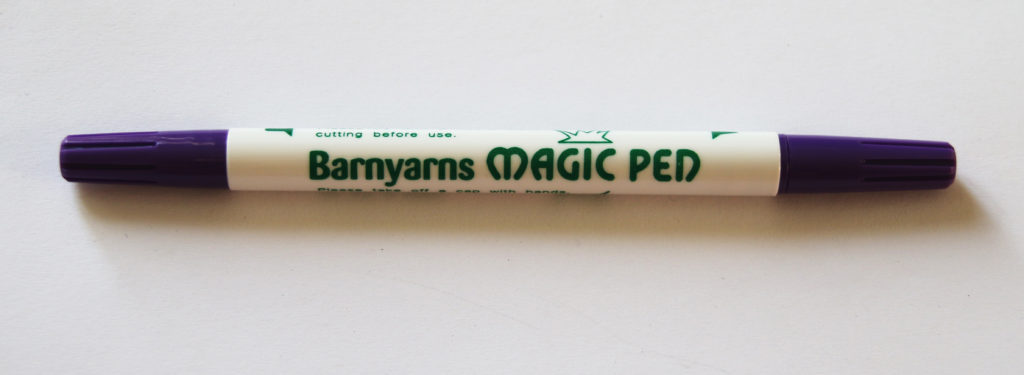
At the end of September, I bought my first air erasable pen and thought I'd share my first few weeks' experience with it. The air erasable pen I got at the the stitching, sewing and hobbycrafts show at Westpoint, Exeter, was from Barn Yarns. As you can see from the images, there are two ends to this pen. There is a fine point and a thicker nib. the difference between these two nibs can be seen in the image below: I like the use of two different thicknesses because it suits the purposes I use it for very well. I can use the finer point to create much more precision on intricate machine embroidery designs which need to be mapped out on the material before stitching. However, the thicker nib is useful for making marks dressmaking as it show up better and doesn't disappear quite so quickly! However, I have used it for larger embroidery designs. For example, I have begun making some new tote bag designs for Christmas which include larger stitched words than I normally produce. I write with the machine freehand in general, but as the words are a lot bigger than I'm comfortable with, it was good to use the thick nib of the pen to draft it out before I began. The directions for this pen advise that the markings will disappear between 24-48 hours in general, but it depends on the location. Humidity plays a factor, and I found that the stag design markings with the fine point disappeared within 24 hours. Cornwall is quite humid, so I expect that other locations may find the markings last longer! I think it depends on the fabric too. The time it takes to disappear can be an advantage and disadvantage. For me, it's great for a project I am going to make straight away, as the markings are there for as long as I need, and will disappear on their own without the need of water, which removes the risk of shrinking the fabric (if it gets to wet) or causing the thread to run. However, it would not be so good if you used it for a dressmaking project which you could not complete within a weekend, as there's a good chance your markings will disappear if you take too long! In this instance, I'd probably stick to the water soluble pen variety, which tends to last much longer in my experience. Overall though, this pen has improved the way I make certain items and I have used it a lot in a short space of time. It will be interesting to see how long it lasts before I need to purchase a new one!