The stitching, sewing and hobbycrafts show!

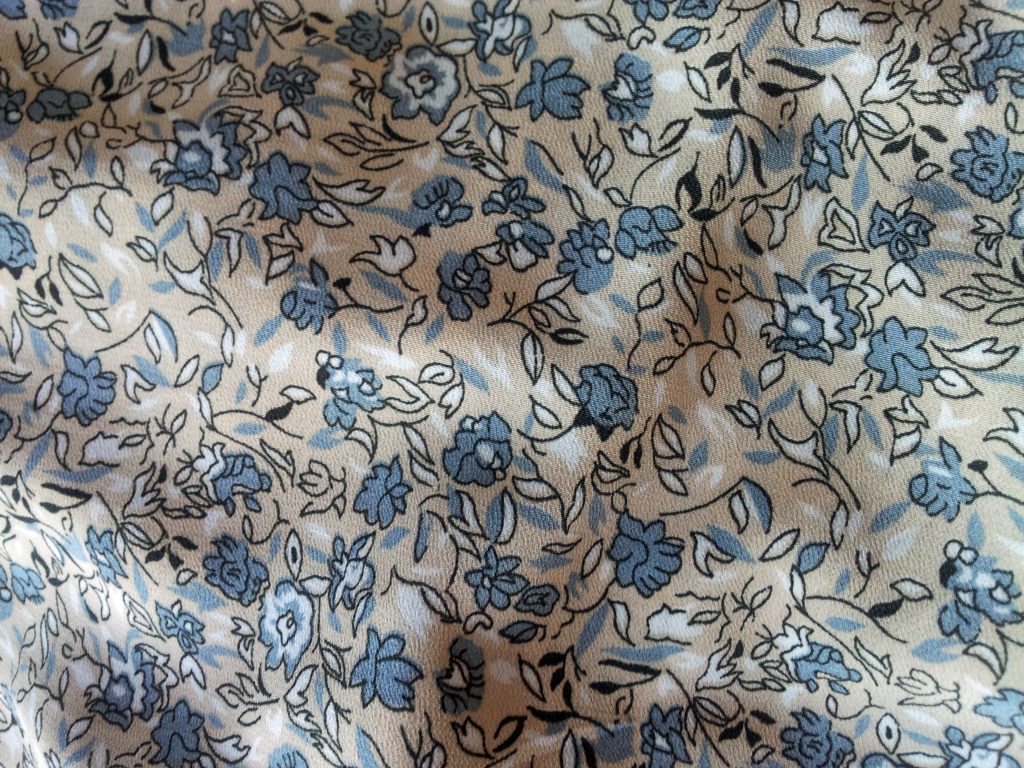
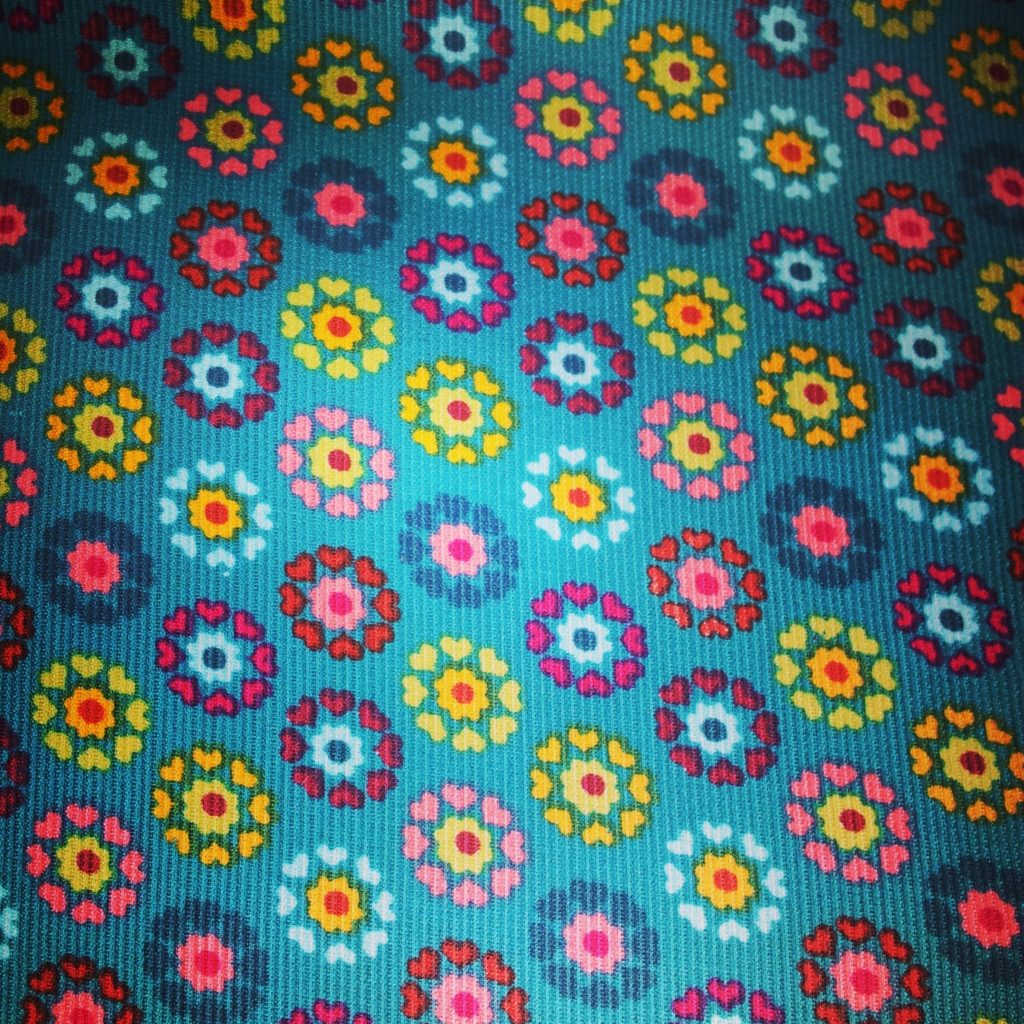
Last Saturday, I went to the stitching, sewing and hobbycrafts show at Westpoint, Exeter, UK!

My friend and I went as part of a day coach trip to avoid the prospect of driving.  Unfortunately, the pick up point was not in our town, so we had to get a lift to Truro.

When we arrived, there was a queue which wandered around the building!  Once in, we decided to dive into the middle aisle which seemed quieter as others opted to choose to tackle the show from one end to the other.

corduroy

The first fabric shop we saw was Fabrcis Galore, which contained an array of wonderful fabrics.  After deliberation, i went back later to buy some printed corduroy, which will be perfect for a project I have in mind to make after all the Christmas gifts are made (so probably January)!

Also I picked up a lovely polar bear print from another fabric shop, which will be used in a gift I need to make very soon (currently being prewashed so no photo)!

fleece

My very first purchase was this fleece.  As the nights draw in, I think I will turn to practising spinning with my drop spindle once more, and I like to pick up small amounts of fleece for this purpose.  I’m not a fast spinner, so this bag is a suitable size.

angel

We managed to sign up to a wonderful glass workshop with The Glass Garden Studio where we learned the basics in stained glass construction. I took home this angel that I made.

tactile-treasures

Tactile Treasures was another stall I was particularly interested in.  Now I have a niece, I am interested in making toys which will be perfect for her learning and development.  this stall sold all sorts of attachments which are teething friendly and different stitchable surfaces, such as this mirror, which can be cut, stuck and appliqued onto items.  I bought some rattle inserts too which will be great to use, and received excellent tips from the owners of the business on ensuring that the toys you make a safe and meet safety standards.

I came across an air erasable pen, which is something I have been looking out for having read about them.  I’ve been having a bit of trouble with water erasable pens, which have at times caused the thread to run onto the background fabric.  I’m not sure they this has happened as the thread should be colour fast, but I am intrigued to find out whether the use of an air erasable pen would be safer.  I plan to review this in the coming month.

The block printing stall from The Arty Crafty place was lovely as well.  When we finally managed to get up to the front and admire the blocks, we were very tempted with their £30 starter pack.  However, I decided to select a couple of small blocks.  They were packaged in a beautiful drawstring bag.  We also found some simple leaf shapes for £1 on another stall, which we plan to try out for block printing too at some point.

There were lovely displays of artwork too, including an impressive stitched cardigan!

As it was a day coach trip, it meant we were there for the whole hog and were shattered by the time we crawled back onto the coach at 5pm!  But it was an interesting experience.  I found it a bit overwhelming as someone who tends to avoid large crowds, but the inspiration was immense and I feel as though I’ve been drawn to another handful of hobbies in a very short time!!

Continue ReadingThe stitching, sewing and hobbycrafts show!

Wabi Sabi – embracing the beauty of natural imperfections

Wabi Sabi – the Japanese art of embracing the beauty of natural imperfections – is something I’ve stumbled across this month.

Wabi Sabi in craft terms appears to be finding the beauty in the handmade elements.  I wish I’d discovered this art while I was learning ceramics earlier in the year as I could have defended my wobbly pots when compared to the much more symmetrical looking results from other students in the class!  It’s nice to know there is a philosophy which prizes the uneven glazing, wall thickness and overall performance of the complex ceramic process.

wobbly pots

I’ve also explored glass fusing this year, and in this class we embraced the imperfections of our pieces as we understood how these elements distinguished them from a production line.  For example, bubbles within a piece can be seen as inaccuracy, but they make a piece individual.

coaster

I will reflect on this philosophy as I complete my next set of projects.  For example, I have almost completed all of the pieces to create a crocheted bunny toy.  Instead of avoiding the construction process, which I don’t enjoy very much in knitting/crochet, I will remind myself that it doesn’t need to be sewn in exactly the right place as you might expect from purchasing one from a shop.  It just needs to be completed so that it can become a cherished, handmade toy.

Reflecting on the Whole Living article on wabi sabi in the home, I realise that I incorporate this into my home already.  The furniture we have is predominantly hand-downs from family members who no longer want them or need them.  The table I use for sewing is my grandparent’s old kitchen table.  We have a table in the lounge which we bought from a café in Southampton when it was closing down and they were selling them for £10.  They had covered it in pages from a book of Shakespeare’s sonnets and there’s a slight tear on the lower self where a customer must have brushed their shoe on it.  In the kitchen hardly any of our cookery items and chinaware matches.  They’re not handmade but they’ve turned into something individual and imperfect through time.

sonnet table

Wabi sabi seems to me to encourage you to stop and appreciate what you have rather than seek something newer or more pristine.  However, it doesn’t

If you would like to look at techniques in which you can embrace Wabi Sabi to let go of some of your perfectionist tendencies, the Whole Living website  has a useful article on how you can abandon perfect to enhance everyday life.

Continue ReadingWabi Sabi – embracing the beauty of natural imperfections

Personalised Cards!

Last month, I made a couple of individualised cards – one for father’s day and one for someone to give as a leaving card.

The leaving card was personalised by adding the name of the perosn leaving the workplace.  I used those fabric felt tip pens to colour it in.

Linda card

The father’s day card was personalised because it’s always been an ongoing joke that my dad is good at Tetris.  We would bring tons of stuff on holiday as kids and he would meticulously work out how to use the space in the car effectively to fit it all in!  The design is based off an image I saw online.

fathers day

Continue ReadingPersonalised Cards!

Free Motion Embroidery – drawing and writing with my sewing machine

Got your eye on an expensive yet impressive embroidery sewing machine?  Think again!

I’ve been admiring the lovely embroidery machines with their numerous stitch options and the possibility of embellishing handmade gifts with a name at the touch of a button (or a few).  I remember watching a demonstration of someone programming in a word and then watching in awe as the machine punched out the letters perfectly.  All I wanted to do was justify the cost of buying a sewing machine which did this!

Well, my bank budget (and boyfriend) will be relieved to know that I no longer have this impulse!  While embroidery machines are amazing – especially the ones where you can put your design into the computer and then transfer it to the machine to stitch it – I discovered free machine embroidery this year through a local course.

I signed up to this course without much thought about what it entailed.  I’ve always wanted to do a textile based course, but they’ve always been a long commute away or I hadn’t been able to justify the cost at the time.  This course was a reasonable price, within walking distance, and with my new working hours, I could make the time of the session.

Free machine embroidery (also known as free motion embroidery) is when you drop the dog teeth on your sewing machine, which normally propel your fabric in one direction (away from you).  You attach a new type of foot – a darning foot – and reduce the upper thread tension a little.  You can do it without a presser foot attached, but it’s a lot safer with one!  You use an embroidery hoop to keep your material firm and you’re ready to go!

It’s best to move the hoop really slowly and have a play at first.  It takes time to learn to keep your hands smooth and steady as you stitch.  Originally, I practised drawing lines with the machine, then made loop patterns and some basic shapes.

first attempt
My first attempt at free motion embroidery!

In the course, we learned shading, appliqué, writing and using water soluble fabric (which is a whole other aspect to discuss another time).

IMG_20160326_085029
Some shading added to this cat drawing
applique
Some abstract layering of different fabrics using appliqué and free motion embroidery

I really enjoyed all of it, but I am quite fond of writing with stitch.  I love looking at people’s handwriting, and I used to enjoy writing stories as a kid, which may explain my fondness of handwriting.  I have used writing in combination with other free motion embroidery techniques in producing the designs for some of my Etsy items– cards in particular.

Ultimately, the reason I’m addicted to free motion embroidery is that it is creates personality and individuality in makes.  Embroidery sewing machines are programmed to be perfect, but I am always going draw something with stitch a bit different every time I use it, which makes it more interesting.

It’s also a great stash buster!

Here are some useful resources and artists to look at if you fancy a go:

  • Craftsy has a useful ‘how to’ on creating embroidered works of art.  It’s very clearly laid out in simple steps
  • Poppy Treffrey does some lovely free machine embroidered items, focusing mainly on the seaside and animals
  • Lou Gardiner is another amazing free machine embroiderer and describes how she creates her work well on the introductory video on her site
  • Jane Hall focuses on nature in her work
  • Rosie James has a lovely book on drawing with stitch
Continue ReadingFree Motion Embroidery – drawing and writing with my sewing machine

The Poppy Playsuit

Once again, it’s been a while since I’ve had another go at dressmaking.  I remedied this by combining a recent pattern in Simply Sewing with a recent material purchase!

There’s a lovely charity shop nearby who sell craft supplies.  I was very lucky to go into the shop when they had a material sale on, which meant I got two fabrics for the price of one!  One of the fabrics I came across is this lovely one above.

I am not sure what type of material it is, but it drapes well and there was enough to try out the Poppy Playsuit by Sew Over It, which came with issue 16 of Simply Sewing.  The main criteria for the material for this pattern was one which drapes well so I had the perfect match!

This is the first pattern I have tried making a basic alteration with.  I found that the bust and waist measurements were close enough to one pattern size, but my hips definitely needed a smaller size.  The pattern pieces did not highlight where the hipline was, which was a shame, but I still made a basic alteration from the waist to one of the notches which I felt was close to the hip measurement area.

The fabric was a challenge to cut out as it moves easily – I found that pattern weights and then pinning it helped.  The pattern’s instructions suggested pinning the edge of the fabric too, which was a useful tip.

As I was concerned about the material moving too much, I pinned and tacked at every stage.  Tacking increases the time considerably, but it did mean that I didn’t have any major unpicking sessions!

The pattern directions are clear and and concise.  Key terms are defined, which saves a google search part way through your make!  The only section I had to re-read again was how to do the turn-ups, and they turned out to be really simple once I focused on the directions carefully.

The only bit of unpicking I had to do was related to the hook and eye.  I attached the hook so that it would meet the edge of the right hand side opening.  This caused a gape in the material when fastened.  I changed this by placing the hook on the very edge of the right hand side opening and put the bar further in on the left hand side.  Also, I didn’t read the pattern carefully when attaching the facing and did a 1.5cm seam allowance instead of 1cm!

I was surprised by how long it took me to make this item, but that’s mainly because (a) I’m rusty at dressmaking and (b) the material required more care than a standard cotton or linen.  However I think it’s well worth it and I look forward to some warmer weather soon so I can wear it!!  I would definitely complete this pattern again, and I expect I would find it even easier and faster second time round.

Although it took some time, this pattern is great for beginners because (a) there are only 4 main parts to the pattern, (b) no darts, (c) the shaping and fastening is the hook and eye and elastic casing at the waist, which means no zips or buttonholes.  The fabric really helps to define its shape, so as long as you get that right, you’ll end up with a lovely addition to your wardrobe!

Continue ReadingThe Poppy Playsuit

My first sew with knit material – the simple top

Here is another make from my #miymarch16 activity!

IMG_20160324_224240

To ease my nerves, I read up for some basic tips on sewing with knit fabrics with the help of Tilly and the Buttons’ blog post and Smarmyclothes’ youtube video.

The pattern – McCall’s 9399

top pattern

I got this pattern in a charity shop for a bargain price – I’m not even sure I paid the £1.99 penned onto the front!  I chose design E as I quite like a high-ish neckline, although I was tempted by the asymmetrical option, and H, which has a slightly lower neckline.

I didn’t want a complicated first knit project, so I felt that this pattern would be simple enough to give it a go without using too much material and time immediately.

I needed only a yard of material for this project.  I used a stretchy material I bought from Fabricland a long time ago but hadn’t gotten around to using so I was very happy to finally bust this one out of the stash!!

The pattern suggested a double hem.  Baffled by this technique, I searched online and found this tutorial to be useful in defining what it is.  Knowing I had a twin needle, I thought “yeah!  I could do that!” and set to work to make it happen.  However, after hemming the neckline, I realised that the bobbin thread was way too tight and and broke when I stretched the material.  I searched online to find out how to resolve this new issue and came across Mariadenmark’s useful post.  This enabled me to realise that I needed to increase the upper thread tension to make it work (I didn’t use interfacing as I don’t own any for knit fabrics – yet).

Things I learned from this project:

  1. Prior research helped a lot! If I hadn’t learned the basic tips of how to prevent it stretching, the needle to use, and the stitch types which can be used, I would have been stuffed as I would have been easily mislead by the pattern’s instructions and guidance as it looks like they suggest a straight stitch…
  2. The double needle gives a nice neck edge – but it takes time to get the tension right for it to work!
  3. Use a knit machine needle!
  4. There are various stitches you can use for knit fabrics. I thought I would opt for the standard zigzag, but when it warped the shoulder seams a bit, I found that the three stitch zigzag worked much better for me and the material I was using.


Continue ReadingMy first sew with knit material – the simple top

Upcycling jeans – the sewing pinny!

One of the projects I made during #miymarch16 was the upcycled pinny from an old pair of jeans.

jeans before
A very creased pair of old jeans!

I got these jeans for my 21st.  I’m a bit of a hoarder, and while they had a tear in them where the fabric was so thin and worn out, I hadn’t had the heart to chuck them away.

When I met up with my mum and sister in March, they suggested cutting them up into something new.  Due to the location of the worn out section, a skirt was not suitable!  However, we came up with making a tool belt.

jeans initial cut

One of the best parts of making something from something you’re prepared to throw away is that it doesn’t cost you anything and you have a lot of freedom to just go for it!  I simply placed a ruler over the jeans roughly where I thought the length would be good and took a rotary cutter to it!

IMG_20160316_223414

As you can see, I curved the back to make it more apron like, but also so I could keep the back pockets.  Jeans lend themselves to being a belt because of all the pockets!!  I added some patches to the back pockets and then added a pom pom trim and ribbon border.

IMG_20160317_083739

I wanted to add more decoration, and following my recent addiction to free machine embroidery (which I will go into more detail at some point in the future), I drew out some sewing related appliqué onto bondaweb!

pinny complete

Et voila!  Here is the end result!  I added some random buttons to the front pockets and stitched additional detail on the appliqué.  Now I put my scissors on a bungee rope so they’re always with me but I do think I need to add a scissor holster to it to improve it.

Continue ReadingUpcycling jeans – the sewing pinny!

#miymarch16

#miymarch16 may have been a couple of months ago, but here are the resulting images I posted from it below.

Make it Yourself March is an Instagram event.  It involves posting an image based on the daily photo prompt – a list can be found on Wendy Ward’s blog from this year.

New to Instagram, I found this event coincided beautifully with a couple of my goals – to become more familiar with using social media and to push myself to create more.  It was a great way to be inspired by fellow dressmakers.

Instagram is an easy form of social media if you have a smart phone and I’ve carried on using it since.

During March, I made 4 dressmaking items, completed upcycling projects, planned future projects, made gifts and machine embroidered.

Continue Reading#miymarch16

Bee Themed!

One of the best parts about handmade is that you can make whatever it is you’re making personal!

This is how my bee themed gift and card came about when a couple my partner’s friends with had a baby recently.  As the father currently does work relating to bees, the gift became centered around this!

bee mobile

The crocheted bee mobile was a lot of fun to make.  I used clear nylon string to attach them to an embroidery hoop for the top of the mobile.  Acrylic yarn was used so it should be hard-wearing.

I love the little sting detail too!  They were made on the round which meant no seams to sew up!

bee card

I’ve been learning how to free machine embroider this year so I used this technique to create a simple card.  I’ll be adding an improved version of this card to my etsy shop in the next week.

Continue ReadingBee Themed!

Crafting with Family – March

It’s been a while since I have posted and my post is all about a craft meet up two months ago!

Mum’s house is quite a good meeting point for her, my sister and I to meet up.  We managed to meet up in March and here’s what we got on with:

applique in progress

Having purchased a lovely new Singer sewing machine recently, my sister put it to the test by having her first attempt at appliqué!  Not one to be daunted by a challenge, she decided to appliqué a friend’s name.  A very impressive feat, going around all sorts of twists and curves when you’re still adjusting to a new technique and how your new machine works!

cushion

The great part about this bright and colourful cushion is that it’s all made from remnants.  The main cushion is made from an ex-display curtain from a department store, with the money going to charity.  The letters were cut from a swatch book, which had been picked up the same way from the same store.

I didn’t embark on a sewing project this time, but I did finish the second sleeve to a short sleeved cardigan I began two years ago!  It’s now at the sew up stage before the neck band and button band are tackled…

doll progress

There’s the progress of my mum’s doll, which she began in our February meet up.  It’s coming together now it has a head!  She wasn’t able to progress with it that weekend, but she did hem up someone’s new net curtains by hand!

Continue ReadingCrafting with Family – March