Make a mini Christmas Brooch!
Here's a mini tutorial on how to make a little Christmas brooch if you don't fancy going full out jumper crazy or want to add more flare to your bag or pinafore!
Here's a mini tutorial on how to make a little Christmas brooch if you don't fancy going full out jumper crazy or want to add more flare to your bag or pinafore!
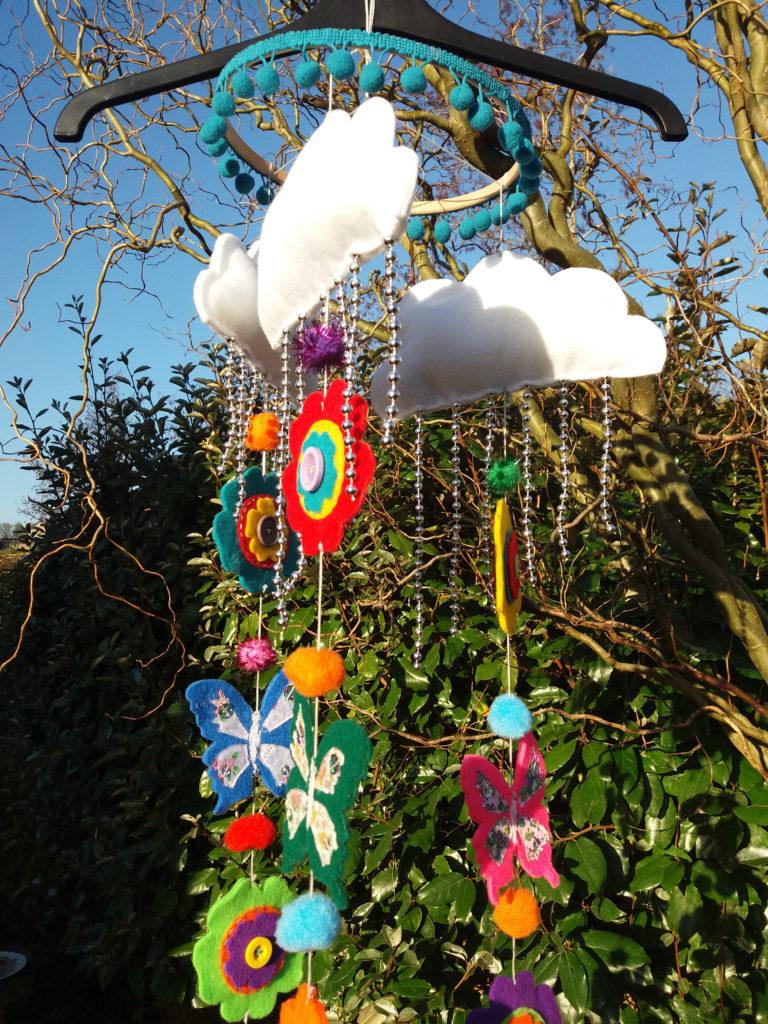
Just a quick post to reflect on some of the makes I have made this year for Christmas! There are a few which have been good or challenging which I wanted to share. The upcycled t shirt cushions My dad suggested that his old Hard Rock cafe tshirts should be transformed into cushions about two years ago but I wasn't convinced and didn't do it until this month. They have come out much better than I expected! I was worried that they were too faded, but I simply cut out the designs and appliqued them onto calico and created envelope cushions! The 1940s tapestry bag and purse This is another gift which had been on my mind for years but I had never got round to creating. However, I finally created it this year, even having time to create the matching purse (from Making Vintage Bags). Hare bag I wasn't intending on making a hare bag this year, but when I clapped eyes on the fabric, I had to make something with it for one of Phill's relatives who loves hares. I followed a free pattern online but I was a bit disappointed with the depth of the bag, which I would have preferred to have been a bit deeper, but I added a magnetic clasp to it to make it more like a shoulder bag. I did find a preferred tote bag pattern but I don't have a photo of it yet so will write about it another time. Oscar glasses case This personalised glasses case was fun to make as well to add to my grandad's collection of Schnauzer based gifts over the years. Baby Showers Mobile My biggest challenge was making this mobile for my niece! I gave my sister the choice of patterns for a baby mobile, and halfway through making this mobile I felt a bit of regret at doing that! However, it was a great challenge and pushed me much further than the other choices (and it looks much more impressive too)! I adapted the pattern from Chloe Owens (All Sewn Up) to what I had available, using Christmas tree decorations for the raindrops instead of jewellery chain. Glittery sequins were attached to the butterflies, which make light bounce off it. I could not follow the pattern precisely as I could not get a needle through the fabric flowers when assembling as the fabric glue made it too hard. Instead, the embroidery floss was attached securely either side of the flowers. I greatly underestimated the many stages to this mobile! I would recommend starting far in advance to ensure you make this in time to avoid the last minute stresses of making gifts! Fortunately, my mum helped ensure the clouds were sewn securely and to help with the final construction stage.
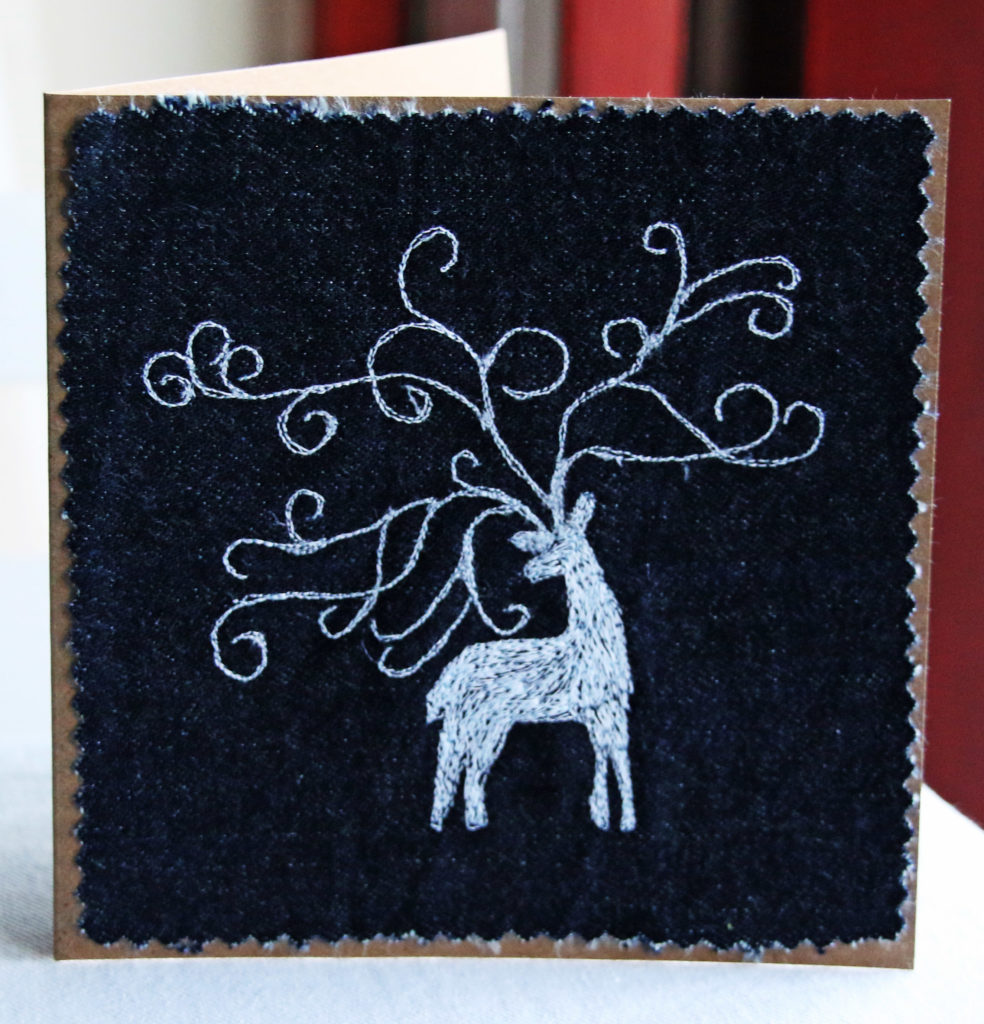
This week I've been quite industrious (well, more than I have been anyway!) and have managed to complete quite a few things for Clobber Creations ranging from fruit protectors to bath hats! However, I want to reflect on the process of recording my free machine embroidery. I find recordings of free machine embroidery quite mesmerising, and I'd voiced an interest in having a go at some point. My dad pointed out that my camera could record video as well as take pictures, so the lack of video camera was not an issue. I just needed to think about what I wanted to record and when to do it. I thought that this aspiration was something I would play around with in September. However, I began to put a Christmas card design into practice this week and thought, "why not record it?" Fortunately, I have a tripod, which meant I could set up the camera behind me to one side. I began with a full recording of the design make, from tracing the design to stitch 'n' tear, to colouring in. However, I noticed the image was quite far away, so I had a go at recording zoomed in too. A few things I learnt from this experience: Manual focus. I thought that I would want my camera to do auto focus, but for the close up version, it kept focusing on my hands instead of the design. manual focus meant that the camera stayed focused on the area surrounding the machine's needle. Time Stretch. This is what it's called in Adobe Premier Elements. I wanted the clips to fit into the length of a song and my free machining speed is not quite on par with this! Using time stretch helped. The close up video was sped up by 250%, which is a nice speed (and meant that people didn't believe it was sped up), but the main video had to be sped up by 600%, which is a bit jarring... Public domain music. I figured that most people wouldn't want to hear the loud thuds coming from my sewing machine, so I searched for music which I could use for free, which I found at Free Music Archive. I was surprised and delighted to find songs which were appropriate. It is very early for Christmas but I couldn't resist publishing the videos and card straight away. You can view the close up and start to finish stag videos on youtube. The card is available on etsy.