Free Motion Embroidery – drawing and writing with my sewing machine

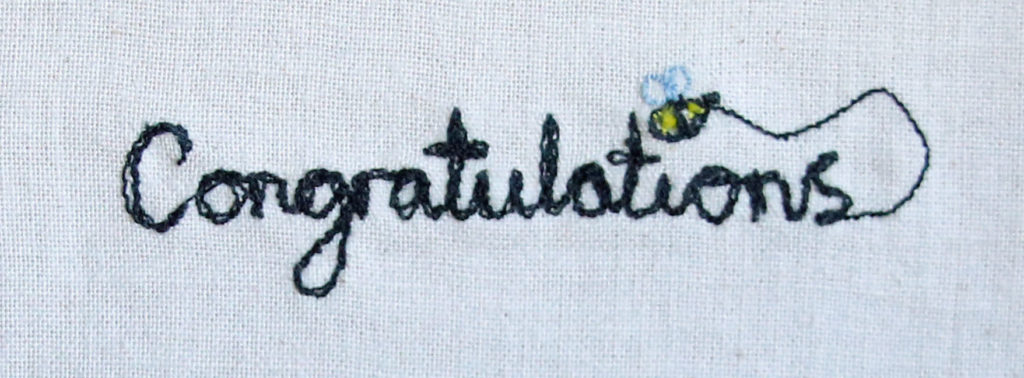
Got your eye on an expensive yet impressive embroidery sewing machine?  Think again! I've been admiring the lovely embroidery machines with their numerous stitch options and the possibility of embellishing handmade gifts with a name at the touch of a button (or a few).  I remember watching a demonstration of someone programming in a word and then watching in awe as the machine punched out the letters perfectly.  All I wanted to do was justify the cost of buying a sewing machine which did this! Well, my bank budget (and boyfriend) will be relieved to know that I no longer have this impulse!  While embroidery machines are amazing - especially the ones where you can put your design into the computer and then transfer it to the machine to stitch it - I discovered free machine embroidery this year through a local course. I signed up to this course without much thought about what it entailed.  I've always wanted to do a textile based course, but they've always been a long commute away or I hadn't been able to justify the cost at the time.  This course was a reasonable price, within walking distance, and with my new working hours, I could make the time of the session. Free machine embroidery (also known as free motion embroidery) is when you drop the dog teeth on your sewing machine, which normally propel your fabric in one direction (away from you).  You attach a new type of foot - a darning foot - and reduce the upper thread tension a little.  You can do it without a presser foot attached, but it's a lot safer with one!  You use an embroidery hoop to keep your material firm and you're ready to go! It's best to move the hoop really slowly and have a play at first.  It takes time to learn to keep your hands smooth and steady as you stitch.  Originally, I practised drawing lines with the machine, then made loop patterns and some basic shapes. In the course, we learned shading, appliqué, writing and using water soluble fabric (which is a whole other aspect to discuss another time). I really enjoyed all of it, but I am quite fond of writing with stitch.  I love looking at people's handwriting, and I used to enjoy writing stories as a kid, which may explain my fondness of handwriting.  I have used writing in combination with other free motion embroidery techniques in producing the designs for some of my Etsy items- cards in particular. Ultimately, the reason I'm addicted to free motion embroidery is that it is creates personality and individuality in makes.  Embroidery sewing machines are programmed to be perfect, but I am always going draw something with stitch a bit different every time I use it, which makes it more interesting. It's also a great stash buster! Here are some useful resources and artists to look at if you fancy a go: Craftsy has a useful 'how to' on creating embroidered works of art.  It's very clearly…
Continue ReadingFree Motion Embroidery – drawing and writing with my sewing machine

Upcycling jeans – the sewing pinny!

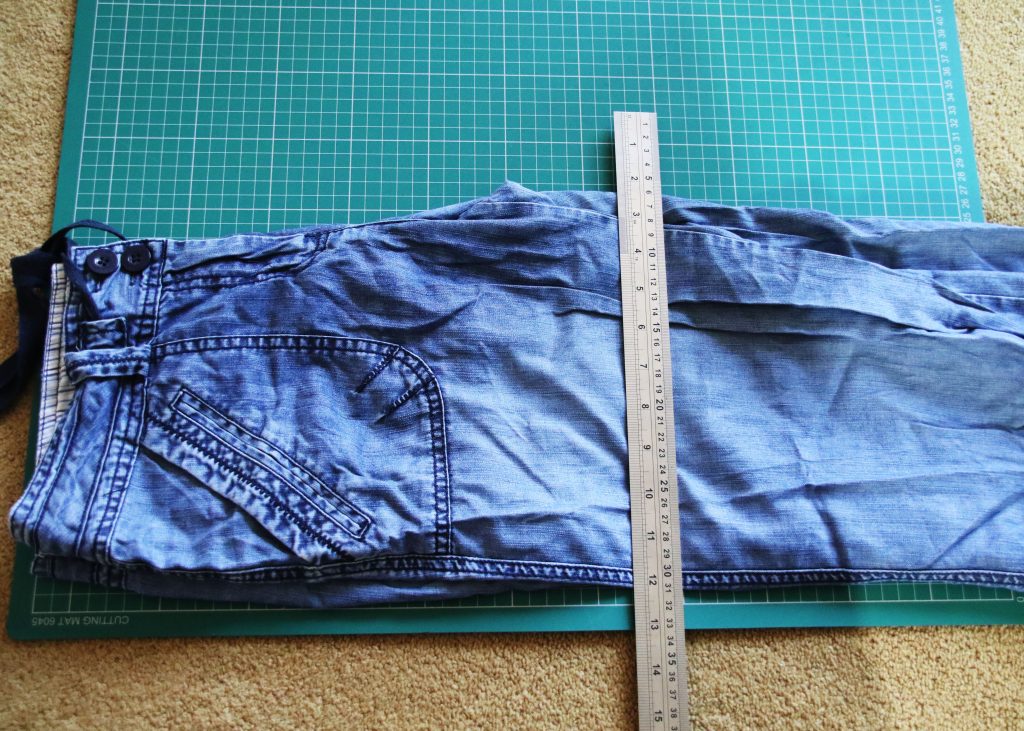
One of the projects I made during #miymarch16 was the upcycled pinny from an old pair of jeans. I got these jeans for my 21st.  I'm a bit of a hoarder, and while they had a tear in them where the fabric was so thin and worn out, I hadn't had the heart to chuck them away. When I met up with my mum and sister in March, they suggested cutting them up into something new.  Due to the location of the worn out section, a skirt was not suitable!  However, we came up with making a tool belt. One of the best parts of making something from something you're prepared to throw away is that it doesn't cost you anything and you have a lot of freedom to just go for it!  I simply placed a ruler over the jeans roughly where I thought the length would be good and took a rotary cutter to it! As you can see, I curved the back to make it more apron like, but also so I could keep the back pockets.  Jeans lend themselves to being a belt because of all the pockets!!  I added some patches to the back pockets and then added a pom pom trim and ribbon border. I wanted to add more decoration, and following my recent addiction to free machine embroidery (which I will go into more detail at some point in the future), I drew out some sewing related appliqué onto bondaweb! Et voila!  Here is the end result!  I added some random buttons to the front pockets and stitched additional detail on the appliqué.  Now I put my scissors on a bungee rope so they're always with me but I do think I need to add a scissor holster to it to improve it.

Continue ReadingUpcycling jeans – the sewing pinny!

Bee Themed!

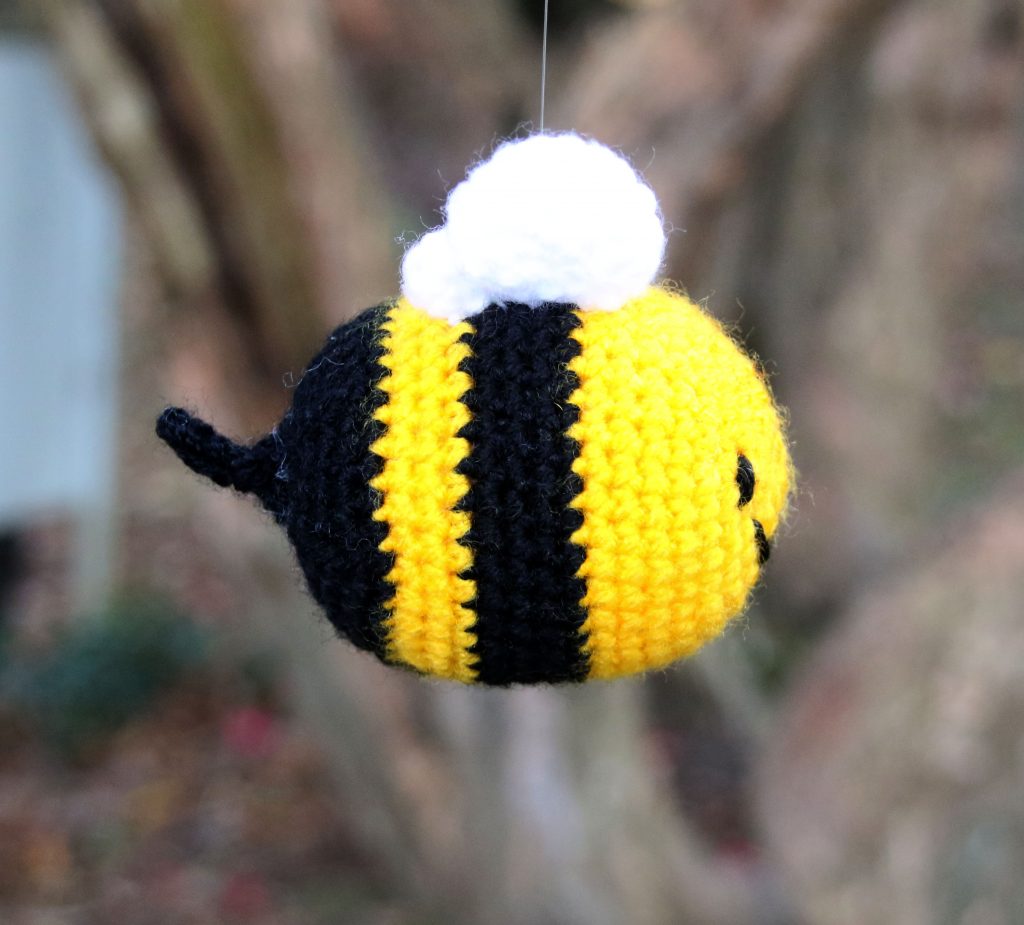
One of the best parts about handmade is that you can make whatever it is you're making personal! This is how my bee themed gift and card came about when a couple my partner's friends with had a baby recently.  As the father currently does work relating to bees, the gift became centered around this! The crocheted bee mobile was a lot of fun to make.  I used clear nylon string to attach them to an embroidery hoop for the top of the mobile.  Acrylic yarn was used so it should be hard-wearing. I love the little sting detail too!  They were made on the round which meant no seams to sew up! I've been learning how to free machine embroider this year so I used this technique to create a simple card.  I'll be adding an improved version of this card to my etsy shop in the next week.

Continue ReadingBee Themed!

Crafting with Family – March

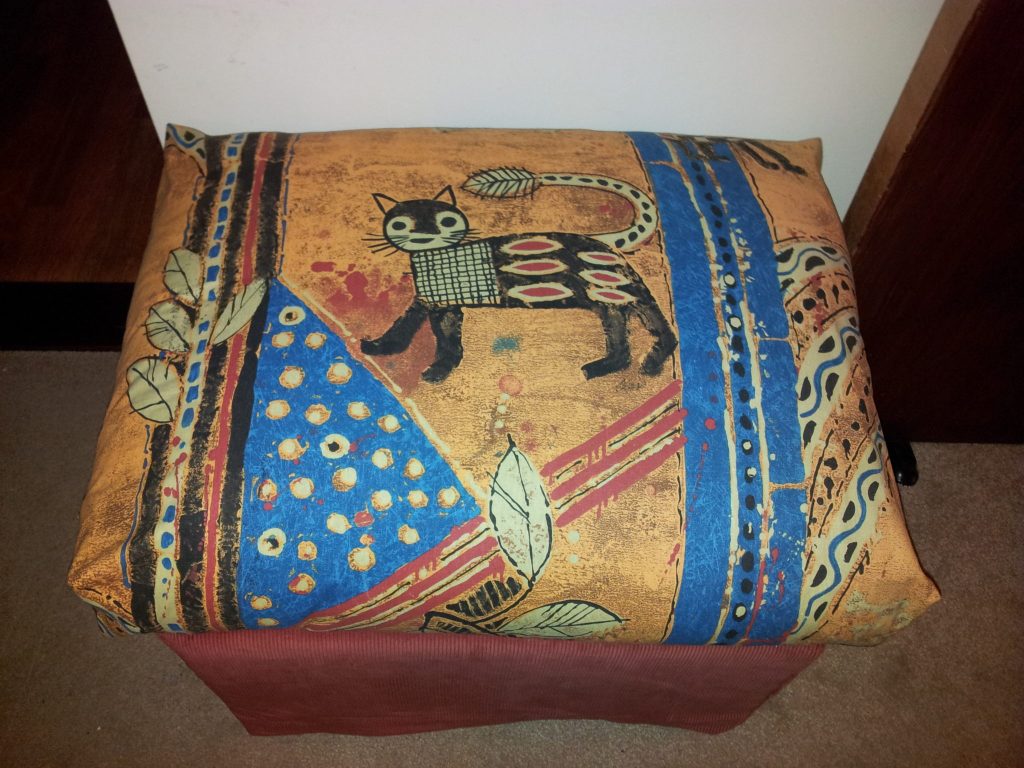
It's been a while since I have posted and my post is all about a craft meet up two months ago! Mum's house is quite a good meeting point for her, my sister and I to meet up.  We managed to meet up in March and here's what we got on with: Having purchased a lovely new Singer sewing machine recently, my sister put it to the test by having her first attempt at appliqué!  Not one to be daunted by a challenge, she decided to appliqué a friend's name.  A very impressive feat, going around all sorts of twists and curves when you're still adjusting to a new technique and how your new machine works! The great part about this bright and colourful cushion is that it's all made from remnants.  The main cushion is made from an ex-display curtain from a department store, with the money going to charity.  The letters were cut from a swatch book, which had been picked up the same way from the same store. I didn't embark on a sewing project this time, but I did finish the second sleeve to a short sleeved cardigan I began two years ago!  It's now at the sew up stage before the neck band and button band are tackled... There's the progress of my mum's doll, which she began in our February meet up.  It's coming together now it has a head!  She wasn't able to progress with it that weekend, but she did hem up someone's new net curtains by hand!

Continue ReadingCrafting with Family – March